In this article:
What tools are available to test your email?
Before sending your final email to all of your contacts, we strongly recommend thoroughly testing your email to avoid any errors or omissions and to eliminate any typos. Once your email has been sent, it will no longer be possible to correct its content unless you send an erratum, which we prefer to avoid. Proofread carefully and test each of your links before each send!
Several tools are available in the application and the template editor, to help you test your emails properly. Here they are:
- Browser Preview
This option allows you to preview the email as it would appear online. It’s a good way to see the entire template without being distracted by the editor’s tools. However, we advise you to not rely solely on this tool and instead use the Test mailing tool for a better idea of how your email will appear in an actual inbox.

- Mobile Preview
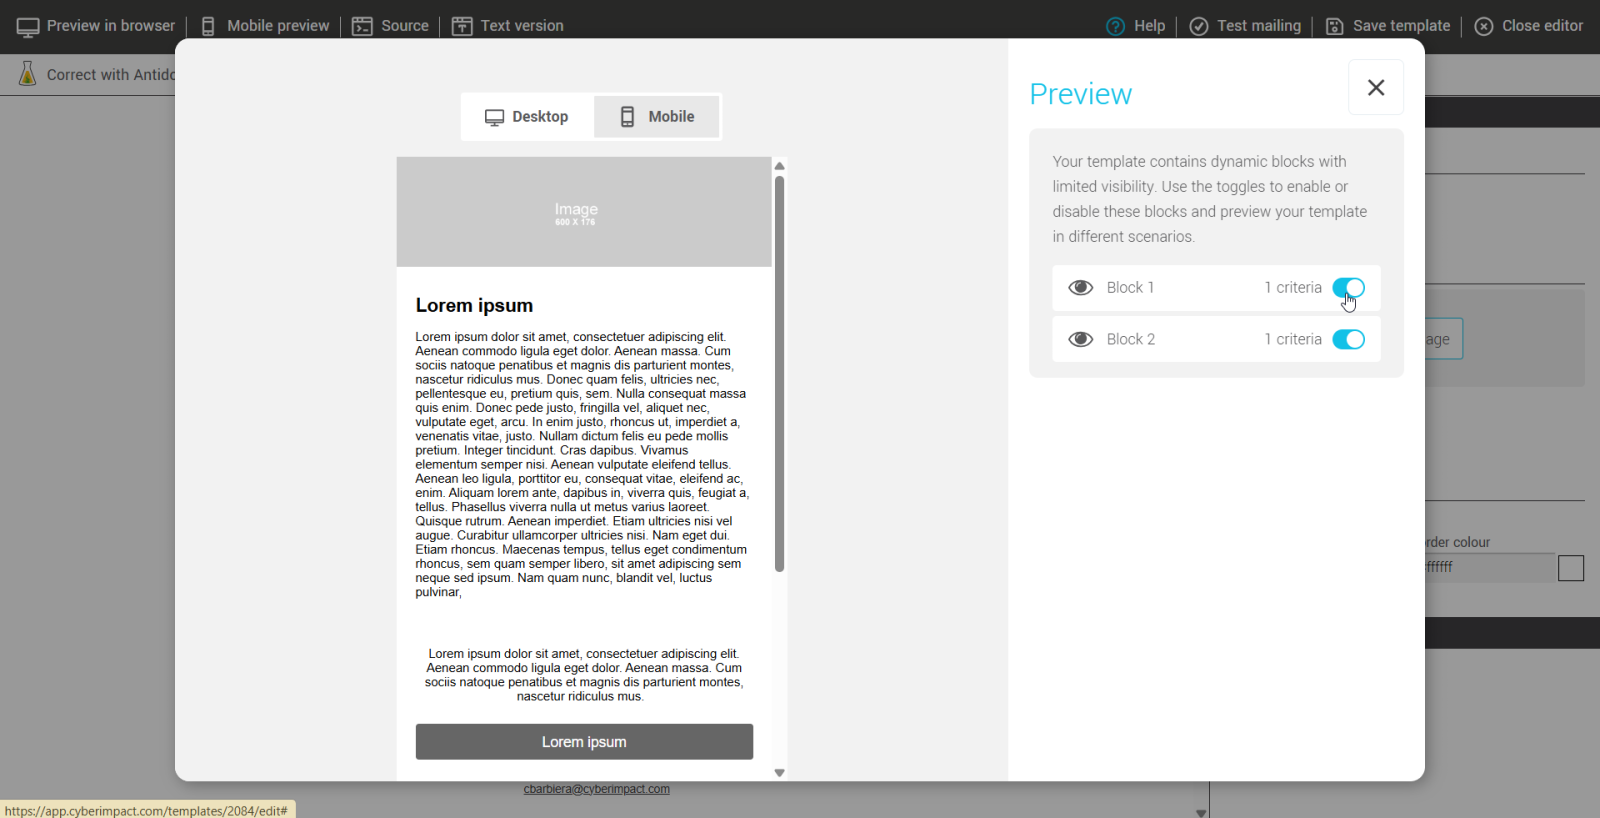
This tool allows you to preview how your email will appear on a phone. All our templates built using the drag-and-drop editor, including pre-designed and smart templates, are "responsive", meaning they adapt to be easily readable on most mobile platforms. The blocks' layout may differ from how the email appears on a desktop. To learn more about the compatibility of our templates on mobile, check out our following article.
In the previews, you can use the toggles to show or hide dynamic blocks if your email contains any.

Available only in the template editor with drag-and-drop functionality.
- Test my mailing
This tool allows you to check the display and layout of your email before sending it. You can use it to test your links, but some features, such as personalization and unsubscribe links, will not be active. Emails sent using this tool will have the [Test] tag in the subject line. For a complete validation, including links and personalization, it is recommended to perform a real send to a test group.
How to properly test your email: when to do a mailing test vs a real mailing?
Depending on what you want to test, it is sometimes preferable to make a real mailing rather than using the Test mailing tool.
The advantage of the Test mailing tool is that it is quick to use. So, feel free to use it on different email clients.
The table below specifies which method to use depending on the aspect you want to test.
| What do you want to test? | Test my mailing | Real mailing to a test group |
|---|---|---|
| Email appearance on different email platforms | ✔ | ✔ |
| Countdowns and video blocks | ✔ | ✔ |
| Links | ✔ | ✔ |
| Dynamics Blocks | ✔* | ✔ |
| Links with Google Analytics | ✘ | ✔ |
| Consent confirmation link (from the block or the consent template) | ✘ | ✔ |
| Unsubscribe link | ✘ | ✔ |
| Link to the online version | ✘ | ✔ |
| Update profile form | ✘ | ✔ |
| Send to a friend option | ✘ | ✔ |
| Personalization variables | ✔* | ✔ |
| Mailings statistics | ✘ | ✔ |
| Text version | ✘ | ✔ |
| Calendar event block link | ✘ | ✔ |
| Micro surveys | ✘ | ✔ |
*To check the display of dynamic blocks and the replacement of personalization variables (e.g., Hello _FIRSTNAME_) with real content, use the Test as one of your contacts.
How to use theTest mailing tool?
Use it to test the appearance and layout of your email in different email software. You can also use it to test your links, but the most reliable way is always testing them via a real mailing to a test group, especially if you want to test the addition of UTM parameters in your links for Google Analytics.
How to use it:
The Test mailing tool is available in the editor of all templates and drafts.
- Open your template or draft in edit mode.
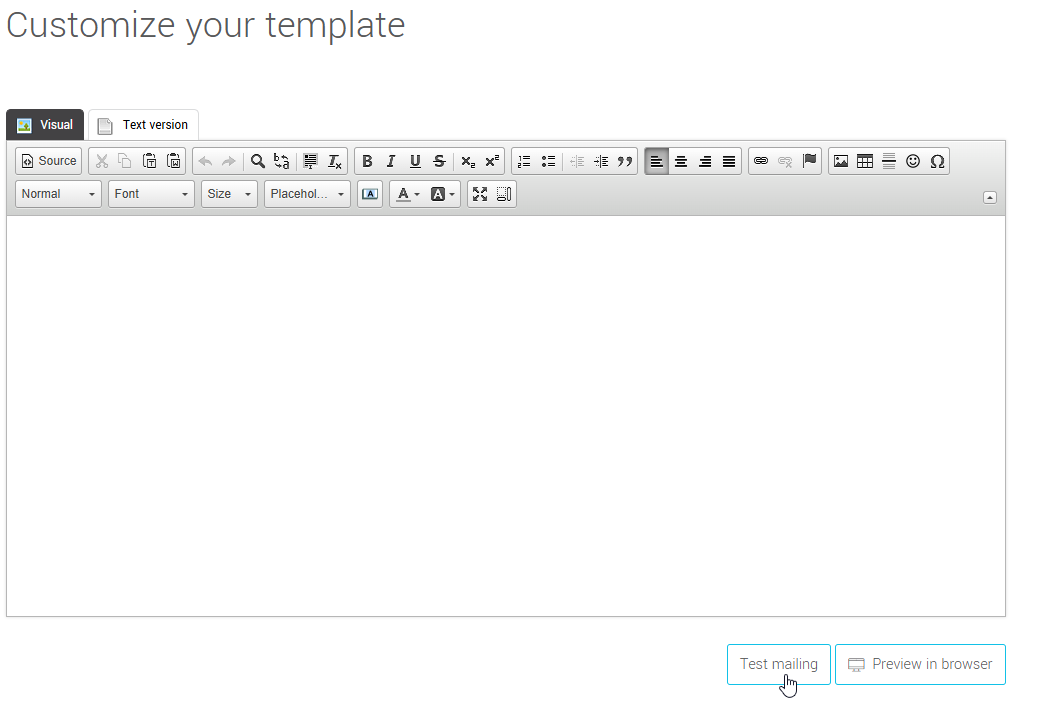
- Click on Test mailing.
When editing a template or draft from the pre-designed or basic templates:

When editing a template or draft created from your own HTML code:

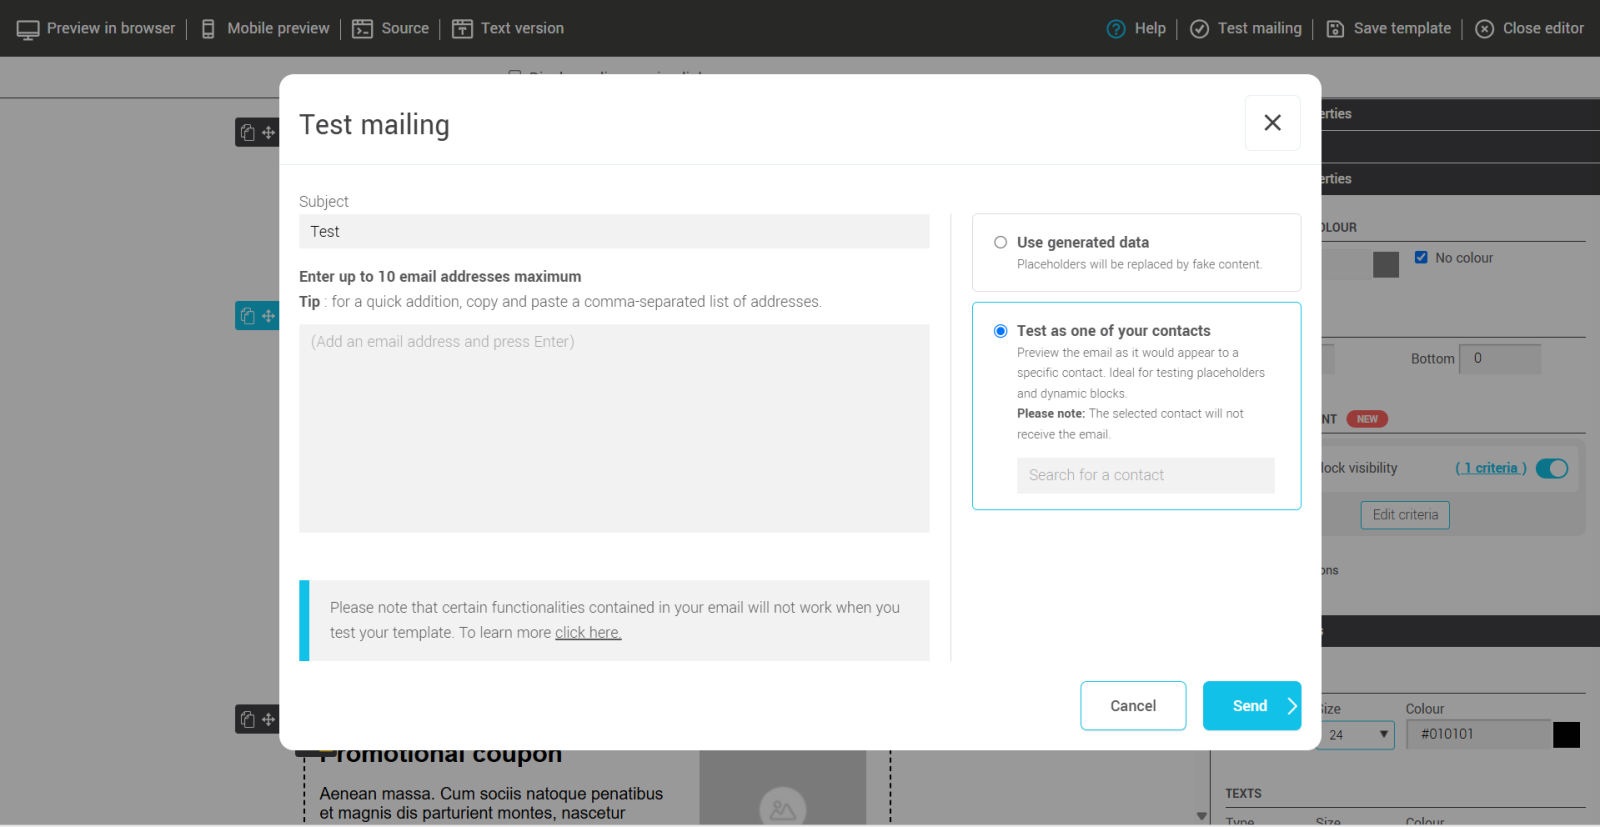
- Enter a subject for your test and the email addresses you want to send the test to.
You can easily add up to 10 email addresses, separated by commas, by copying and pasting them. This allows you to test how your template displays across all the email platforms you have access to. If you have both professional email addresses (e.g., Outlook) and personal ones (e.g., Gmail, Hotmail, Yahoo, etc.), use them to compare how your email appears on different email platforms and devices (desktop, tablet, mobile).
There are two options for testing your email:
Test with generated data: If your email contains variables (such as first name or country), they will be replaced with fictitious values during the test. If your template includes dynamic blocks, they will be displayed regardless of the defined criteria, allowing you to preview the entire content.
Test with an existing contact: This option allows you to send a test using the information of a specific contact from your list. This way, you can see how the email would appear for them, considering their data and segmentation criteria. If your template contains dynamic blocks, this allows you to test how they display based on the contact’s profile.

- Click Send.
Important notes on test mailings
- Emails sent using this option are easy to identify: the subject line always begins with [test].
.png)
- Some features are disabled in test mailings. To properly validate them, it is best to perform a real send to a group.
For this reason, test mailings should not be used to contact actual recipients: unsubscribe links are not functional, which could negatively impact the user experience and the compliance of your mailings.
Refer to the table above to determine when a real send is required. - Avoid forwarding a test email from your inbox. Forwarding may alter the formatting, as the HTML code can be modified by your email client. Instead, send a test mailing directly to your email. You can send up to 10 email addresses simultaneously.
How to test your email by doing a real mailing to a test group
A real send to a test group is the most reliable method to validate the final display of your email, ensure that links function correctly, and confirm that all active features in a mailing are working properly.
This includes:
- System-generated links: unsubscribe, consent confirmation, send to a friend, profile update form, micro-surveys, etc.
- Integration of Google Analytics UTM parameters in links.
- Content personalization (variables and dynamic blocks).
- Collection of mailing statistics.
Refer to the table above for the full list of elements that require a real send to be properly tested.
To test your template by doing a real mailing, here’s how to do it:
- First, create a group that you will use for your testing purposes. To learn how, check out this article.
- Add some addresses to this group. For example: your work address (Outlook and iPhone), a Hotmail and/or Gmail address, and a colleague's address to help detect potential errors.
If the addresses already exist in your account, click here to learn how to find them and add them to your group.
If the addresses don't exist in your account yet, click here to learn how to add new contacts. -
Then, from the menu, select New mailing, plan a new mailing and select your test group.
- You’ll just need to check your send in your inbox. Be sure to proofread carefully and test all your links! Make sure you’ve removed any filler content (the famous "Lorem Ipsum!")
You haven't received your send? Don't panic. Refer to the procedure.
Additionnal information
Testing Links with Google Analytics
If you're using the Google Analytics option, it's highly recommended to test your links via a real mailing. Some websites may not support the parameters added by Google Analytics or certain characters in campaign names, which can cause redirection issues or distorted statistics.
Be sure to check the Google Analytics option when preparing the mailing.
Learn how to do it >
Testing the Consent Block: Things to Check
If the consent block appears in your test but not in the real mailing, check the type of consent for the address used:
- The block only appears for addresses with implied consent.
- If the address already has explicit consent, the block is automatically hidden.
To avoid confusion, do not use the consent block to display content other than the consent request. Otherwise, some contacts may not see this part of the email.
It’s also recommended to add other content besides the consent block in your newsletter to avoid sending an almost empty message to contacts who have already consented.
Learn more about the consent block.
What Happens If You Test the Unsubscribe Link?
Don't worry! If you click the unsubscribe link in a real mailing sent to a test group, you will receive a confirmation email with an option to resubscribe. Simply follow the link in this message to resubscribe.
How to Test Dynamic Blocks
If you're using dynamic blocks, they will only be visible to contacts who meet the defined criteria. You will have the option to use generated data or test as one of your contacts to see how your newsletter looks, even if that user does not meet the necessary criteria to display the dynamic block.
Use previews to see your template as it will appear to your recipients. You can also enable or disable dynamic blocks using the toggles to adjust their display.
