
In this article :
Building your template
step-by-step
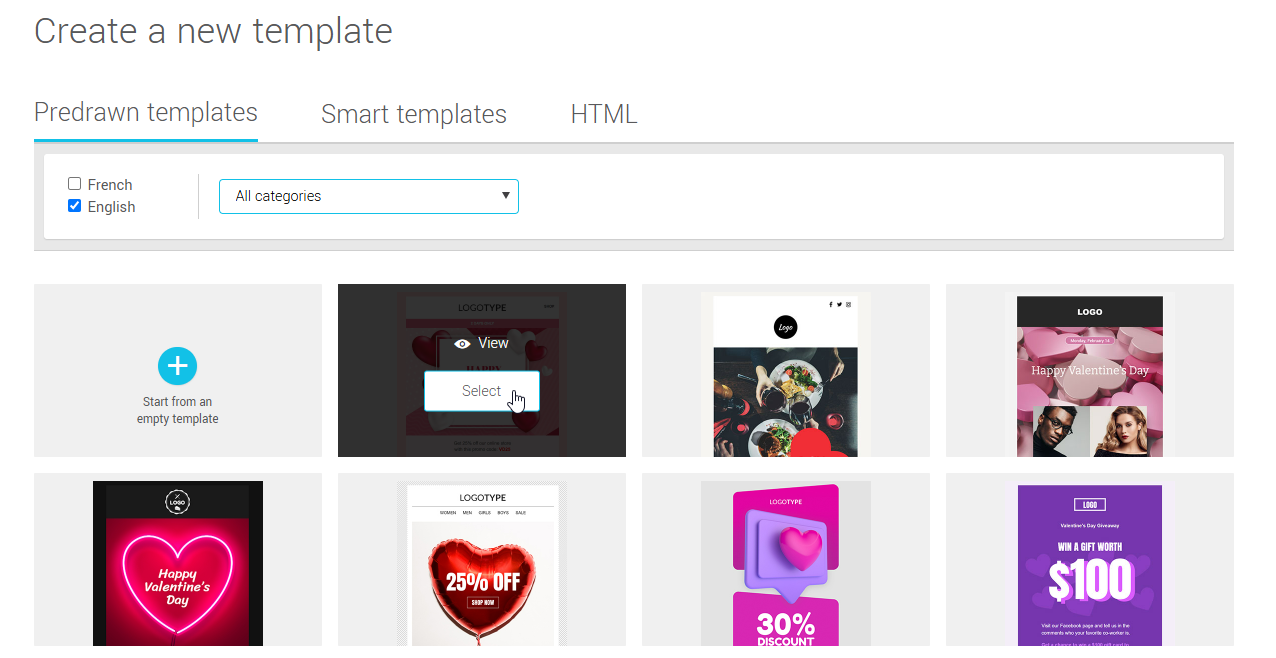
To create a new template:
- Click on the menu and choose Add template.
- You will arrive directly in the predrawn template section. Use the tabs to see the smart templates or to integrate HTML code (expert mode).
Note: In this help section, we will only talk about tools available in our predrawn and smart templates. The HTML editor gives you full and complete control on your template but requires advanced knowledge in HTML and CSS. The templates built and sent in that mode have HTML template written under their name.
- Click on the Select button on the template you want to use.
Did you know that you can create a new template starting with an existing one?
If you already spent time editing a template to your liking and wish to use it to build a new one, here is how to proceed :
- Click on the menu.
- In the list, find the template the one you wish to use (if need be, use the search field).
- Click on the Duplicate option from the actions menu at the end of the template's row.
- Rename the duplicata of your template and press Duplicate to confirm. It will be added to the list of your templates.
- Click on the Edit option from the actions menu at the end of the template's row to begin using your new template.
Note: It is also possible to copy an existing template as you are working on it. As you are saving, just change the name. The template will be copied instead of saved over.
Did you know it is also possible to duplicate a previous mailing to reuse a template as it was the moment it was sent?
What is the difference between predrawn and basic templates?
Predrawn templates offer you a more complete layout (colors and images you can use) while basic templates are simple templates that are easy to use and adapt to fit your image.
Regardless if you chose a predrawn or basic template, you will be happy to know they all are completely editable. At any given moment, while preparing your template, you can adapt them to fit your needs: add content, change the layout, delete useless rows, change colors...
Examples of predrawn templates:
Remove, duplicate or move around existing blocks
Your template is built with many text or image blocks.
When your mouse moves on a block, a dotted line will appear around it. Icons are present on the upper corners of your block.
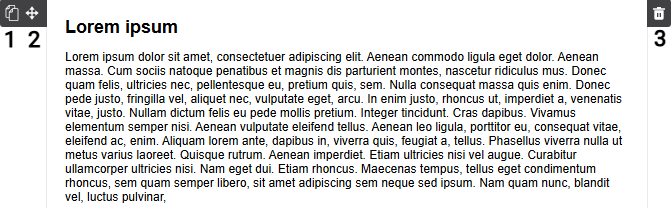
- Icon 1 allows you to duplicate a selected block.
- Icon 2 allows you to move your block in your template. To move the block, click on the icon and move the block while holding the button down. Let go of the button when you have reached the desired place.
- Icon 3 allows you to delete a block
Note : When you delete a block, its content will be lost. If you want to move the content in a new layout, you should first create a new block, copy-paste the content in and then delete the old one.
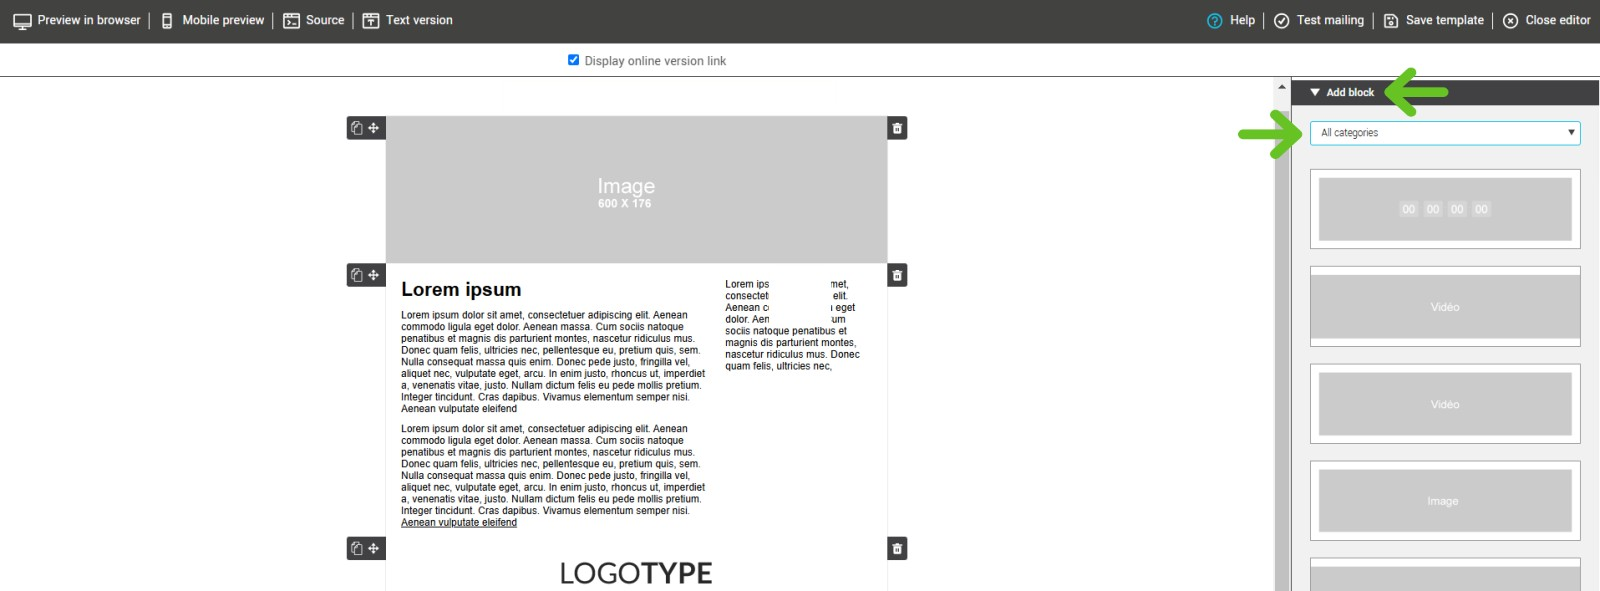
Add a block
To add a block to your template, you simply have to drag and drop found in the side panel on the right. If the Add a block panel is closed, you can open it by clicking on the white triangle. Once opened, the panel will offer you a wide variety of 1,2,3 or 4 columns blocks. You will also find consent blocks and blocks you have saved. You can use the dropdown to filter blocks by category.
General properties of your email
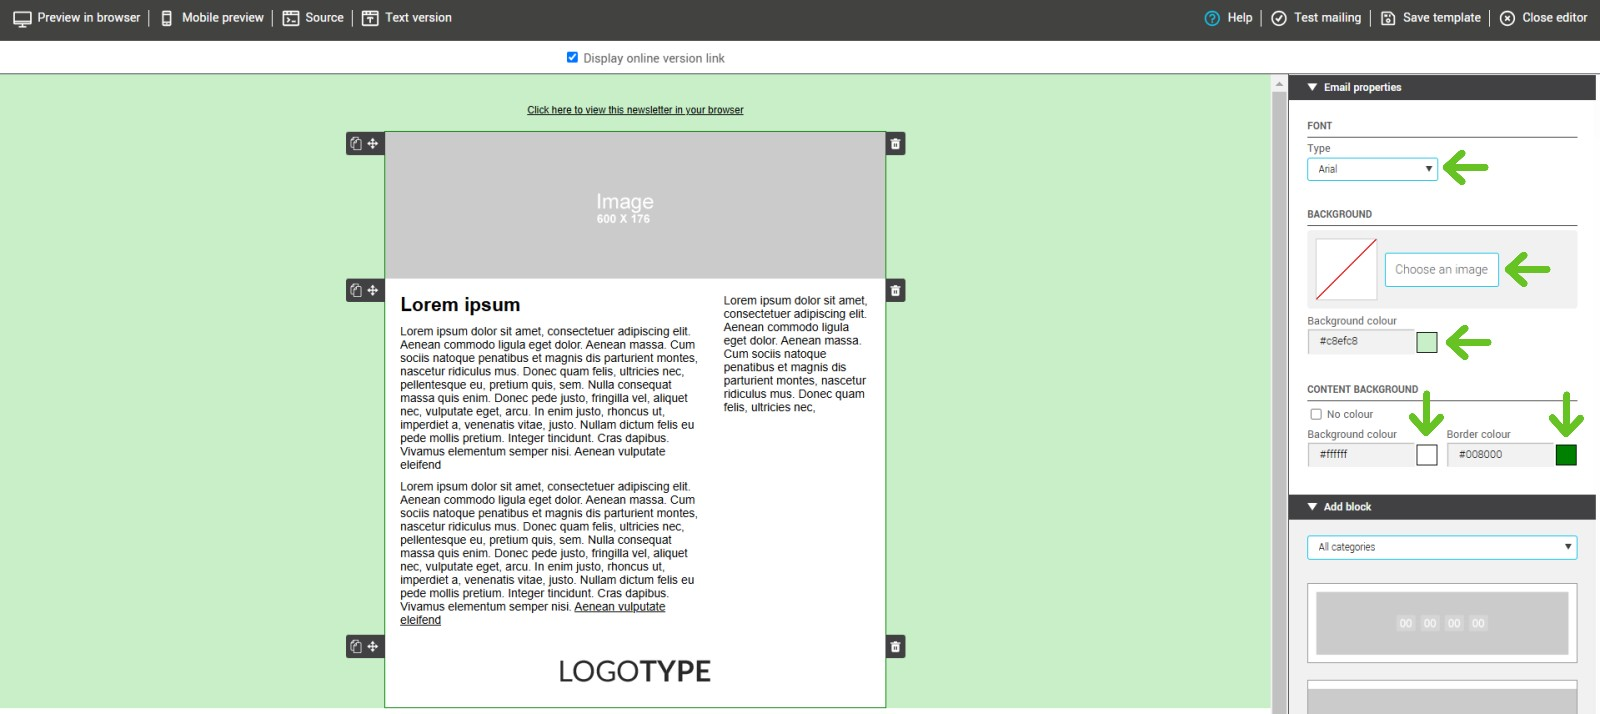
To define general properties for your email, simply use the Email Properties panel from the side panel. You will be able to:
- Define the type of font applicable to the entirety of the texts in your template.
This option allows you to apply the same font to every text block in your template. You can choose to change the font in individual blocks if you wish to.
- Define the backgroung color as well as the border color of your blocks.
For generic colors to apply to your email, you have a few options:
- Choose a backgroung image
It is possible to choose a background image that will repeat itself behind your email. To know how, click here. - Apply a uniform background color to your email
- Choose a background color for your content blocks
- Choose a color for the border of your blocks.
To apply a color, just click in the colored square to open the color picker. If you know HTML, you will recognize the hexadecimal codes that will appear in each fields. You can also change them directly instead of using the color picker.
Edit a block
You can edit blocks independantly from each other.
Learn more >
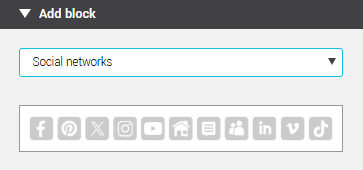
Social networks
You can insert a block containing you social networks in your template. To do so, search for the Social networks block in the Add block side panel. Drag and drop it where you like in your template. You can then set up the various links pointing to each desired service.
Learn more >
Add a link to the online version of your email
When you select this option, it will add a link to the online version of your email at the top of your template. You can edit the text, change the color and align it to your liking.
The link to the online version will allow your readers, if they have trouble visualizing your newsletter, to read your email in their browser. It is considered a good practice to adopt and we strongly suggest you to add it to each mailing.
Learn more >

Personalize your emails
Dynamic blocks and placeholders are tools to personalize your mailings based on specific information about your contacts. For example, you can tailor a message, an image, or a special offer based on the language, subscription type, or preferences of your subscribers.
Discover dynamic blocks to display personalized content based on your contacts.
Learn how to use placeholders to insert specific information, such as the first name or language, directly into your mailings.
Editing tips
Start by positionning your basic elements : Your logo, coordinates etc. Continue with your texts and images, then finish with colors and fonts. You will have a better overview of your template.
.png)
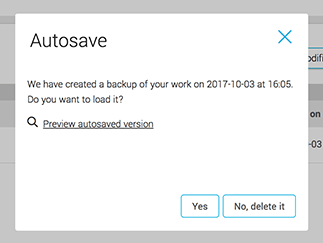
Autosave
Modifications made to your template will be saved automatically and frequently allowing you to work without worrying about losing your changes halfway through. You will notice the Autosave indicator at the bottom left corner of the editor when it is doing its work.
If you do exit the editor without saving your more recent progress, you will be able to see your most recent autosaved copy by clicking on the "autosaved" link in your template list. When you continue editing your template, you be asked if you would like to use or delete your autosaved copy. You have the choice to use your last manually saved copy or your last autosave.
Mobile compatibility
Our predrawn and basic templates are compatible with most mobile platforms.
Learn more >
To quickly see a preview of your email on a mobile device, click on the Mobile preview button (this option is not available in the expert mode).
The HTML expert mode can generate mobile-friendly emails, but you will need very advanced HTML and CSS knowledge in order to do so.
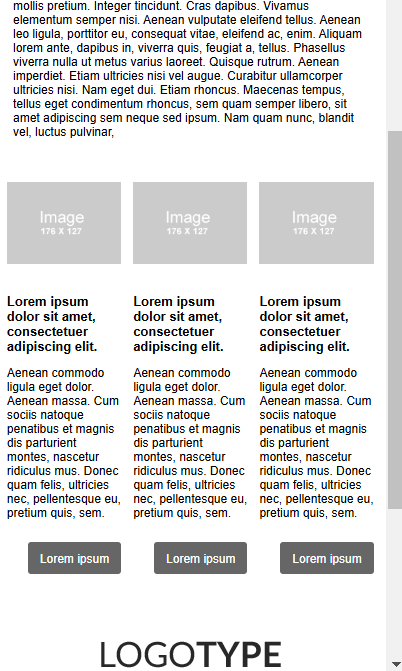
Note: For best results on mobile, we added blocks combining a row of images ( 2, 3 or 4) followed by the same number of text blocks. We recommend you use these rows if you wish your image to be followed by its text description when the email is displayed on a mobile device.
Here is an exemple of a 3 columns image block with 3 text columns :
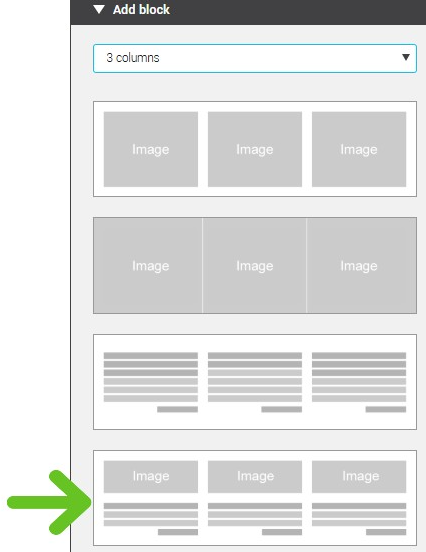
Mobile preview :

If you choose a block of three image columns and another with three text columns, and check Keep columns side-by-side for both, this is how it will appear on mobile:
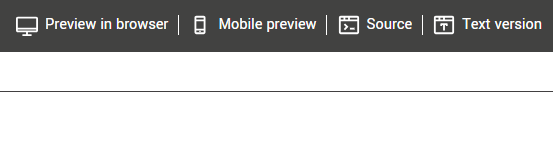
Test your template
In the top tool bar, there is a button allowing you to test your mailing by sending a copy to an email adress of your choice or see a preview in your browser.
The preview will give you an idea of the result but only tese mailed to different email adresses (Outlook, Hotmail, Gmail etc.) will assure you that your email will look good on every platform. Additionally, it will allow you to test the object of your mailing.
One of the strenght of our editor is that templates created with it are generally very similar from one inbox to an other. We suggest you still test thouroughly before it is too late: once it reaches your contacts inbox, it will be impossible to change!
Test your mailing and its object in your inbox :
- Give a subject to your test.
- Enter the email addresses to which you wish to send your email, then click Send to confirm.
.png)
.png)
Preview in browser and mobile preview :

To get more tips and advices on how to test your template, refer to the following article >