
This tutorial explains how to connect your WordPress site to Cyberimpact's SMTP relay so that your WordPress emails (notifications, order confirmations, password resets, etc.) are sent through Cyberimpact's reliable infrastructure.
Before You Begin
- An active SMTP plan on your Cyberimpact account
Learn more > - An authenticated domain in your SMTP account — the DKIM 1, DKIM 2, and SPF/Return-Path (MX) records must all show a Valid status
Learn more > - An SMTP user created for this WordPress site — note the username and password generated from the "Domains" tab
Learn more > - Administrator access to your WordPress site
- A SMTP plugin installed on your site to replace WordPress's native PHP mail() function (e.g.: WP Mail SMTP).
Step by Step
1. Install WP Mail SMTP
- Log in to your WordPress dashboard.
- In the left menu, go to Plugins → Add New Plugin.
- Search for WP Mail SMTP.
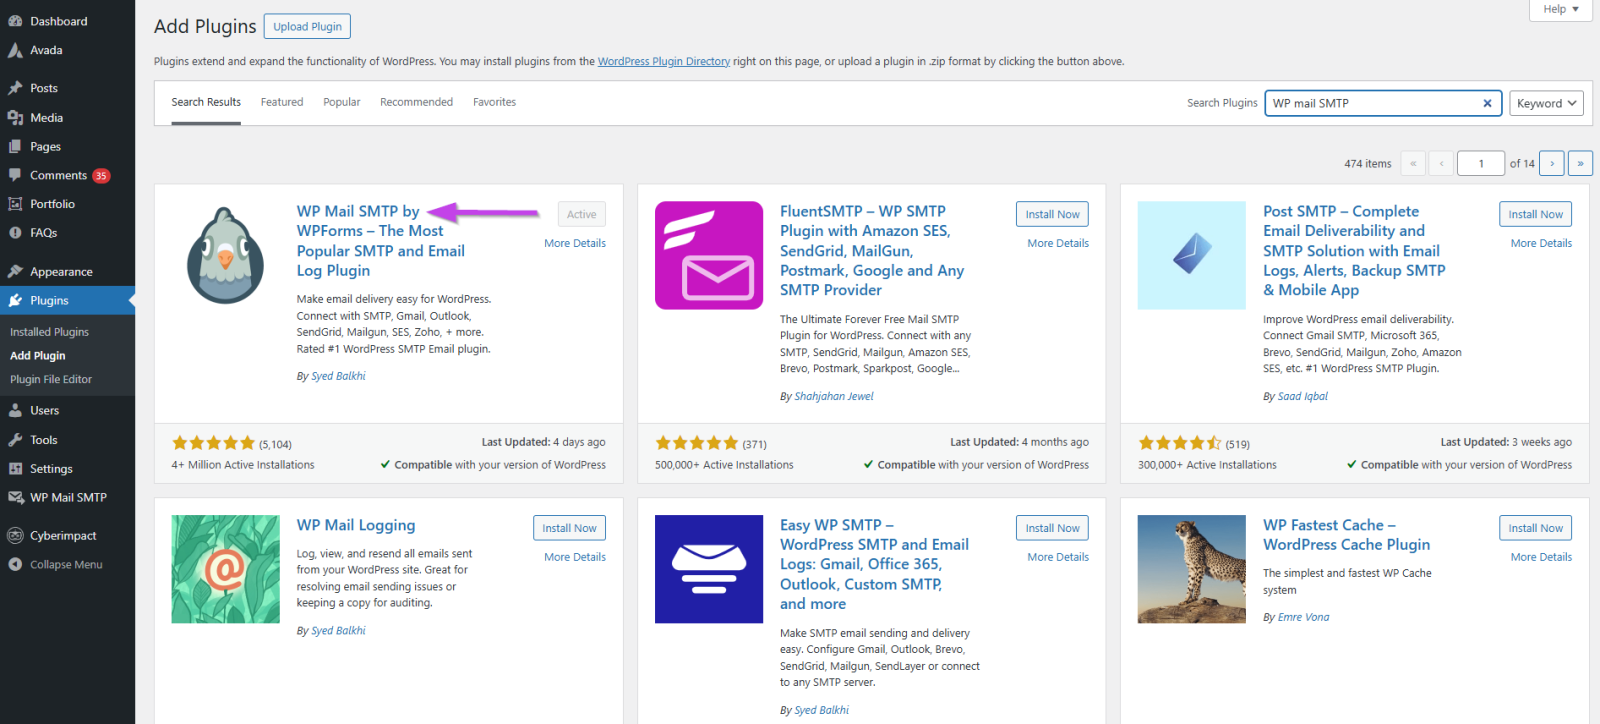
- Click Install Now, then Activate.
2. Configure WP Mail SMTP
- In the left menu, go to WP Mail SMTP → Settings.
- In the Sender section, configure:
From Name: the name that will appear in the recipient's inbox (e.g., your company name)
From Email: the email address you want to use for sending — it must belong to the domain authenticated in your SMTP account
.png)
- In the Mailer section, select Other SMTP.
- Configure the following settings:
Parameter Value SMTP Host smtp-relay.cyberimpact.com Encryption TLS Port 587 Authentication Enabled SMTP Username Your username generated by Cyberimpact SMTP Password Your password generated by Cyberimpact - Click Save Settings.
3. Test the Configuration
- In WP Mail SMTP, click the Tools tab.
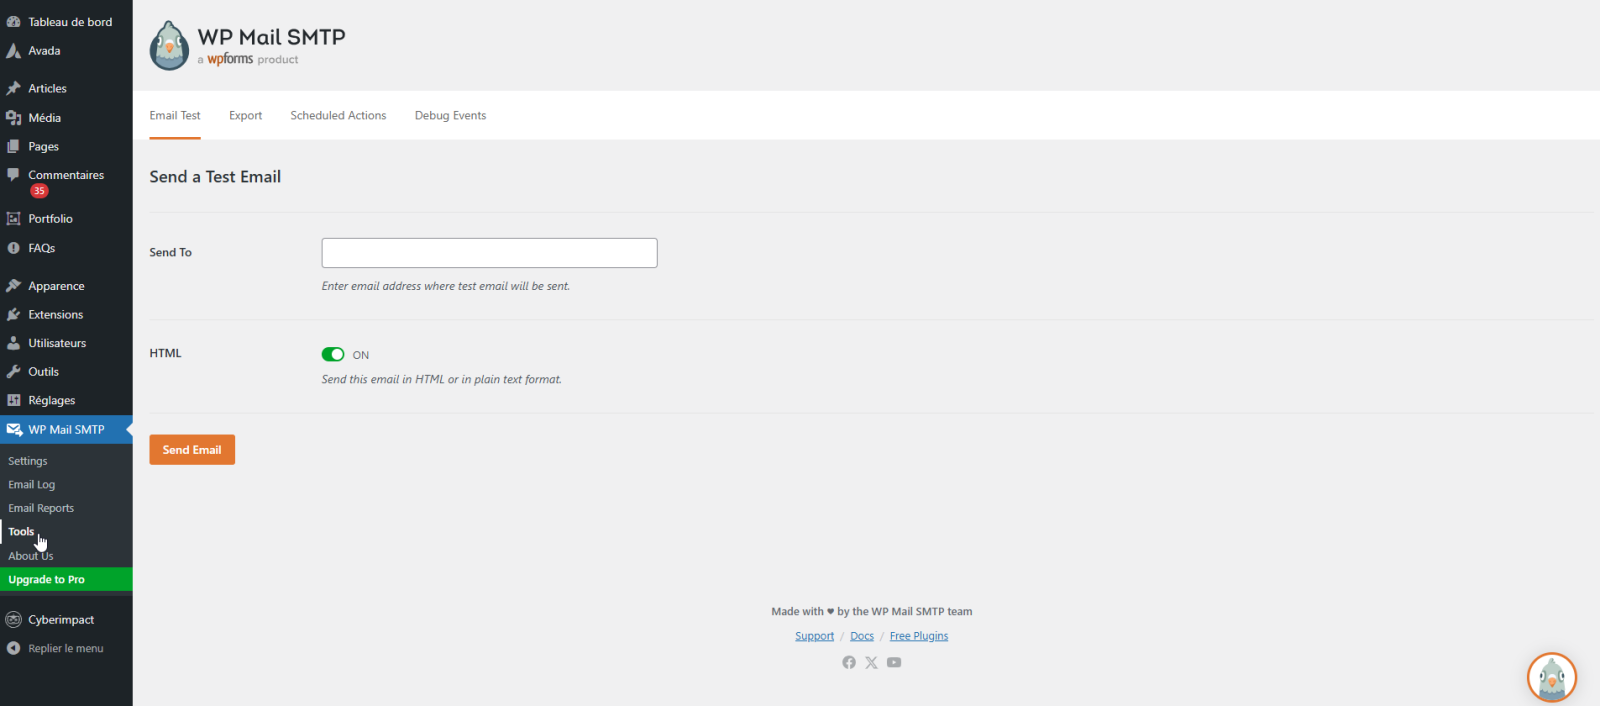
- Enter a test recipient email address.
- Click Send test email.
- Verify that the email is received in the inbox.
- Log in to your Cyberimpact account, go to the SMTP section, Activity tab — you should see the test email with a Delivered status.
Tips and Tricks
The test email lands in spam?
Check that your domain is properly authenticated in the Domains tab of your SMTP account — the DKIM 1, DKIM 2, and SPF/Return-Path (MX) records must all show a Valid status. Also check your DMARC record.
The sender address must match your authenticated domain
If you configure contact@mycompany.com as the sender address, the domain mycompany.com must be authenticated in your SMTP account. An SMTP user linked to a different domain will not be able to send from that address.
Using WooCommerce?
WooCommerce uses the same email sending system as WordPress. Once WP Mail SMTP is configured, all WooCommerce emails (order confirmations, shipping notices, etc.) will automatically go through Cyberimpact's SMTP relay — no additional configuration is needed.
Have multiple WordPress sites?
Create a separate SMTP user in your Cyberimpact account for each site. This allows you to track sends from each site separately in the Activity tab and revoke one site's access without affecting the others.
Port 587 not working?
Some hosting providers block port 587. In that case, try port 465 with SSL encryption. If both ports are blocked, contact your hosting provider.
WP Mail SMTP shows an SPF warning after the send test?
This is normal with our SMTP relay and can be ignored.
Here's why: the plugin checks whether our sending server is listed in the SPF record of your main domain (e.g., mycompany.com). But our relay doesn't work that way. When you send an email, we use a dedicated bounce-handling address on a subdomain you own — for example cyberimpact-bounces-abc123.mycompany.com — and that's where SPF is verified, not on your main domain. The plugin doesn't see this mechanism and incorrectly displays a warning.
To confirm that everything is truly working, look instead at the DMARC section on the same page — if it shows ✅ Success and your domain displays "Validated" in Cyberimpact, your emails are properly authenticated and there's nothing more to do.