
In this article:
Before starting
- You can customize the display and style of the email footer for templates and drafts that were created from the drag-and-drop editor (e.g. templates created from a predrawn or smart template).
- It is not possible to customize the email footer style for templates created from the HTML editor or email sent through our API.
- To change the information in the footer (postal address or email), you must go through the menu. You will not be able to change this information in the template editor.
Customize the email footer display
Learn how to:
- Change the style and appearance of the email footer
- Customize the colour and font of texts and links
- Add your logo
- Change the language of text and links
- Change the background colour
- Adjust the spacing
Change the style and appearance of the email footer
- Open your template in edit mode or create a new template.
- Click on the last row of the template where the email footer is located to open its properties.
- In the side panel to your right, under the Footer Templates section, open the drop-down list and choose your preferred footer style.
- If necessary, change the other properties of the footer, such as the background colour and the appearance of your text and links. Don't forget to test your email afterwards!
Customize the colour and font of texts and links

Open the footer properties by selecting the row in the email editor. Under the Texts and Links section, you will be able to change the colour, size and font used.
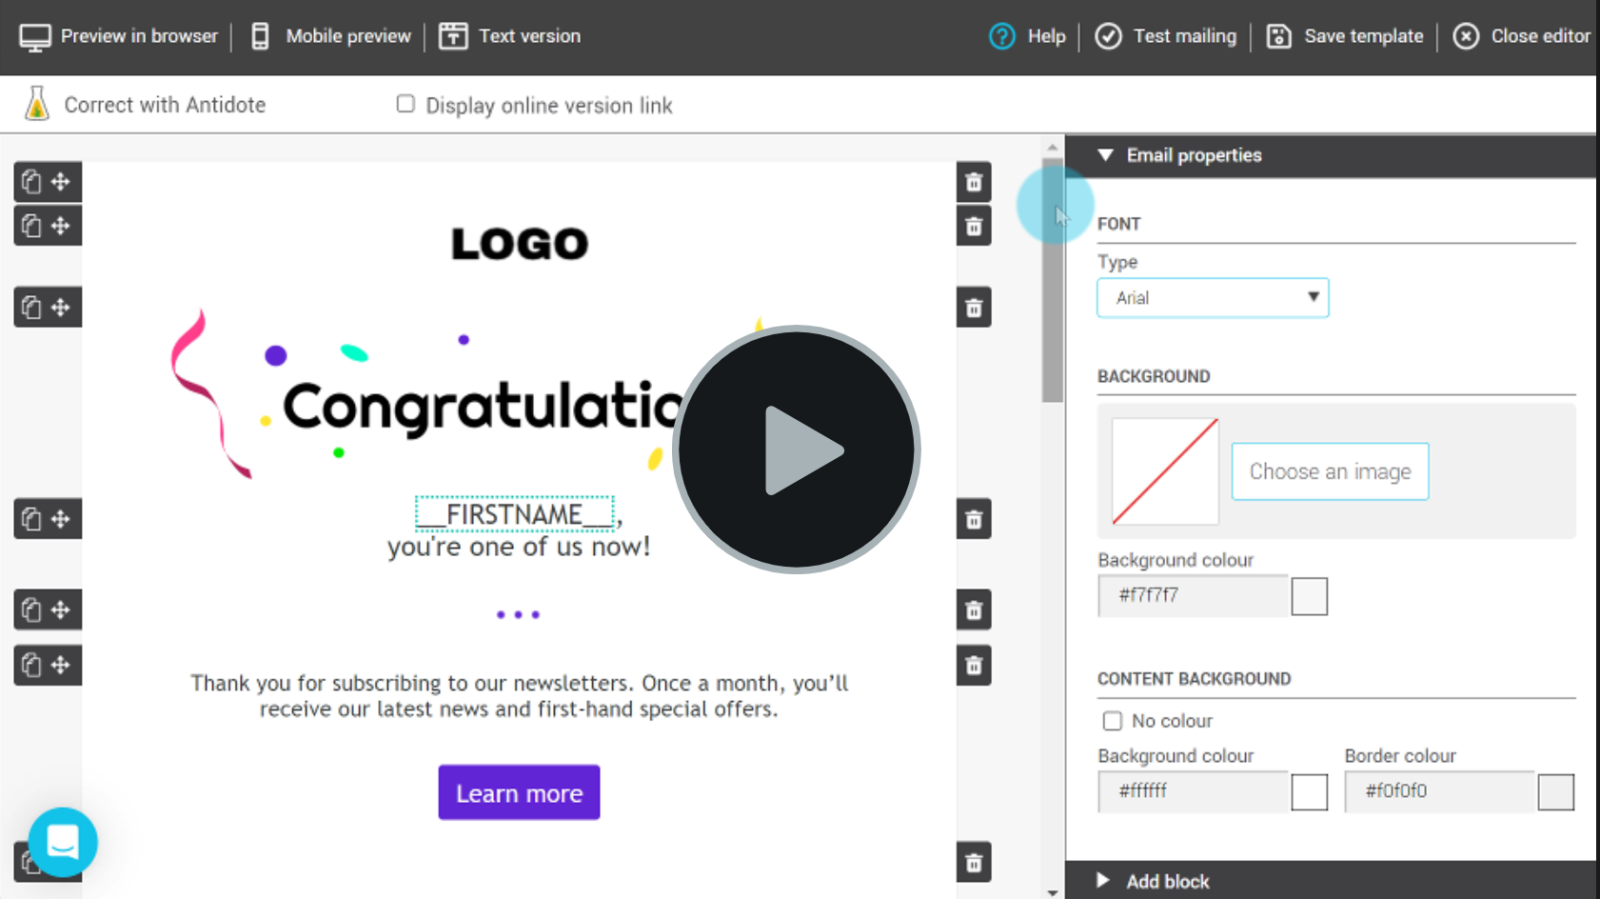
Add your logo
Some footer templates allow you to add your logo. If you have already uploaded a logo for your account in your account settings ( ), it will be proposed to you by default. Learn how to change your account logo >
To change the logo or add a new one in the footer of your template, click on the Choose an image button. In the image file manager, double-click on the image preview to select it. To upload a new logo, click on the Upload button.
![]()
![]()
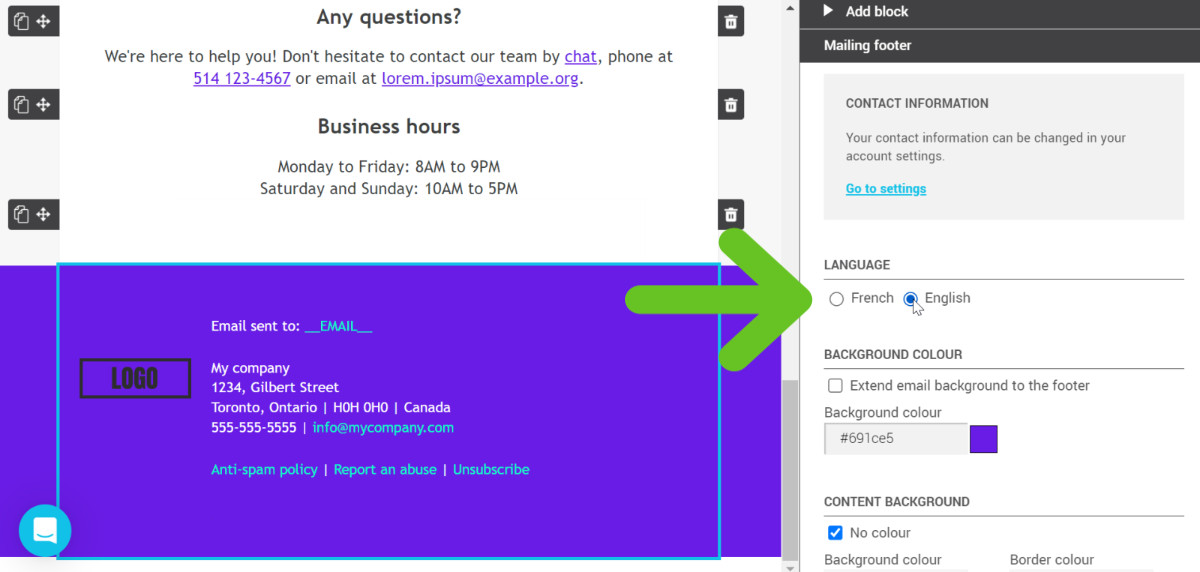
Change the language of the text and links
In the mailing footer properties of your template, select the desired language (French or English). This will be pre-selected for your mailing. You will also be able to change it when you plan your mailing.
- About language behavior during mailing
The language selected in the footer settings will also determine the language of dynamic elements such as the salutation placeholder (Mr., Ms.), as well as the text of system links (Unsubscribe, Send to a friend, etc.). To learn more about how the mailing language interacts with your contacts' language:
Language behavior during mailing >
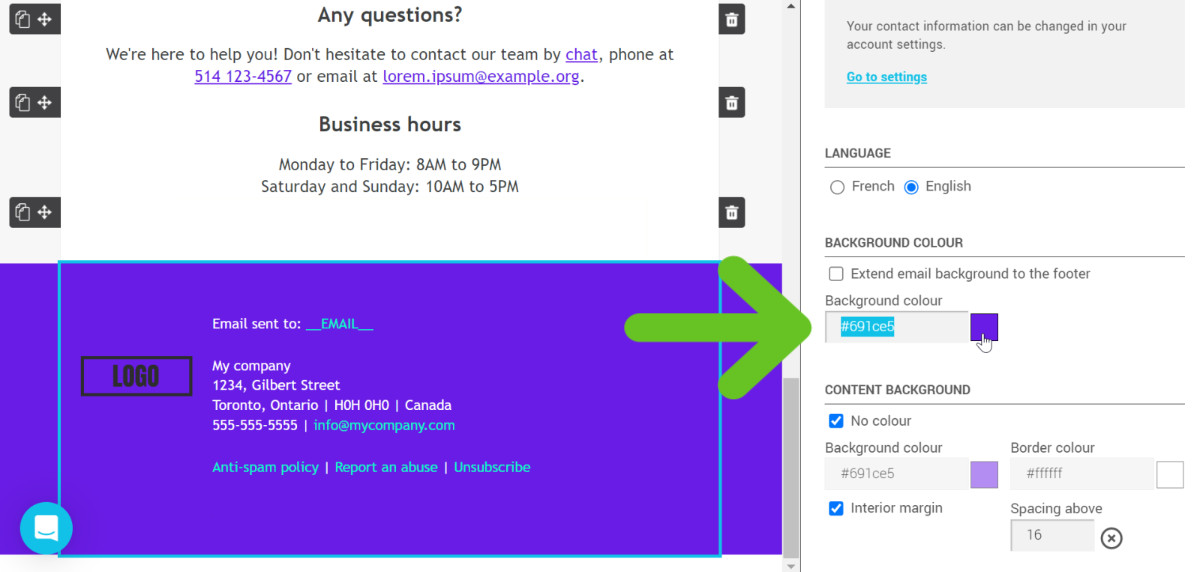
Change the background colour
The footer is composed of two parts: the background and the content block.
Change the background colour
To change the background colour of the footer, enter the hexadecimal code directly in the colour field or click on the square to open the colour picker.
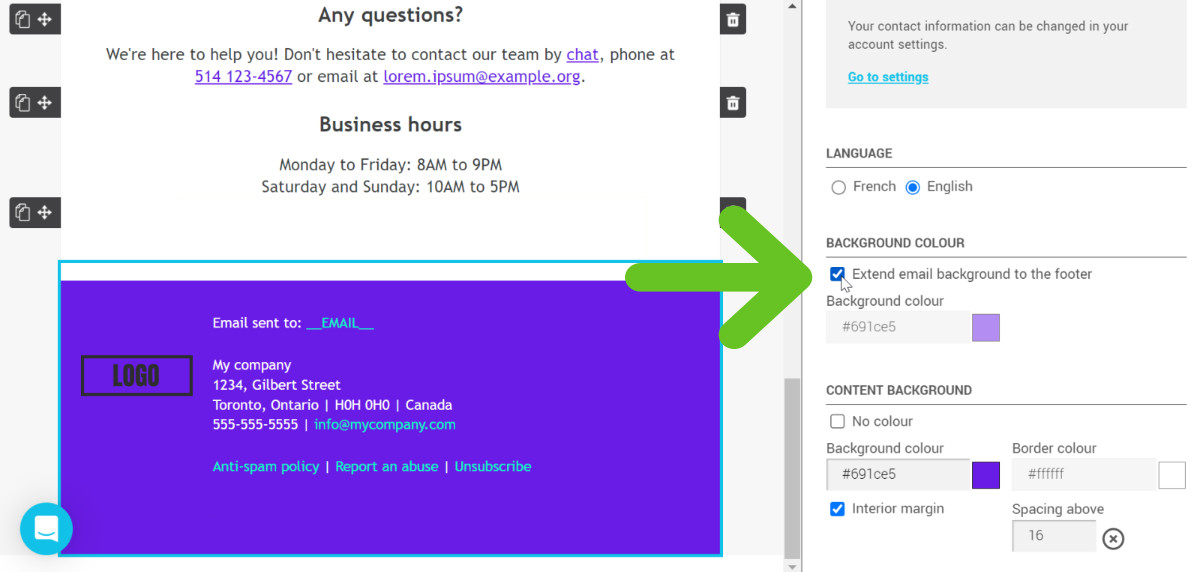
If you want to use the same colour or extend the background image of your email to the footer of your mailing, check the option Extend email background to the footer.
Change the background colour and border of the content block
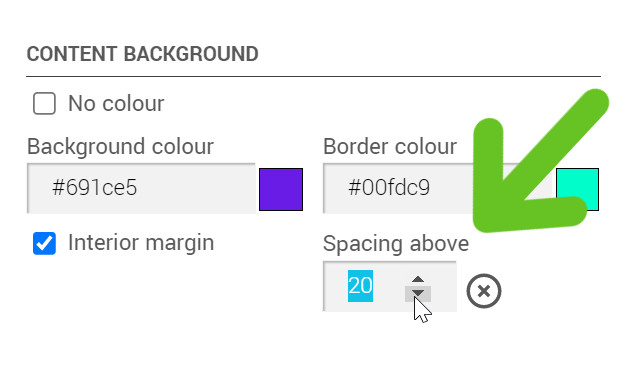
To change the background and border colour of the footer's content block (i.e., the block where the footer text is located), make sure to uncheck the No colour option. Then enter the hexadecimal code of the desired colour directly into the Background and Border colour fields or click on the squares to open the colour pickers.
Adjust the spacing
To add or remove spacing between the footer text and the left or right margin of the template (depending on the alignment of the footer template you choose), check or uncheck the Interior margin option.

To add or decrease the spacing between the end of your template content and the beginning of the footer, enter a value between 12 and 40px in the Spacing above field.
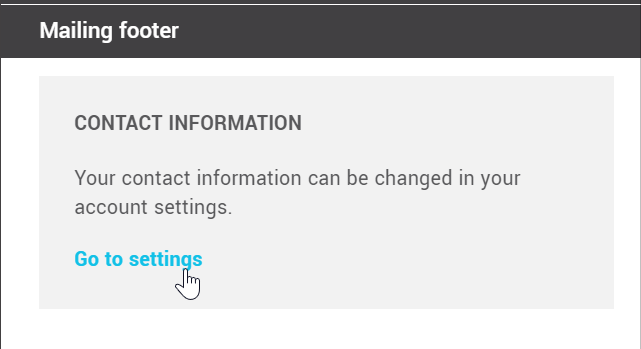
Modify or add your contact information
To modify or complete the contact information of your organization in the footer of your mailings, go to . Don't forget to save your template before leaving the editor. The changes will then be applied to all future scheduled mailings.
Remove the Cyberimpact logo from the email footer
To remove the Cyberimpact logo from the footer, turn off the switch at the bottom of the footer row properties in the drag-and-drop editor. You can also go to . Don't forget to save your changes. The logo will then be automatically removed from all your future mailings. Learn more >
![]()
![]()
About the links in the footer
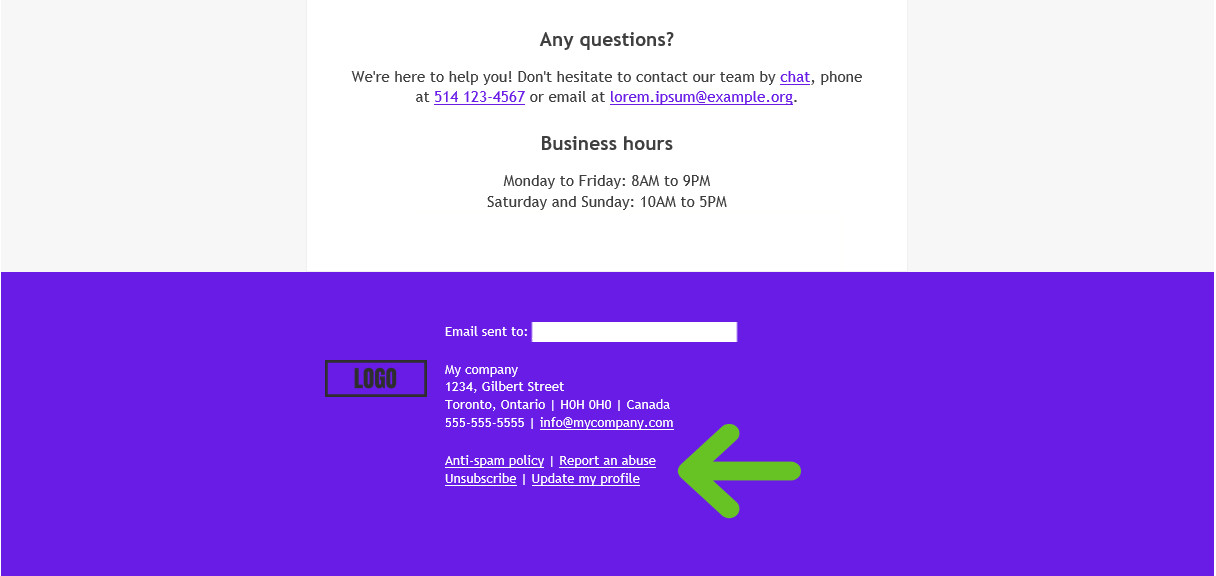
In each email footer, we find the following links:
Unsubscribe link
An unsubscribe link is added in the footer of all your mailings. There is nothing to do to activate it. We take care of everything!
Learn more about how it works >
Update your profile link
It is possible to add a link to allow your subscribers to update their profile and preferences in your emails' footer when scheduling your mailings. Learn how >
Anti-spam policy
This contains important information for your subscribers regarding our usage policies, complaint and abuse handling.
Report abuse link
This form allows your subscribers to send us a complaint about unsolicited emails they have received.