Before starting
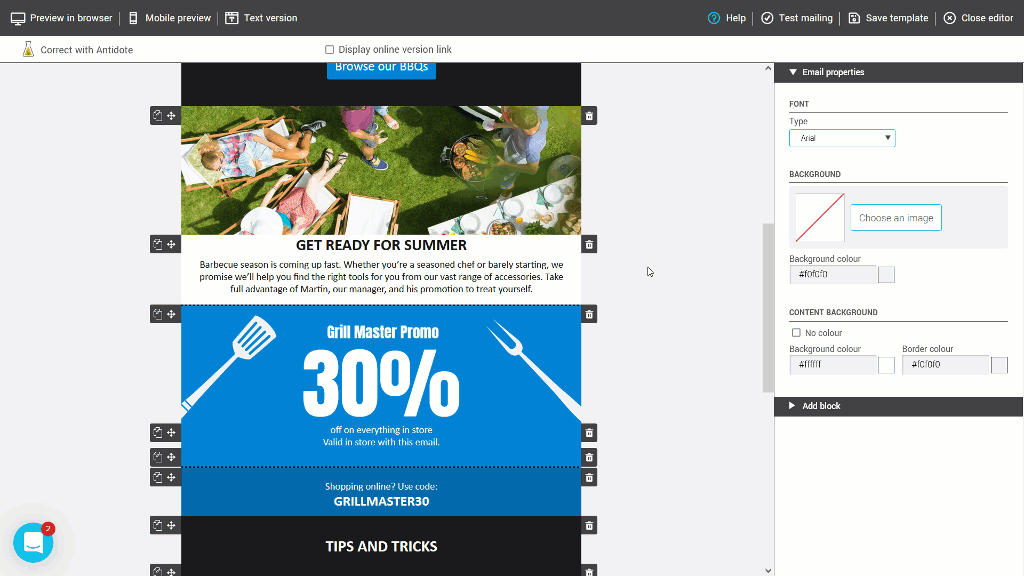
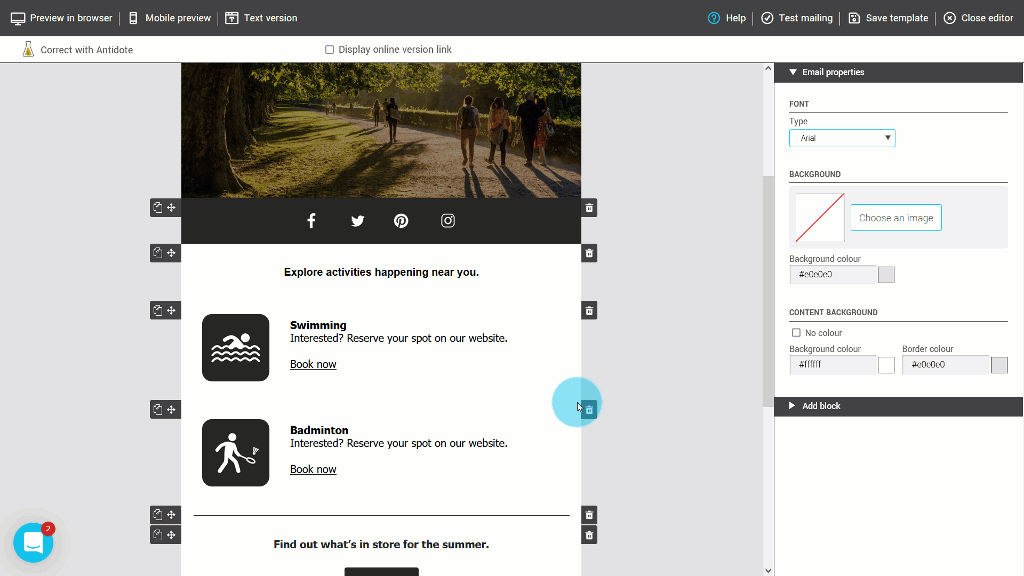
When designing your newsletter, make sure there is enough space around your calls to action (CTAs) and between the different sections of your email to maintain a good readability and to maximize the comprehension and clarity of your message. This will help to air out your design and not overwhelm your reader with information. When there are too many elements, text or images in one place, it can make reading difficult and the brain no longer knows where to look. Spacing, also known as "whitespaces", will help your subscriber to quickly see, navigate and understand the different sections of your email. To create divisions between your different topics, you can also use separators, but remember to put enough space before and after them. The same goes for your CTAs, by adding space around it, it will be easier to spot it.
Different ways to add spacing or dividers in your email
You can:
- Use a spacer or divider block
- Add spacing at the top or bottom of a block
- Create a custom image via the image editor
- Use the horizontal line tool in text blocks
- Draw inspiration from our predrawn or smart templates
Use a spacer or divider block
What do you want to do?
Spacer block
STEp-by-step
To add a spacer block:
- Open your template in edit mode.
- In the side panel to your right, open the Add block section.
- Open the drop-down Categories and select Spacers and dividers.
- While holding down the mouse button, simply drag and drop the Spacer block to the appropriate location in your template.
- If needed, change its background colour or height.
Divider block
STEP-BY-STEP
To add a divider block:
- Open your template in edit mode.
- In the side panel to your right, open the Add block section.
- Open the drop-down Categories and select Spacers and dividers.
- While holding down the mouse button, simply drag and drop the Divider block to the appropriate location in your template.
- Then select the line type.
- In the divider properties, adjust the width, size, position and colour of the line as needed.
Add spacing at the top or bottom of a block
Step-by-step
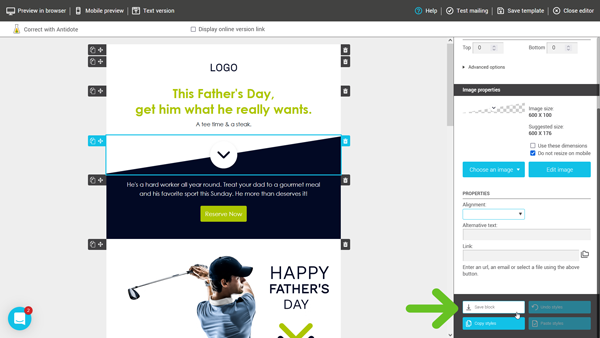
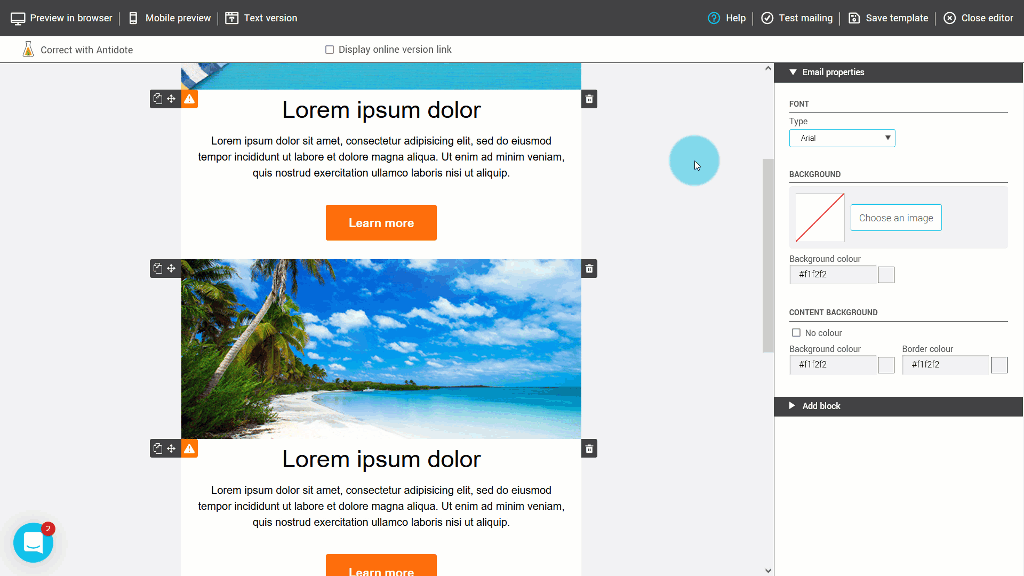
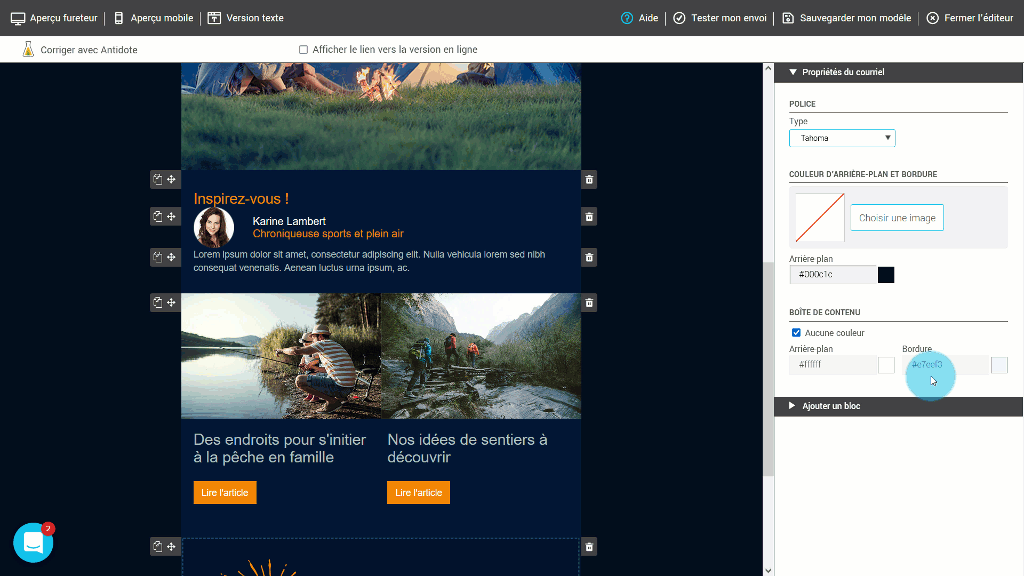
It is possible to add spacing before and after each block. To do this, select the row where you want to add spacing. In the side panel to your right, go to the Block properties section. Under BLOCK SPACING, use the arrows to change the spacing at the top and bottom of the block or enter a number.
Unlike vertical spacing (top and bottom), the drag-and-drop editor does not allow you to directly adjust the left and right margins of a block. However, there is a workaround for this limitation.
The most flexible method is to create a three-column row and leave the left and right columns empty. Your content (text, image, button, etc.) will then sit in the center column, framed by empty space on each side.
To add empty columns on each side of your content:
- In the right panel, open the Add a block section.
- Drag a three-column block to the desired location in your template.
- Leave the left and right columns empty, or add a transparent spacer block to each.
- Add your content in the center column.
Tip: If you want to prevent the empty columns from stacking on top of each other on mobile, enable the Keep columns side-by-side option in the block properties.
Create a custom image via the image editor
step-by-step
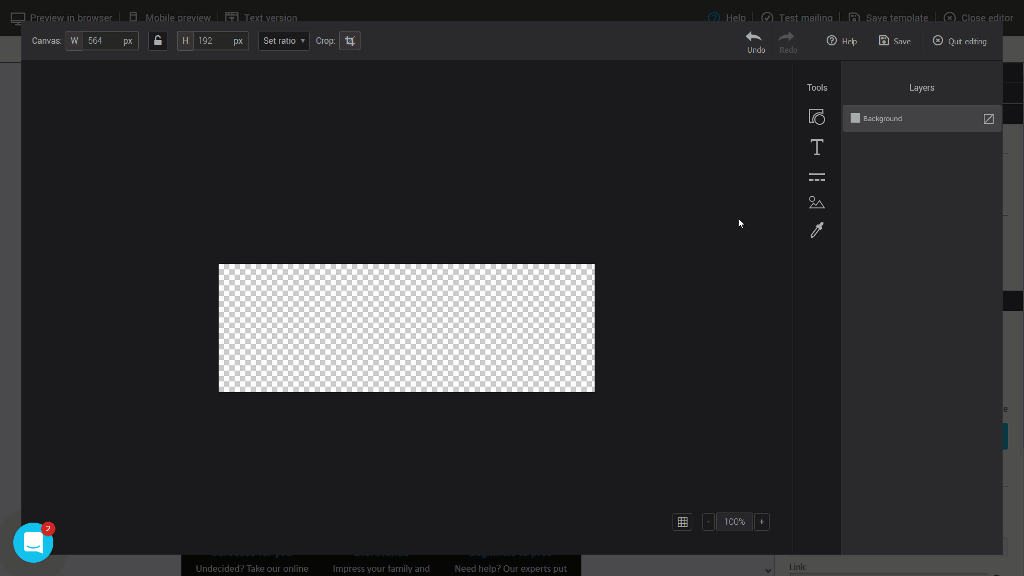
It is possible to create a custom image from scratch using our image-editing tool.
In the image editor, you will find lines with different patterns.
Learn more about using the image editor >
Use the horizontal line tool in text blocks
Step-by-step
It is possible to add a line directly in your text block. To do this, place your cursor inside the text block, where you want to add the line. Then click on the Horizontal line icon found in the tools at the top of the block. This will add a thin gray line. In HTML terms, this is what we called a <hr> tag. It is not possible to change the colour of this line other than via the HTML of the text block. To access it, click on the Source button in the toolbar at the top of the block. To customize the colour, we use an HTML code like this:
<hr style="color:#000000; border-top-color:#000000;"/>
Draw inspiration from our predrawn or smart templates
 |
 |
 |
 |
Browse our large selection of predrawn and smart templates. These ready-to-use templates are filled with special blocks.