In this article:
If you only have one or a few contacts to add in your account, this option is the more appropriate.
Learn how
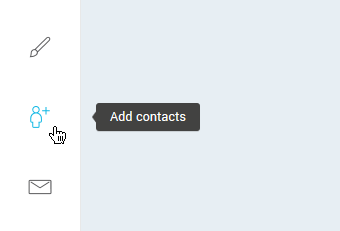
- Click the Add contacts icon from the quick access menu on the side bar or go to the
menu and then click the Add contacts button on the top right of the screen.
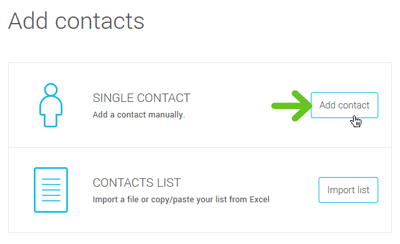
- In Single contact, click the Add contact button.
- Enter the necessary information in the New contact form. Note that only the email address is mandatory. The other fields are optional.
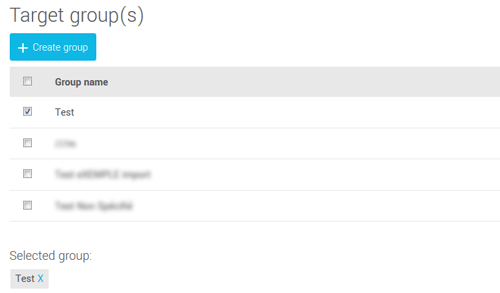
- Select at least one group to assign your contact to. If the group hasn’t been created yet, you can create it at this step by clicking the "Create a group" button, under the "Target Group(s)" section.
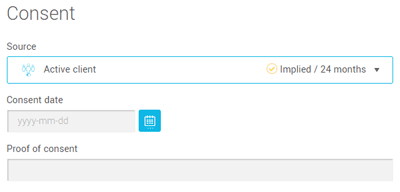
- Enter the consent information for your contact. Completing this section will allow you to use our consent management tools to their full potential and help you conform to CASL more easily.
Choose the source of consent which represents more accurately the way you obtained your contact’s consent. Click here to get more information about the different sources of consent >
Consent date: write down the date on which you obtained your contact’s consent. For example, the consent date for an active client would be the date of their last purchase.
Consent proof: Write down a reminder of the consent proof for your contact. For example, it could be the invoice number of your active client.
If you don’t have these information, leave the consent to "Not Specified". You can update these information later.
- Click Save at the bottom of the page to add your contact to your account.
Frequently asked questions
- The contact I want to add already exists in my account…what do I do?
- What if the contact is part of my unsubcribed contact list?
- What do I have to do if the email address I'm trying to add is an incorrect address?
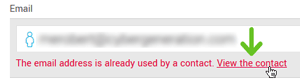
The contact I want to add already exists in my account…what do I do?
The system will let you know if the contact you’re trying to add is already in your subscribed contacts. Simply click View the contact in the warning message to access the contact's details. From there, click the Edit button to update the target groups your contact is part of or any of his/her general information. Note that, even though an email address can only be associated to one contact, your contacts can be associated to as many groups as you need.
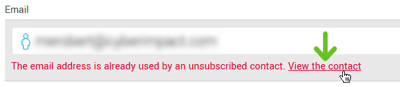
What if the contact is part of my unsubcribed contact list?
If the address you’re trying to add is recognized as an unsubscribed contact, you’ll be able to see the contact’s details but won’t be able to reactivate the address yourself. Learn how to subscribe again a contact who previously unsubcribed >
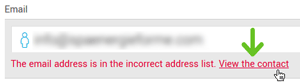
What do I have to do if the email address I'm trying to add is an incorrect address?
If the contact you’re trying to add has been recognized as an incorrect address, this means that you’ve written to that email in the past and we obtained a permanent bounce (also called hard bounce) for this address. We suggest you validate this email address. Click here to know more about incorrect addresses >