
In this article:
Bullet lists are an excellent way to organize your information in a clear and visual manner. With the advanced customization options for our bullet lists, you can perfectly adapt their appearance to match your landing page.
How to add a bullet list to my landing page?
- Create a new landing page or edit an existing one. Go to the editor of your landing page.
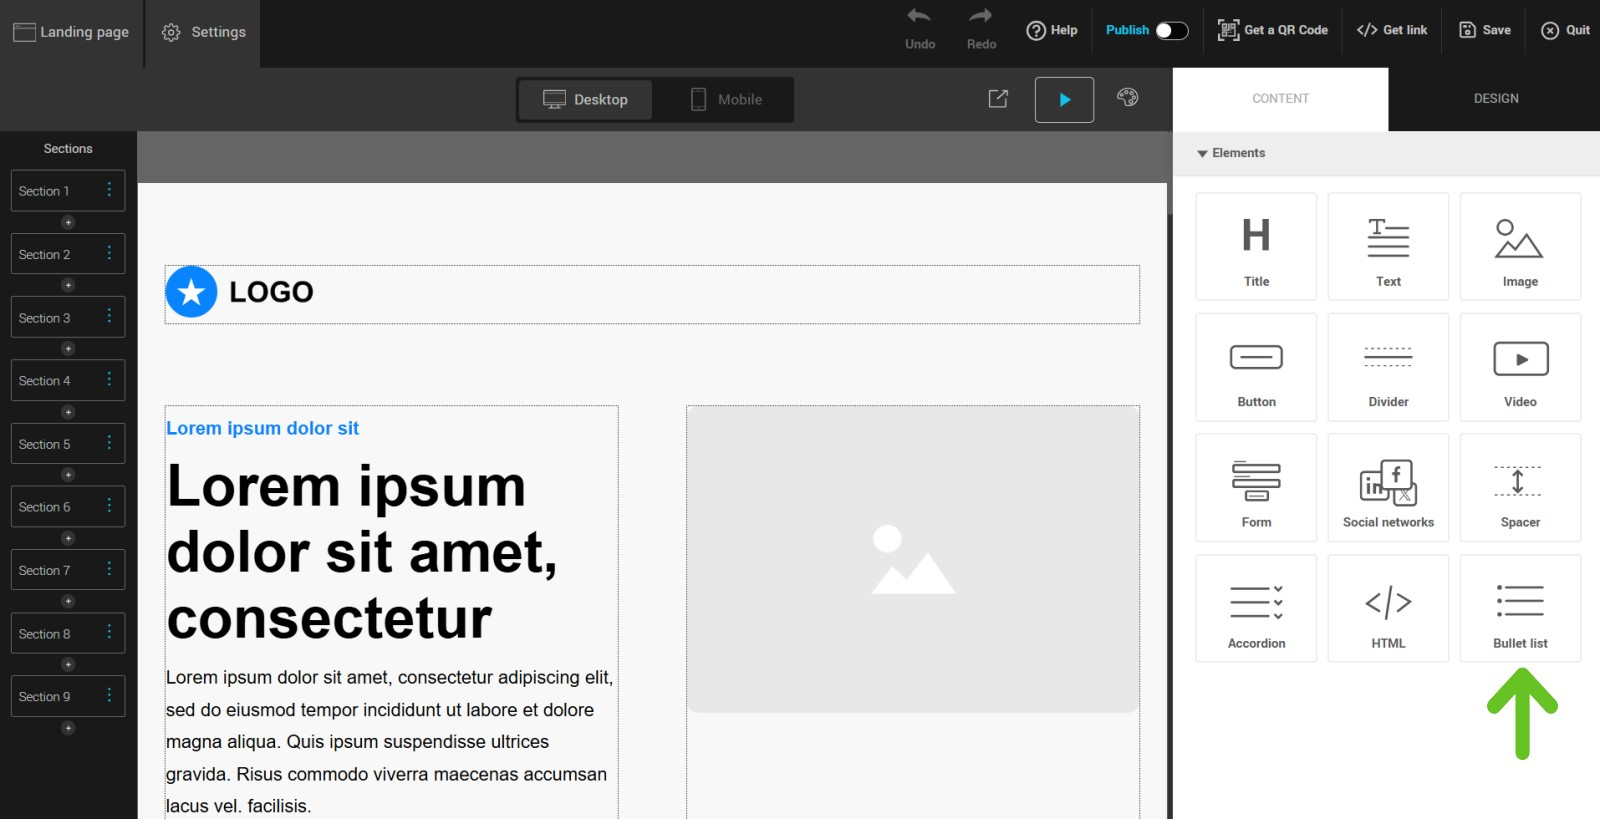
- In the sidebar on your right, go to the Content tab > Elements.
- Select the Bullet List element, then drag and drop it to the appropriate place on your page.
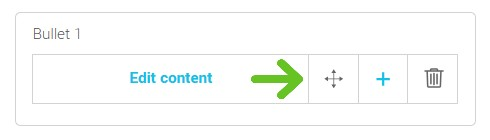
- Click on Edit Content for each list item to modify its text. You can also assign a name (from 1 to 40 characters). This name will only be visible to you and will help you quickly differentiate the various items on your list.
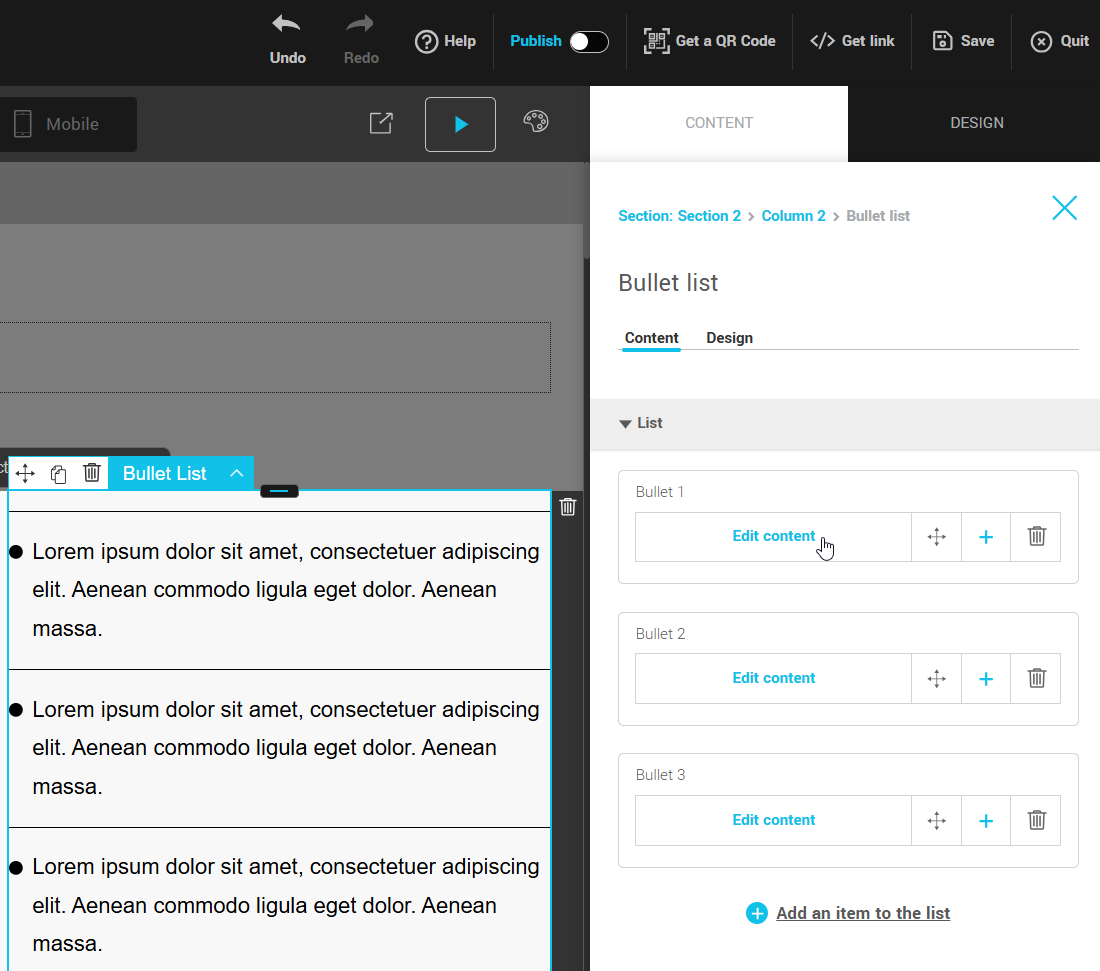
- Click the + to add more items to the list. You can reorder the bullets using the crossed arrows and dragging the items. Click the trash icon to delete a bullet.
- You can format each item with styles like bold, italic, etc., to make the text more readable. For further customization of your bullet list, refer to the section Advanced customization of bullet lists to modify elements like width, alignment, bullet icon, and more.
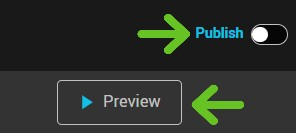
- To see the changes in real-time, click Preview or Publish to update your landing page.
- Once the list is added and formatted to your liking, don’t forget to save your changes.
Advanced customization of bullet lists
In this section, learn how to:
Modify the list formatting
In the sidebar on your right, go to the Design tab, then select your bullet list.
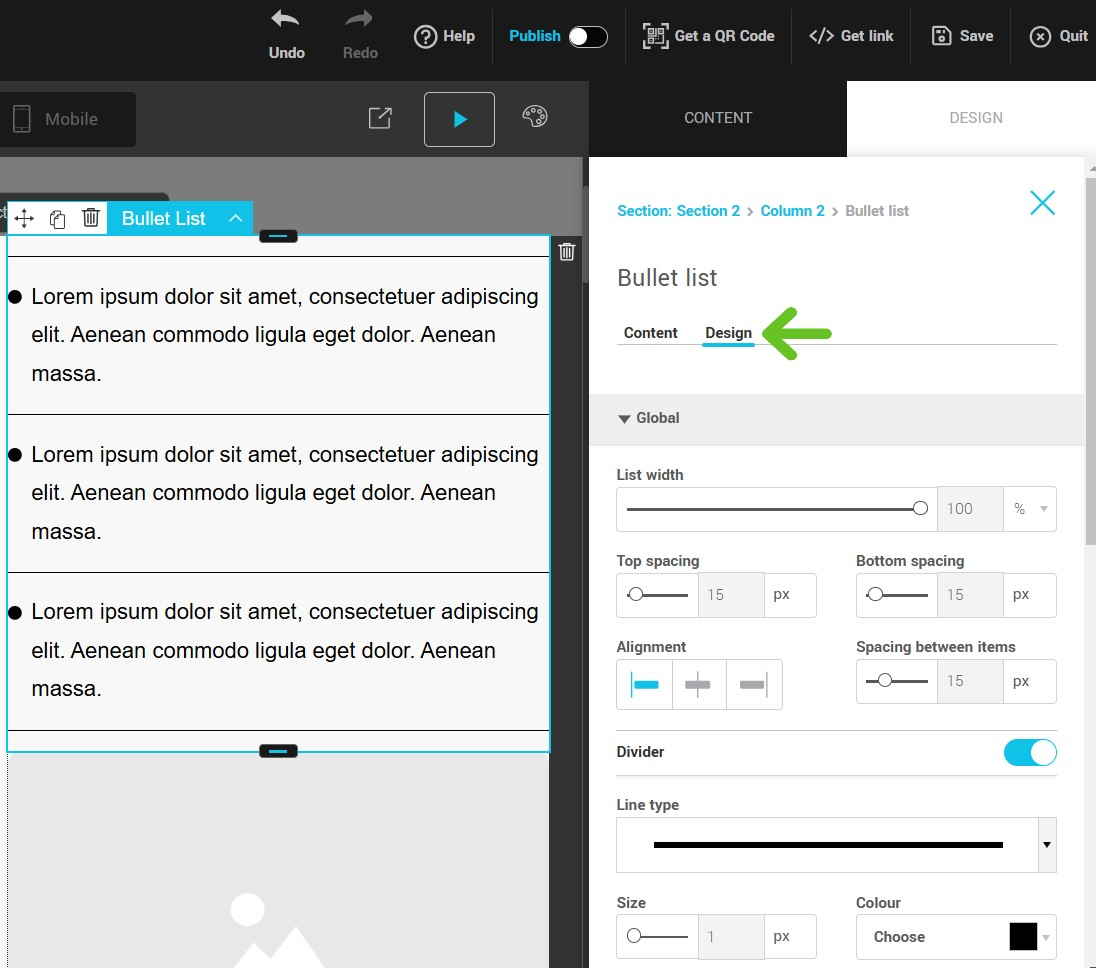
- Adjust the width of your list by sliding the slider left or right.
- Adjust the space above and below the list to customize its placement.
- Change the alignment of the list within the column.
- Enable the toggle and add deviders between the bullets to better define each item, if needed.
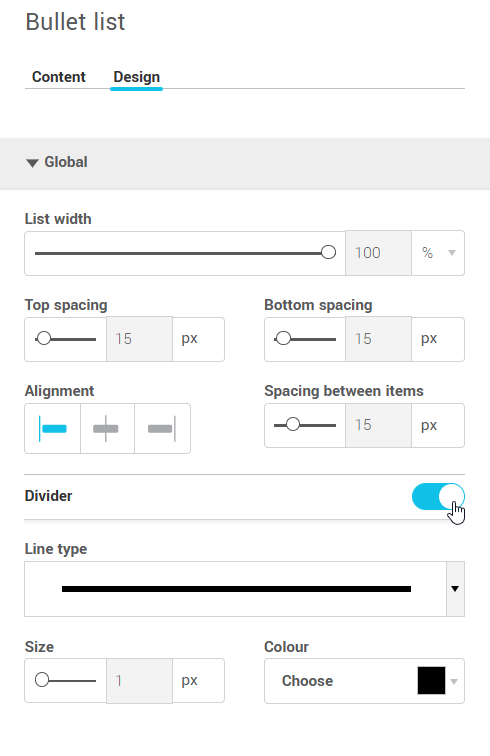
- Customize the bullet icon by choosing from a selection of available options to match your page style.
- Set the size and color of the icon as well as the space to the right of it (between the bullet and the start of the text) to achieve a neat and consistent look with your design.
- Customize the font, size, and color of the list text to perfectly fit your branding. You can also set a specific color for the links within your list to highlight them. For more details on managing page themes, check out this article for a step-by-step guide.
Modify the mobile styles of the list
- Click on Mobile then select your bulleted list item to modify styles.

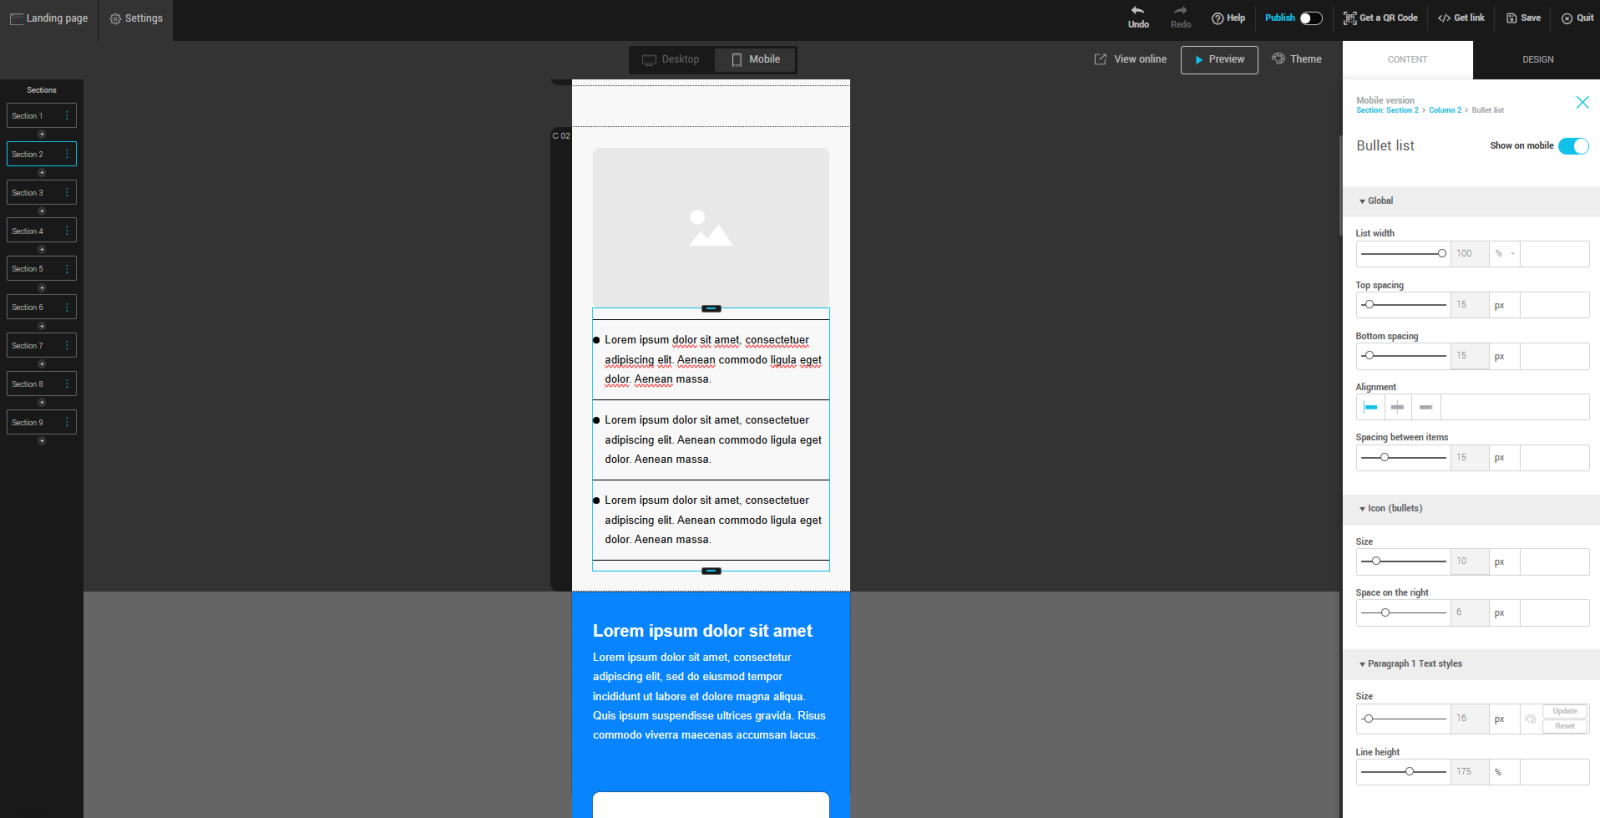
- Adjust the width of your list by sliding the slider left or right.
- Adjust the space above and below the list to customize its placement.
- Change the alignment of the list within the column.
- Customize the bullet icon by choosing from a selection of available options to match your page style.
- Customize the font, size, and color of the list text to seamlessly integrate with your branding.
.png)