
In this article:
What is Integrately?
Integrately is a platform to create automations that allows you to connect multiple apps together. Easy to use, it does not require any special technical knowledge. It is compatible with more than 1,000 applications and has multiple ready-to-use integrations. For example, use Integrately to create a contact in your Cyberimpact account when you add a new customer to your online store or add a new prospect in your CRM when a new subscriber is added to your mailing list.
These are the actions you can automate in your Cyberimpact account, based on triggers from another application :
- Add a contact to a group
- Create a new contact
- Search for a contact
- Send a subscription confirmation request (opt-in)
- Create a new group
These events from your Cyberimpact account can be used to trigger automations in another application :
- A contact is added to Cyberimpact
- A contact is added to a group
- A group is created in Cyberimpact
Before starting
- For help using Integrately, check out their FAQ available here.
- Before starting, first check if the application you want to connect to your Cyberimpact is compatible with Integrately. Discover the catalog of applications compatible with Integrately >
- When you're ready to get started, create an Integrately account here.
- Please note that Integrately offers a 14-day free trial to get started, but you'll need a paid subscription thereafter. See Integrated's pricing >
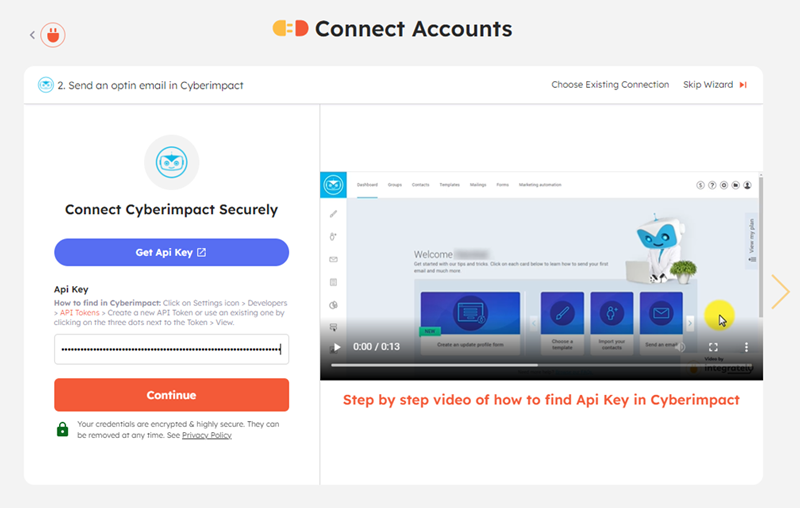
- To link your Cyberimpact account to Integrately, you will need a Cyberimpact API token. If you are not an administrator of your account, ask one of them to provide you with one. Learn how to create an API token >
- If you use Integrately to create contacts in Cyberimpact, make sure you have a few “Test” contacts (i.e., contacts with your personal or professional email addresses, or those of your colleagues) recently registered in the application from which you want to import them. You will need those to test your integration.
How to create an automation with Integrately
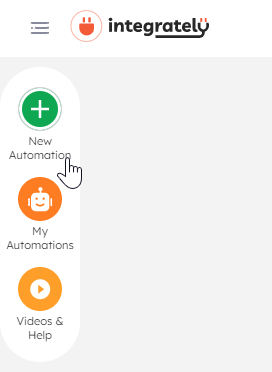
- Log in to your Integrately account.
- Click on New Automation.
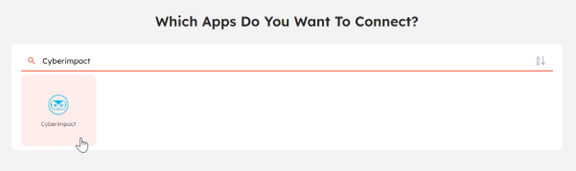
- Type “Cyberimpact” in the search field. Once the Cyberimpact logo appears, click on it to select it.
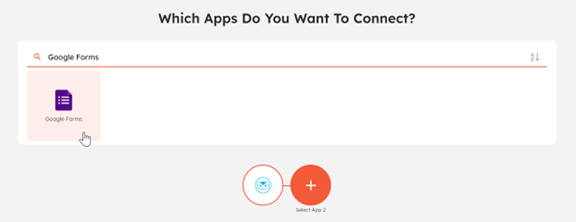
- Find the application you want to integrate with Cyberimpact. Once found, click on it to select it. For this example, we will be using the Google Forms application.
- Integrately will then offer you a list of suggested automations between these two apps. Click on the Activate button to the right of one of these to select it.
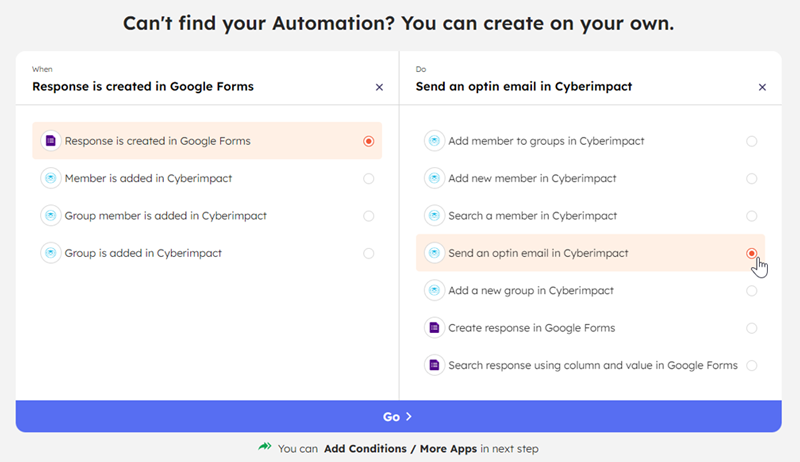
If none if the choices are what you want to do, continue below to the section called Can’t find your Automation? You can create on your own and select the trigger event, the action you want, and then click GO >.
You will have the possibility to add other conditions or actions in the next steps.
Create a contact in Cyberimpact from an Integrately automation
From an Integrately automation, there are two ways to add contacts from another application to your Cyberimpact account: with or without a subscription confirmation request.
How would you like to add a contact?
Add a contact in Cyberimpact with double opt-in
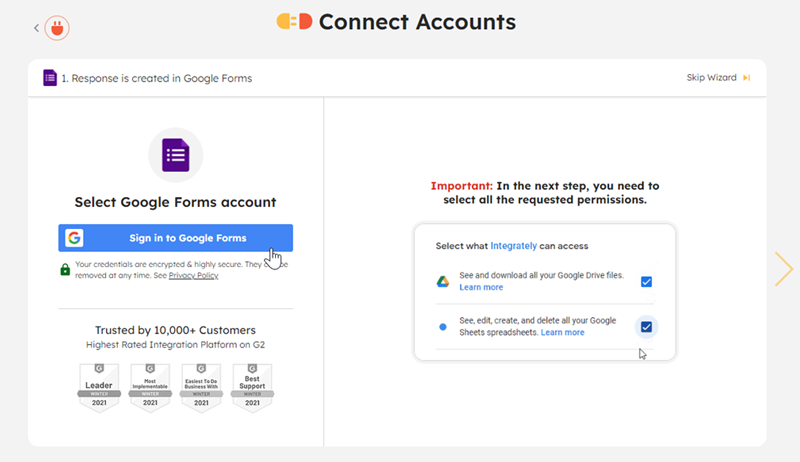
- To get started, follow steps 1 through 4 in the “How to create an automation with Integrately” section. In step 5, choose the trigger event that should cause a contact to be created in Cyberimpact and the action to take when these conditions are met. In our example with Google Forms, we will choose When: Response is created in Google Forms, Do: Send an optin email in Cyberimpact.
Then, click GO >.
- Configure the starting point for your automation.
At this step, you will be prompted to log in to the application where the trigger event originated. You may be asked for certain permissions. Simply follow the on-screen prompts. You'll likely need to select a form, spreadsheet, or other items to indicate where your contact information will come from.
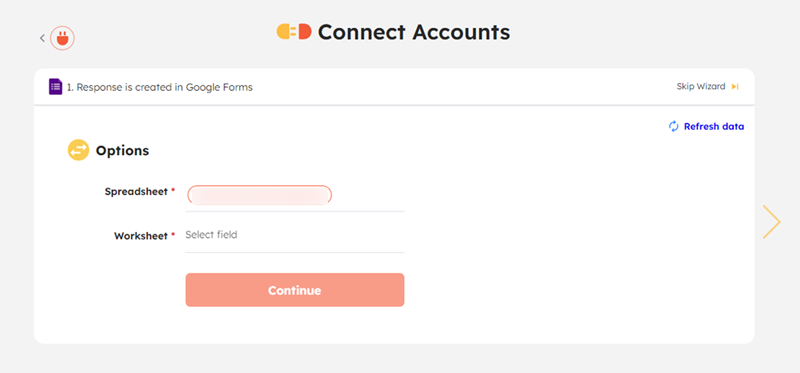
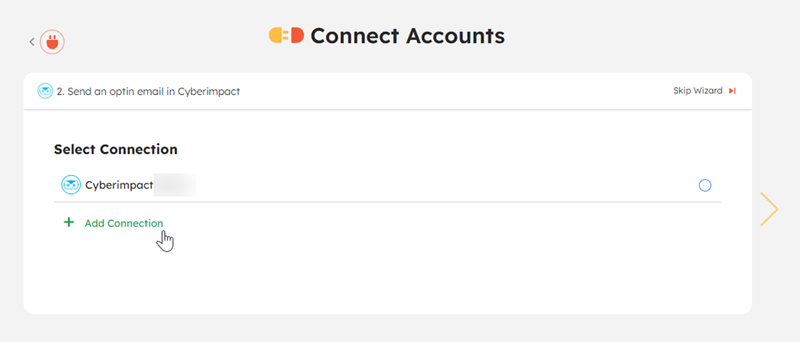
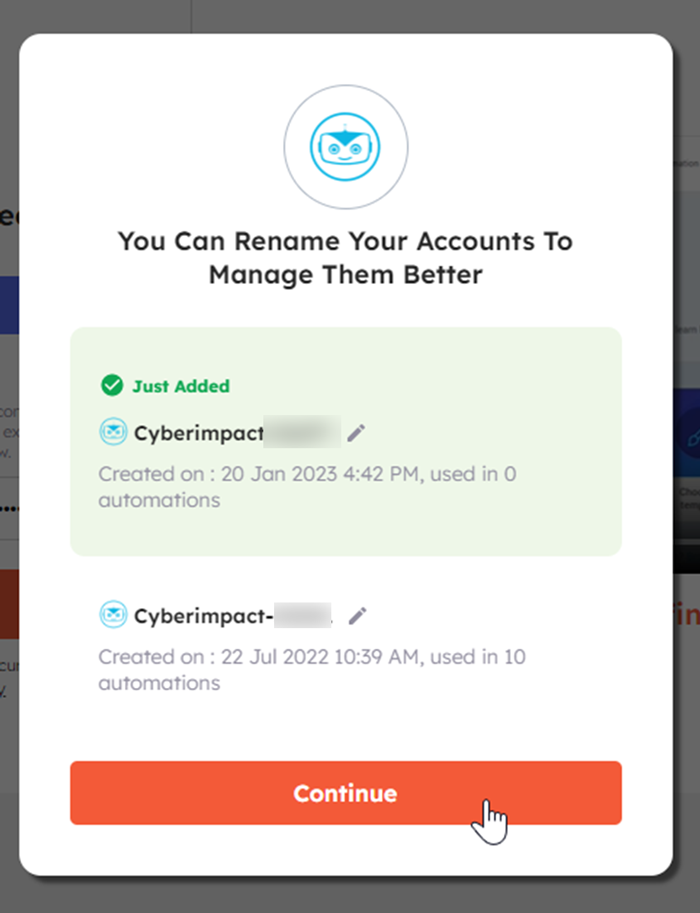
You can add other conditions later, if necessary, to filter the contacts to import. - Select your Cyberimpact account. If you haven't connected this one with your Integrately account yet, enter your API token, then tap Continue. If needed, click on Add Connection to add a new token.
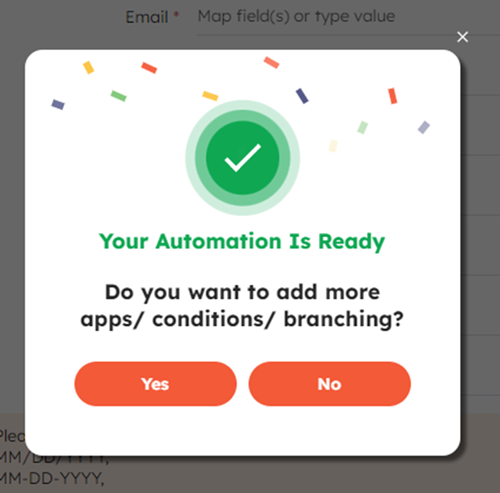
- Your automation is almost ready to use, press “Yes” to complete its configuration.
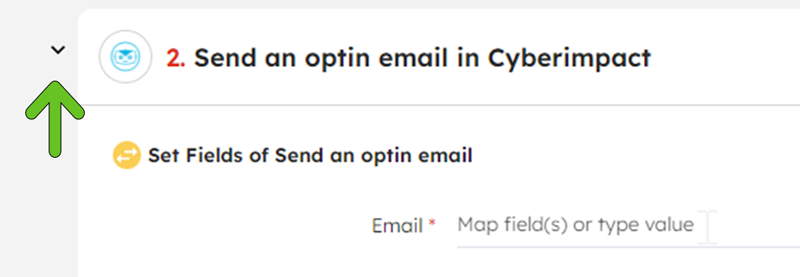
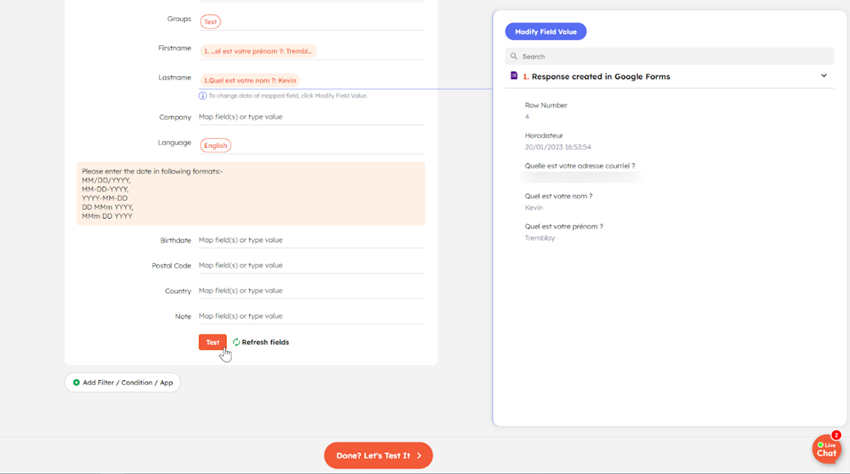
- Once redirected in the automation editor, expand the action Send an optin email in Cyberimpact by clicking on the arrow on its left. A list of Cyberimpact contact fields will then appear.
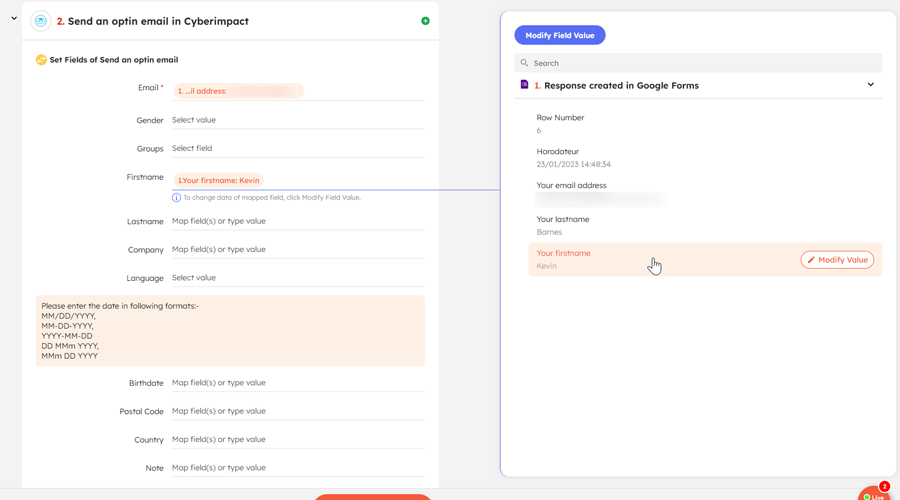
- Associate the Cyberimpact fields with the information to import from your trigger application.
First, click in the Email field. The information you can import from your trigger app will appear in a window to your right. Select the one that corresponds to the email address to associate it with the Cyberimpact email field.
.png)
The email is the only mandatory information to create a contact in Cyberimpact. However, you can import other information such as first and last name, gender, language, company name, birthdate, postal code or country of your contacts. Click in each field in which you want to add information to associate it with information from the trigger application. In some cases, you will need to go to the Map Field tab to access possible information to import. The Select tab on the other hand, is used to set a default value for all contacts that pass through your automation.
- If needed, set a default language for contacts to import. Click to the right of the Language field, a window will appear to your right. On the Select tab, choose English or French.
.png)
- Specify in which group to add your contacts. Click to the right of Groups and the list of your Cyberimpact groups will appear to your right. Click on one of them to select it.
.png)
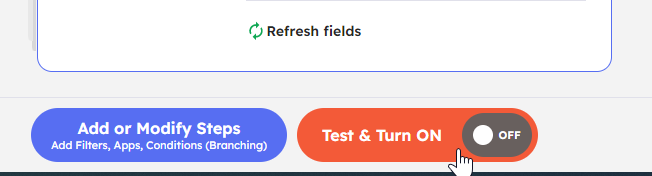
- Press the Test button to check the operation of your automation. If the test is conclusive, a green message will appear and indicate “Test successfull”.
- Once you are done with your automation, click the button Done? Let’s Test It to go to the next step.
- Click on Test & Turn ON to perform the final test and activate your automation.
- Voilà ! You're done. You can now test your automation by adding a new contact in your trigger app.
Add a contact in Cyberimpact without subscription confirmation
How to
You must follow the same steps as adding a contact with a consent confirmation email, but instead of the action Send an optin email in Cyberimpact, you must instead select Add new member in Cyberimpact. You should then get an automation that looks like this:
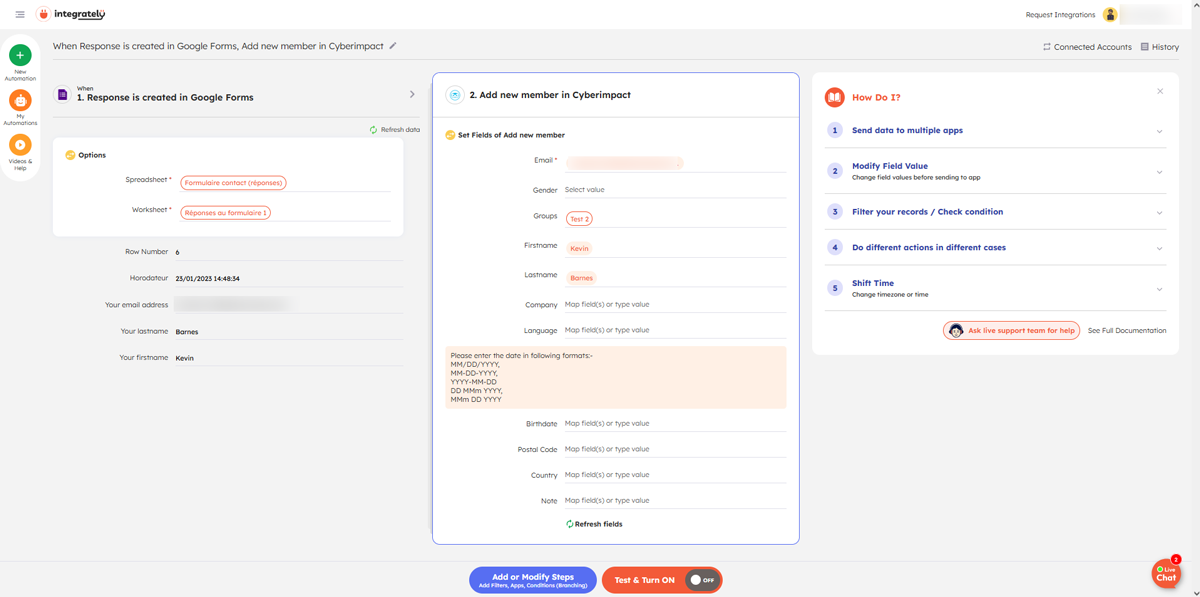
As Add new member in Cyberimpact is only used to create new contacts; this method cannot update the information (e.g., last name, first name, language, etc.) of existing contacts. To update existing contacts, you must send them a subscription confirmation email, in order to verify that the changes have been made by the owner of the address. However, you can add existing contacts to a group (without updating their information).
Here is how to do it :
After the trigger for your automation, you must first add a step to find out if the email exists or not. If the contact's address does not exist in the Cyberimpact account, it will be added there (without sending a subscription confirmation email) using the Add new member in Cyberimpact action. If the email address exists, the contact will be added to the group determined in the automation with the action Add member to groups in Cyberimpact, but you must remember that information such as first and last name will not be updated.

See also: