In this article:
Give your emails a personal touch!
There are several ways to personalize your mailings so that they look like they were created specifically for each of your recipients. In this article, we'll focus on how you can use your contacts' data to add personalized and dynamic content directly into your emails. Learn how to make each of them unique, without much effort.
One of the most common example of email personalization circulating is to add the name of your subscribers in your messages, but as you'll see in this article, there is an infinite number of possibilities when it comes to customization. The information saved in the regular and custom fields can be added directly in the body of your emails as well as in the subject and preview text. Personalization can also be used to insert different images and unique links.
Before you start
- Why personalize your mailings
- How it works
- List of fields available to personalize emails
- Verify, collect and update contacts' data
Why personalize your mailings
Because personalizing emails with dynamic content…
- allows you to stand out in the inbox
- generates better open rates
- increases your contacts’ engagement
- gives your subscribers the impression that you are speaking directly to them
- saves time and energy, as they allow different information to be entered for each recipient, while sending a single mailing.
How it works
It sounds complicated, but it's actually quite simple. To make it work, we use "placeholders", which are also known as "merge tags" and "variables". Each field (regular or custom) has its own placeholder. You just need to add the one related to the information you wish to personalize directly where you want it to appear in your email. The placeholder is dynamic, so it will be automatically replaced when the mailing is sent, by the value saved in the contact details of each subscriber.
For example, you want to greet your contact with its first name. In your text, you will therefore add the placeholder of this field (e.g.: Hello __FIRSTNAME__, ...).
When sending the message, the __FIRSTNAME__ placeholder will be automatically replaced by your contact’s first name (e.g.: Hello Judith, ... / Hello Marc, ... / Hello Pierre, ...) . Each email will therefore be personalized differently and will reflect the data collected for each person.
If some contacts have no value for the First name field, the __FIRSTNAME__ placeholder will simply be hidden in their email and there will be nothing in its place (e.g.: it will look like this -> Hello , ...).
To be able to add personalized greetings or other information into your email, be sure to complete your contacts’ details with the information you need. Learn more >
List of fields available to personalize emails
Most of the data saved in your contacts’ regular and custom fields can be used to personalize your mailings. Here is the full list:
Regular fields
There are 10 regular fields which are there by default when you create your account. With the exception of the Memo field, they can all be used to personalize your emails.
- First name
- Last name
- Company
- Gender (to insert a greeting, e.g.: Mr. or Ms.)
- Postal code
- Birthdate
- Country
- Language
Custom fields
Depending on your plan, you can create up to 40 custom fields to store additional information about your contacts. All types of custom fields can be used to personalize your mailings.
- Text
- Dates
- Integers
- Decimal numbers
Learn more about custom fields >
Verify, collect and update contacts' data
Before starting, make sure that you have the information you need to personalize your mailings. What do you know about your contacts? Think about the information already available in your database or CRM. For example, the name of the last item sold, their preferred language, their customer number, the total of donations made to date, the date of their next appointment, their preferred store location...
How to prepare your data:
- Validate your contacts' data
- Create custom fields to save additional information
- Add and update your contacts
- Get more information about your subscribers
Validate your contacts' data
First, validate the information saved in your fields: Is the data up-to-date ? Is there information missing for some contacts?
An easy and quick way to find out how many contacts you have for which a field is filled or empty is to perform an advanced search in your subscribers’ list with the following criteria:
- Field [select the field concerned ]> Is set (you will obtain the list of contacts whose field is filled)
- Field [select the field concerned] > Is not set (you will obtain the list of contacts whose field is empty)
To see more information about your contacts in the subscribers’ list, use the Detailed view.
To quickly scan all the data for a group of contacts, you can also export them to an Excel file. Then, use the export file to correct erroneous data or complete missing information. Learn how to export your contacts >
Need help in Excel to prepare your data? See our tips and advice >
Create custom fields to save additional information
Do you want to personalize your mailings with information other than those in the regular fields? To do this, create custom fields to store additional data about your contacts. Depending on your plan, you can add up to 40 custom fields, from 4 different types: text, dates, integer and decimal numbers. Choose the type of field that suits the nature of your data in order to benefit from personalized options to segment efficiently your contacts and display custom content in your mailings.
Learn more about custom fields >
Add and update your contacts’ information
The fastest way to add and update contacts is to import a list (Excel or CSV). You can also synchronize automatically your contacts with your CRM or online store by using our API or Zapier.
How to update a group by importing a list:
- Prepare your contact list in an Excel or CSV file.
Only the Email column is required. Reserve a column for each field you need to add or update the data.
- In your file, update your contacts’ data and add the missing information.
- Back in your account, import your list. In the last step of the import process, select the Yes option in the Update contacts section.
Learn how to export a group >
Learn how to import a contact list >
Get help in Excel to prepare your data >
Get more information about your subscribers
Want to personalize your mailings, but don't have much information to get started? Learn more about your contacts by asking them relevant questions when they sign up with our subscription forms. They are very easy to create and you can share them anywhere.
There are also other ways to get more information about your contacts such as sending surveys and asking your contacts to create a profile or account when shopping in store or online. Add incentives like a discount on future purchases or an e-book as a reward.
Once the data is collected, it's time to integrate it into your emails.
Learn more about our subscription forms >
How to use placeholders
- How to add placeholders in your templates
- Modify placeholders' formatting
- Move or delete placeholders
- Customize the subject and preview text of an email
- Get the fields' placeholders
How to add placeholders in your templates
- Open your template in edit mode.
- Place your cursor where you want to insert the personalized content. Make sure there is a space between your cursor and the last word.
- In the tools above the text block, open the Placeholders drop-down list and select the appropriate field. A code will be added to your email.
In the HTML template builder: the Placeholders tool is above the visual editor. - Select and confirm the preferred display format. This option is only available for selected fields.
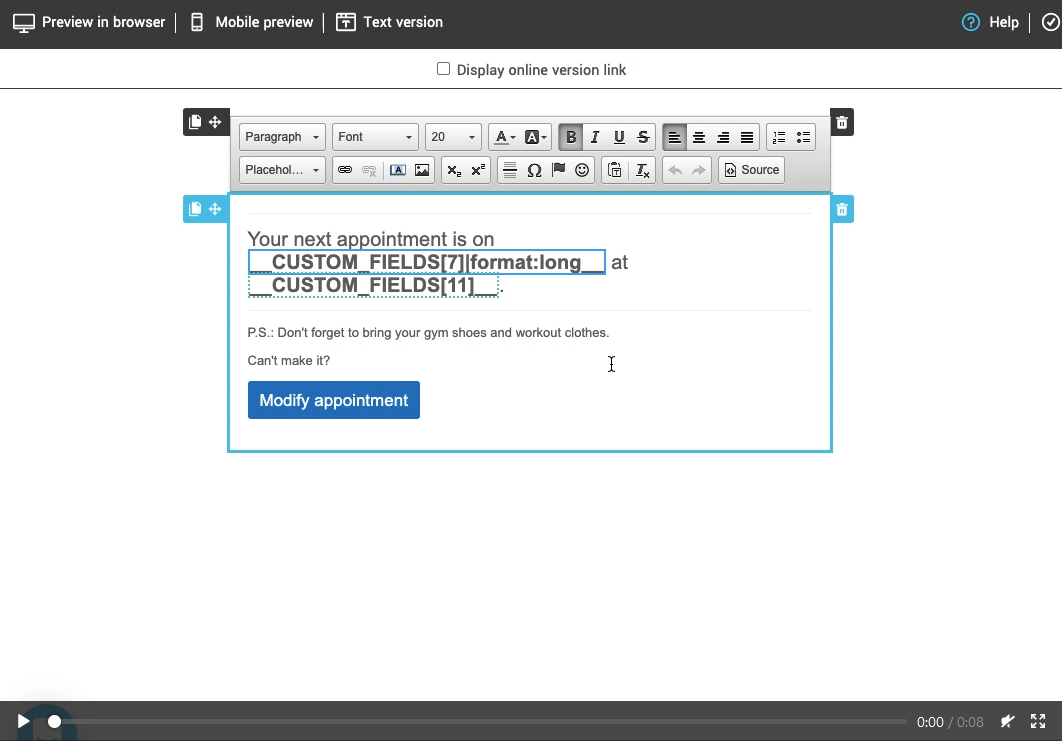
- To change the text appearance (font, size, color, etc.) of the placeholder text, click once to select it and apply the desired formatting.
- Test your template! Learn how >
Learn more about how placeholders work >
See answers to frequently asked questions >
Modify the display format of your placeholders
Edit the appearance of custom text
You can change the appearance of custom content the same way as regular text. To do this, select the placeholder by clicking once on it and then apply the desired formatting.
Edit the display format
It is possible to select a custom display format for predetermined fields. For example, you can choose between several choices of date formats (e.g .: 2021-03-23 | 2021.03.23 | 03-23 | 03-23-2021 | March 23, 2021...) or different styles of greetings (e.g .: short (Mr / Mrs) or long (Sir / Madam)).
Here is the list of fields whose display format you can customize:
- Gender (greeting)
- Birthday
- Country
- Language
- Date custom fields
- Integer custom fields
- Decimal number custom fields
How to edit the display format:
- Open your template and double-click on the field placeholder in your text.
- Select the preferred display format.
- Confirm your choice.
- Test the changes. Learn how >
Default formats
Note that if no personalized format is selected for the above fields, they will be displayed in their default format.
| Fields | Default formats in English | Default formats in French |
|---|---|---|
| Gender (greetings) | Ms. / Mr. | Mme / M. |
| Birthdate | 1980-06-25 (yyyy-mm-dd) | 1980-06-25 (yyyy-mm-dd) |
| Country | Canada (long format) | Canada (long format) |
| Language | French / English | français / anglais |
| Date custom fields | 2021-06-25 (yyyy-mm-dd) | 2021-06-25 (yyyy-mm-dd) |
| Integer custom fields | 9999 (without thousands separators) | 9999 (without thousands separators) |
| Decimal number custom fields | 99999.99 (without thousands separators) | 99999,99 (without thousands separators) |
Move or delete a placeholder
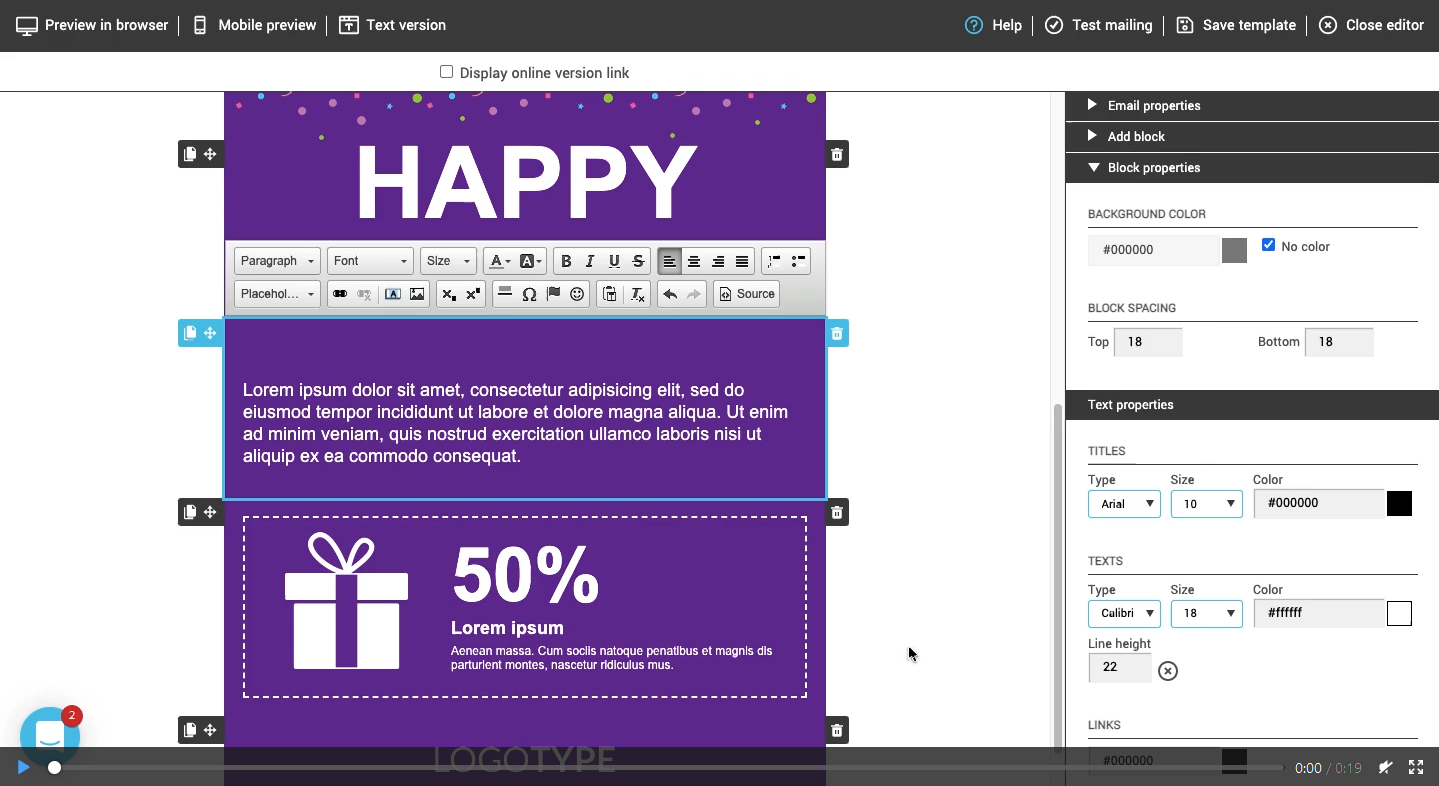
To move a placeholder, click the arrows and drag the placeholder to the desired location in your text.
To delete a placeholder, perform the same operations as to delete normal text. Position your cursor at the end of its code and press the Backspace key on your keyboard.
Customize the subject of an email and its preview text
It is possible to automatically add information from your contacts in the subject line and/or the preview text of your emails. To do this, in step 1 of your mailing configurations, position your cursor where you want to insert the personalized content and press the Insert placeholder option. Then, select the appropriate field. Its placeholder will automatically be added to the subject or preview text. Click outside the field listing to exit.
Learn how to create a mailing >
Get the fields’ placeholders
To get the fields’ placeholders in order to insert them manually in templates built in external tools or to use them to add unique links or personalized images, follow the instructions in the tutorial: Get the placeholder and the code of a field >
Test your personalization
Better safe than sorry. That's why it is important to test your emails thoroughly. If your personalization is broken or doesn't show the correct information, this could be quite embarrassing and will completely ruin the magic, as it becomes obvious that the email was not sent individually.
How to test your personalization:
Testing with fake content (easy and fast)
It is possible to quickly test your mailing personalization with fake content.
How to test:
From the predrawn and basic template builder, click the Test mailing tool located at the top right of your screen. In the HTML editor, you'll find this option at the bottom right.
Enter the subject of the test and your email. Then check the Use generated data option and hit Send.
All you have to do is check the result in your inbox.
Testing with your own data (recommended)
To test your email personalization with the content of your choice, prepare a group that will be used for testing purposes. Add your personal addresses and/or those of your colleagues. Make sure that the fields of placeholders you want to test are filled in for these contacts. Then, plan a regular mailing to this group.
Learn how to create a mailing >
Personalization ideas
Examples of personalized content to add to your mailings
Need some ideas? Here are some examples of how you can use personalized content in your emails. Feel free to be creative!
-
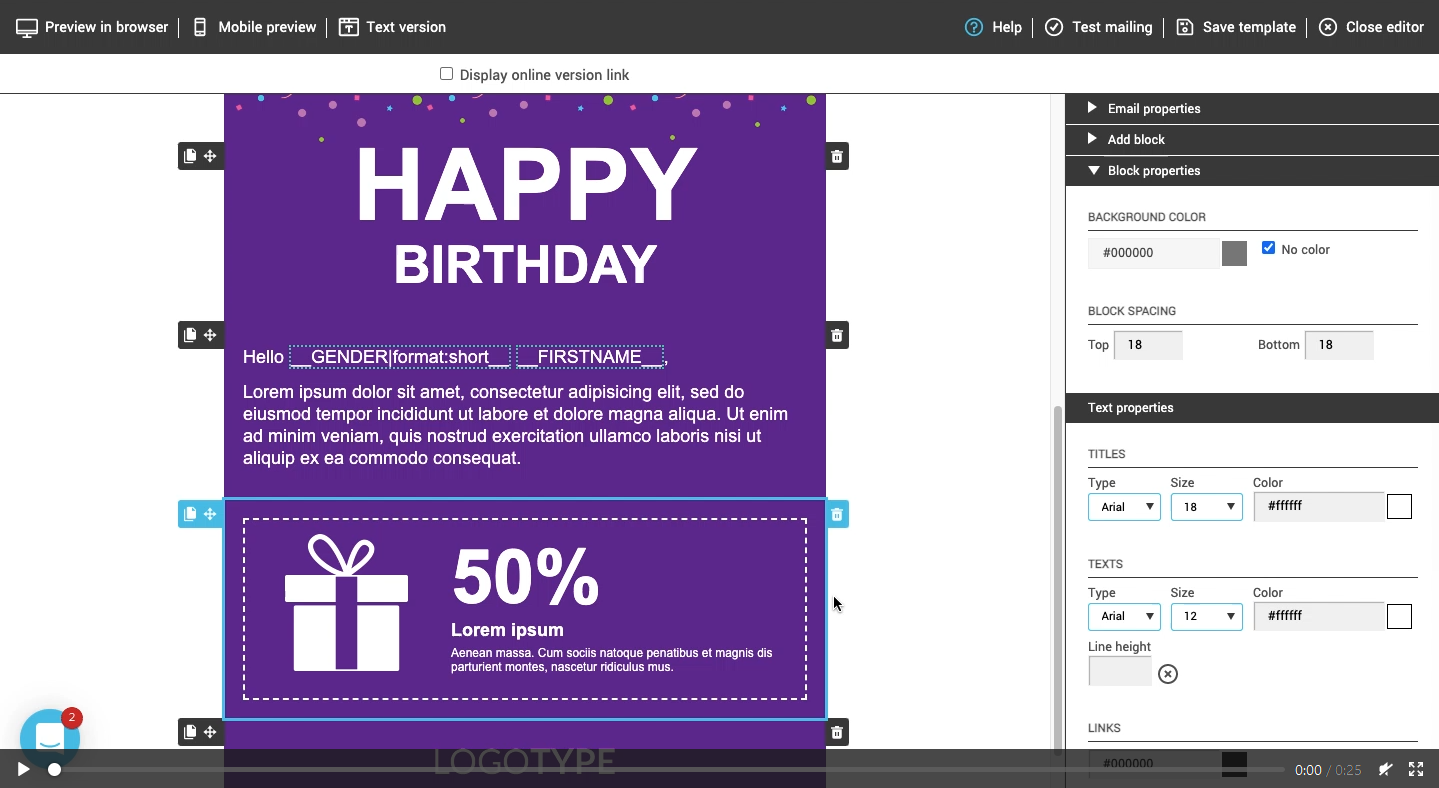
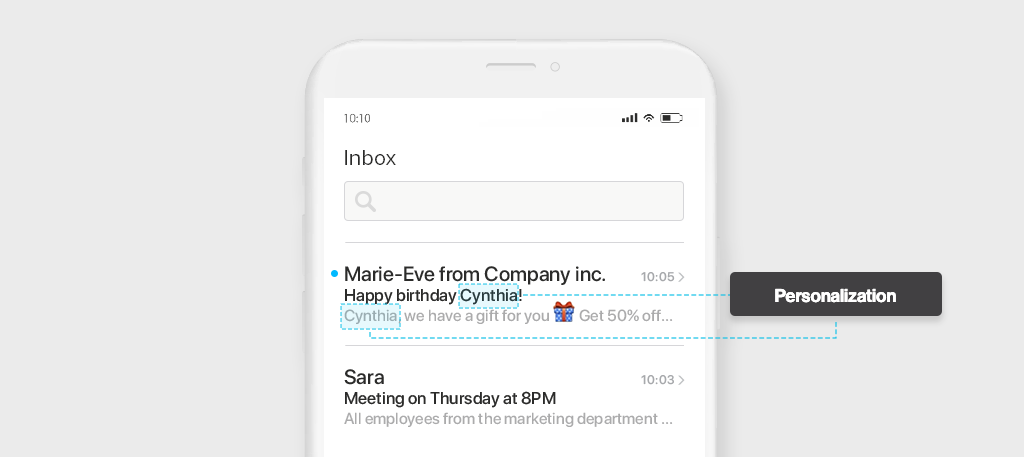
Greet your contacts with their name (the classic)

Variation: call out to your contacts directly in the subject line or preview text of your email to grab their attention before they've even opened the email.
-
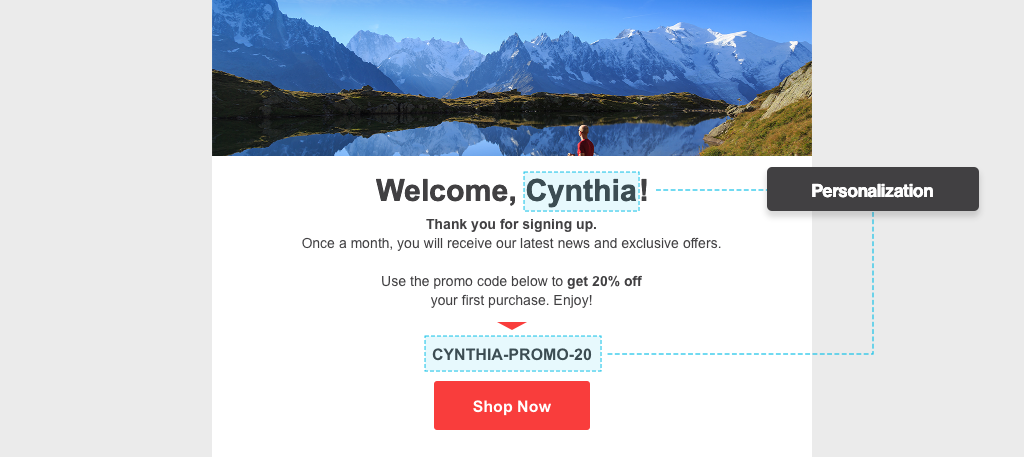
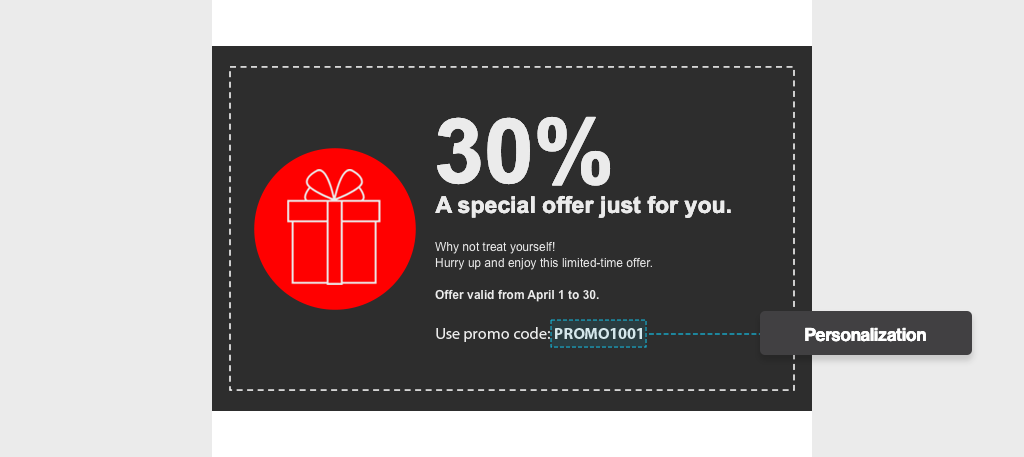
Track your sales by sharing unique code coupons
-
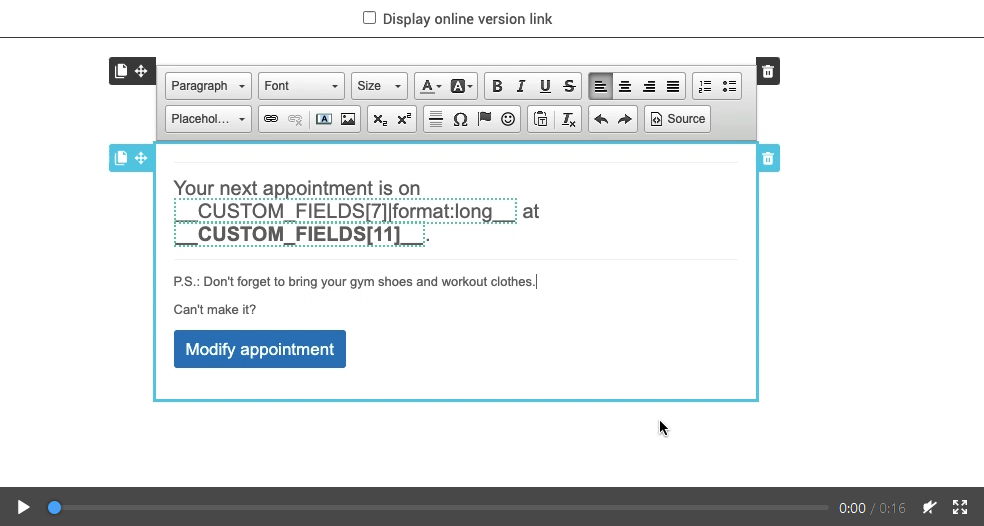
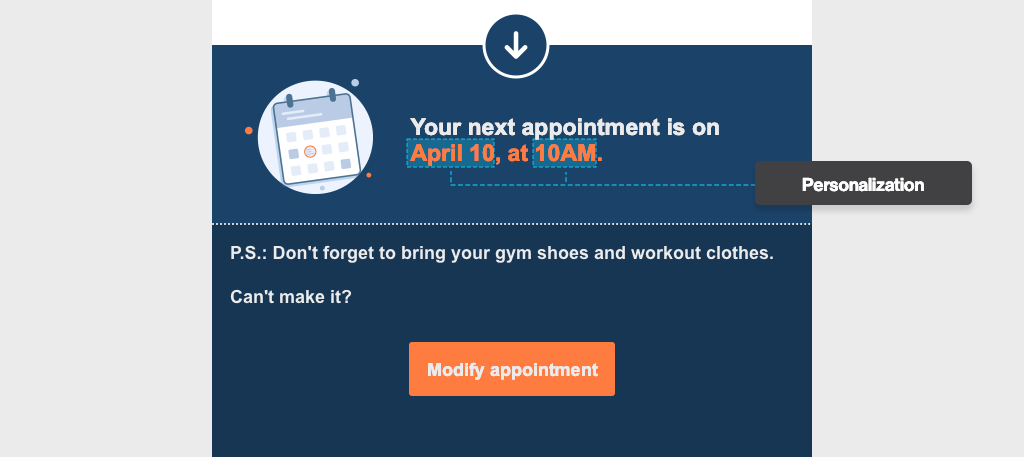
Remind the date of an upcoming appointment
-
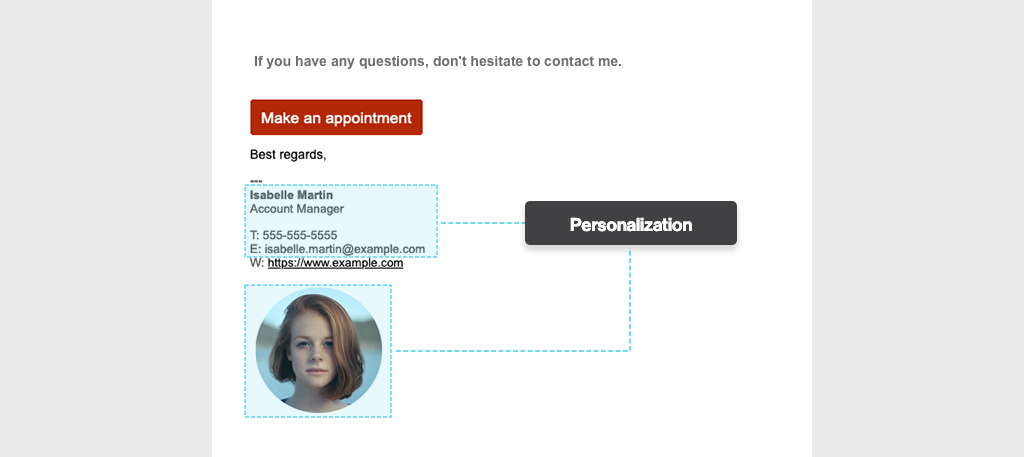
Sign an email with the right contact information
-
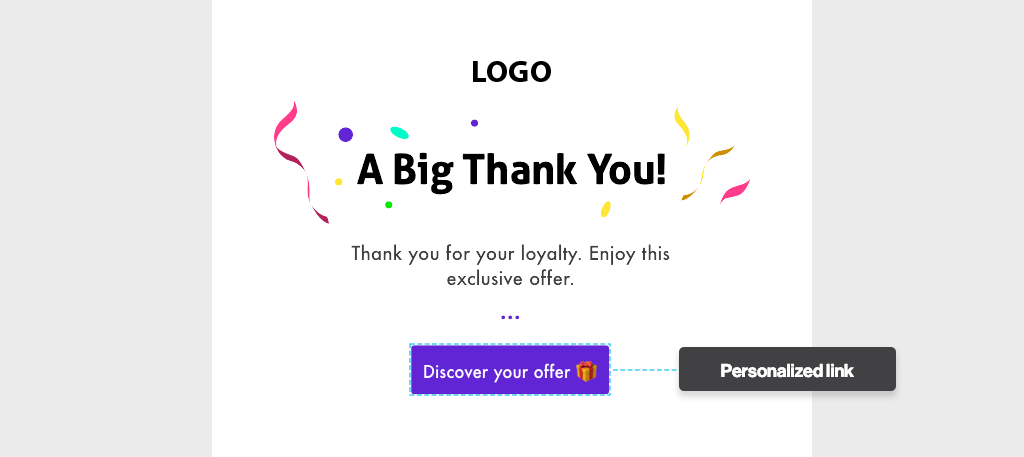
Insert unique links to download a custom promotion
-
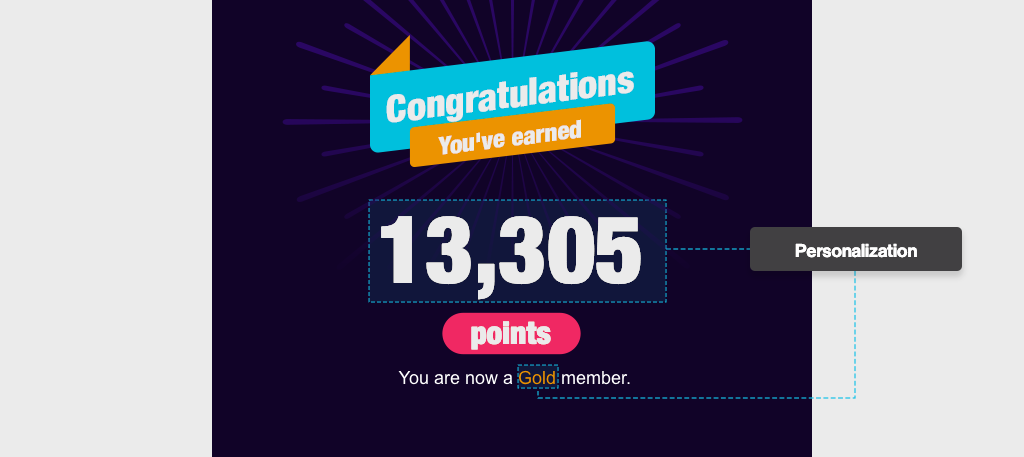
Highlight an accomplishment
Other ways to personalize your emails
Personalizing your mailings isn't just about adding the names of your contacts to your emails, it's also about sending the right email, to the right person, at the right time. It’s showing that you care about their preferences and interests by sending them content that is relevant and useful to them. Use what you know about them (like their preferred language, interests, gender, profession, age, geography...) to send them better emails. The goal is to build a relationship with your subscribers by letting them know they matter to you. Doing so doesn’t have to be complicated !
Here are some simple examples of personalized email marketing:
- Send welcome and birthday emails automatically with our marketing automation scenarios. Learn how >
- Create a group with the recipients who showed interest in a hyperlink. Learn how >
- Segment your contacts based on specific criteria with dynamic groups. Learn how >
- Filter your subscribers with precision with the advanced search. Learn how >
- Trigger automated mailings when contacts meet specific criteria. Learn how >
- Send a micro survey to ask your contacts’ opinion or ask their preferences. Learn how >
Frequently asked questions
- How can I quickly edit my data so that only the first letter of my contacts’ name is capitalized?
- The first name and last name of my contacts are in the same field, what should I do?
- How to erase the information saved in a field for several contacts?
- What does the yellow exclamation point beside a placeholder mean?
- What does the red exclamation point beside a placeholder mean?
- Why can't I change the display format for all fields?
- How to choose the display format language for the greeting, language, country and dates and number field placeholders?
- How can I test my email personalization in another language?
- What happens if a recipient doesn't have a value for a placeholder used in a mailing?
How can I quickly edit my data so that only the first letter of my contacts’ name is capitalized?
The first name and last name of my contacts are in the same field, what should I do?
Learn how to separate your information to put it back in the right fields >
How to erase the information saved in a field for several contacts?
What does the yellow exclamation point beside a placeholder mean?
When there is a yellow exclamation mark to the right of a placeholder, that means that the syntax of the display format in the placeholder text is incorrect.
To correct it, double-click the placeholder and choose a new display format. Then confirm your choice.
Don't panic if you forget to apply the necessary corrections before sending out your email! The default display format of this field placeholder will be used instead. See default formats >
What does the red exclamation point beside a placeholder mean?
When there is a red exclamation mark to the right of a placeholder, that means that the placeholder doesn’t exist. It could be a custom field that has since been deleted, or it could simply be a typo in the placeholder’s name syntax.
To correct it, delete the incorrect placeholder and add a new one using the personalize option in the text block tools.
If the placeholder is still marked as incorrect when sending your email:
- If the placeholder is a nonexistent custom field (e.g.: __CUSTOM_FIELDS [99999] __), the placeholder will be hidden when the mailing is sent and nothing will appear instead.
- If a random word is surrounded by underscores (e.g.: __POTATO__) and it isn’t a known field placeholder, the expression will be visible as is in the email. However, the dotted lines and exclamation mark (seen in the editor) will be hidden. So if the system has detected false placeholders, the content will show up in mailing.
Why can't I change the display format for all fields?
Only certain fields have different display format possibilities. The other ones are text fields and their content will be inserted as saved in the mailing. You can, however, change the formatting of the text. Learn more >
How to choose the display format language for the greeting, language, country and dates and number field placeholders?
Some display format styles have differences depending on the language. When choosing a format, its translation or an example of what it will look like in the other language is shown in parentheses. If there is none, the format is the same in both languages.
It is the language set for the email footer, when configuring your mailing, that will determine which version will be used in your email.
How can I test my email personalization in another language?
The fake content will be displayed in the same language you are using for your account. If you want to test in the opposite language, you'll need to change your account to that language. To do so, save your template and exit the editor. Then go . Once it's done, you can send a new test and switch back to your preferred language.
What happens if a recipient doesn't have a value for a placeholder used in a mailing?
For example, if one of your contacts has no value for the First name field and you add its placeholder in your email, it will simply be hidden and will not be replaced by anything.
In the email, “Hello __FIRSTNAME__,” will change to “Hello ,” for contacts who don’t have a first name.

