In this article:
- How to export subscribed contacts, groups, unsubscribed contacts and incorrect addresses?
- What is a column delimiter?
- What is a text qualifier?
- What information can I find in my export files?
- Are the exported contacts deleted from my account?
- How to export a contact history?
- How to export contacts from the different mailing statistics?
- How to export the incorrect addresses from specific mailings?
- Where can I find my export file?
How to export subscribed contacts, groups, unsubscribed contacts and incorrect addresses?
It's possible to export a copy of your contacts to an Excel or CSV file. Here's how to proceed:
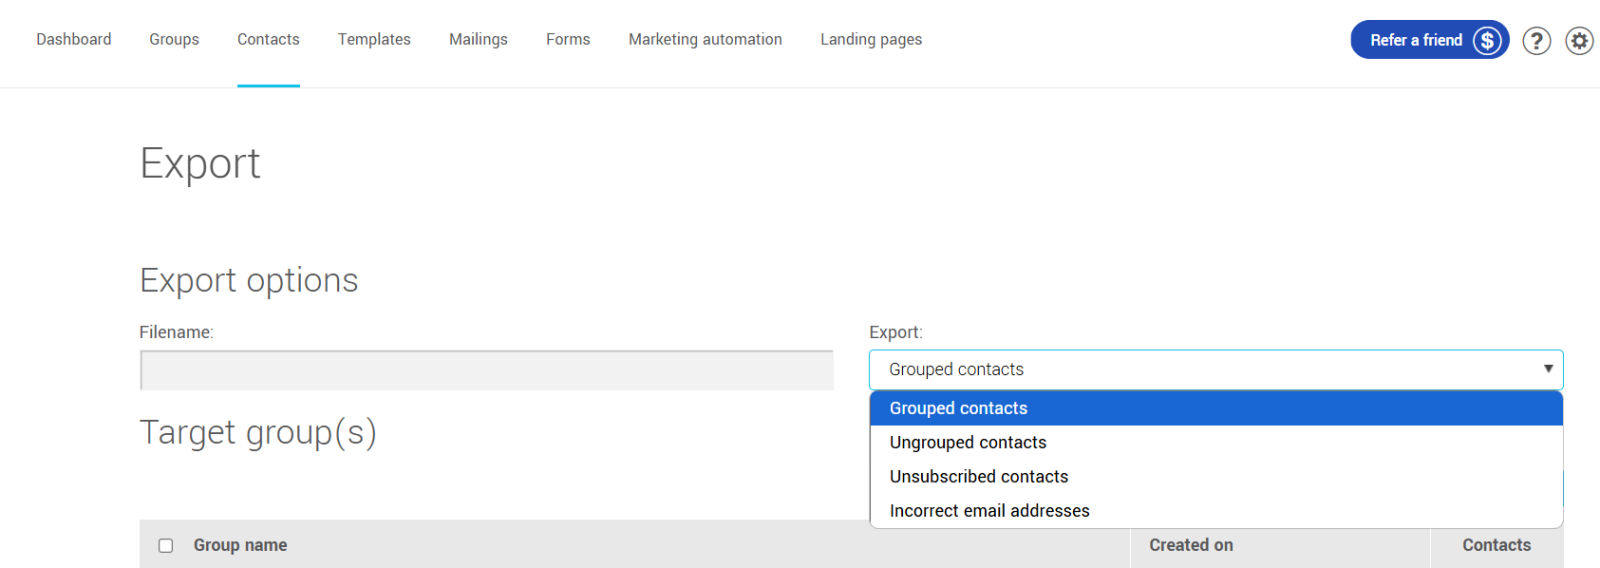
- From the or section, click the Export button found on the top right.

- Key in a name for your file.
This name will only be visible to you. As with any other file name avoid spaces, accents and any other special characters. The name of your file will help you easily find it in the My Exports page.
- Open the drop-down list under Export to select the type of contacts you wish to export. Here are the different type of contacts you can choose from: Grouped contacts, Ungrouped contacts, Unsubscribed contacts and Incorrect email addresses.
- If you've chosen Grouped contacts, select the group(s) you wish to export. If you've chosen one of the three other options, skip to the next step.
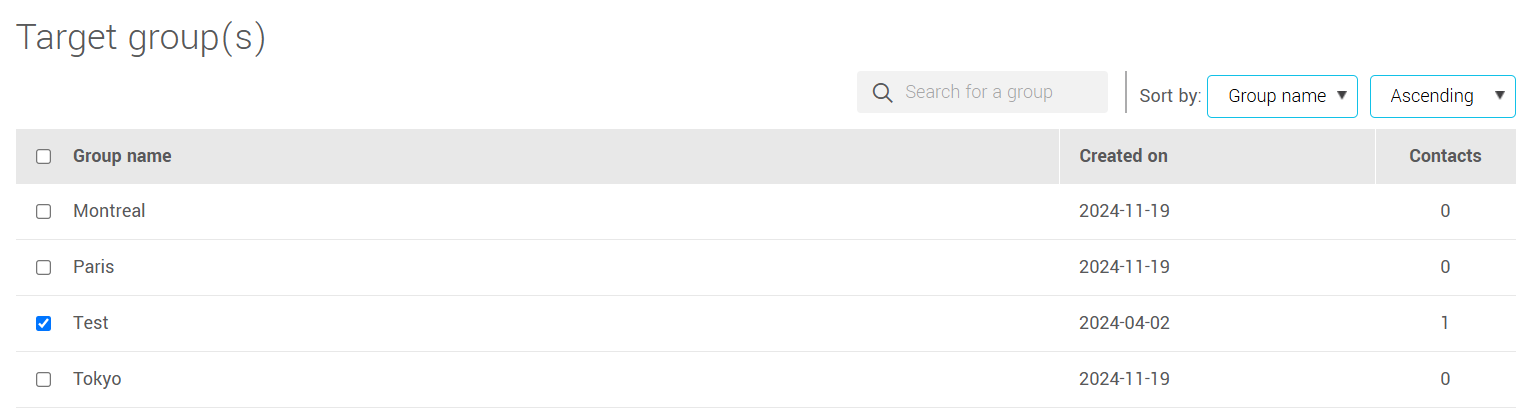
To select all of your groups, check the box beside Group name in the grey header of the table, above your group list.
- Select the format you prefer for your export file. In the drop-down list below Extension, choose between a CSV file (.csv) or an Excel spreadsheet (.xlsx).
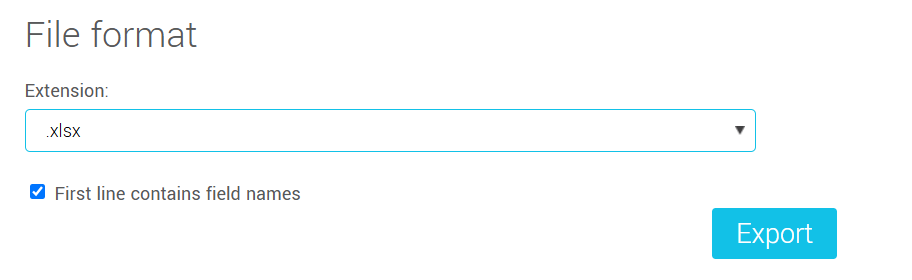
If you've chosen a CSV file, select your column delimiter and your text qualifier.

- Click on the Export button to start the export process.
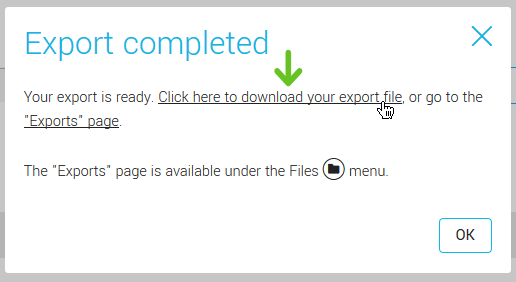
- Once the export completed, a dialog box will appear on your screen. Click the link to immediately download your export file. The file will be available in your browser's downloads and you'll be able to choose if you want to open it immediately or download the file to your computer.
What is a column delimiter?
In a .csv (comma-separated values) file, the column delimiter is the character used to separate data on the same line, the same way two columns are separated by a line in a spreadsheet.
If you plan on opening your file in Excel and you're having trouble seeing your data in your CSV file, change the default column delimiter to comma and export again or you can follow the instructions found here.
What is a text qualifier?
A text qualifier is a delimiter surrounding a text data to protect the characters that could make the import/export process fail.
For example, the following data uses quotation marks as a text qualifier: "This is a text".
The text qualifier used automatically by Excel is the double quotation mark ("). If you're not sure what value you need to select, we strongly suggest using this value.
What information can I find in my export files?
Here is the list of the data you'll find in your contact export file:
- Email;
- First name;
- Last name;
- Language;
- Gender;
- Company;
- Country;
- Postal code;
- Birthdate;
- Custom fields 1 to 5;
- Memo;
- Subscription date;
- Subscription time;
- Consent;
- Consent source;
- Proof of consent;
- IP Address*;
- Consent date;
- Consent time;
- Consent expiration;
- Number of mailings sent;
- Number of mailings opened;
- Average open rate;
- Number of clicks;
- Average click rate;
- Date of the first mailing received;
- Subject of the first mailing received;
- Date of the last mailing received;
- Subject of the last mailing received;
- Date of the last mailing opened;
- Subject of the last mailing opened;
- Groups**.
Specific information for unsubscribed contacts:
- Unsubscription date.
Specific information for incorrect addresses:
- Date they were removed from the subscribed contacts.
Are the exported contacts deleted from my account?
No. Exporting contacts will only create a copy of your contacts in an Excel or CSV file that you'll be able to keep on your computer.
How to export a contact history?
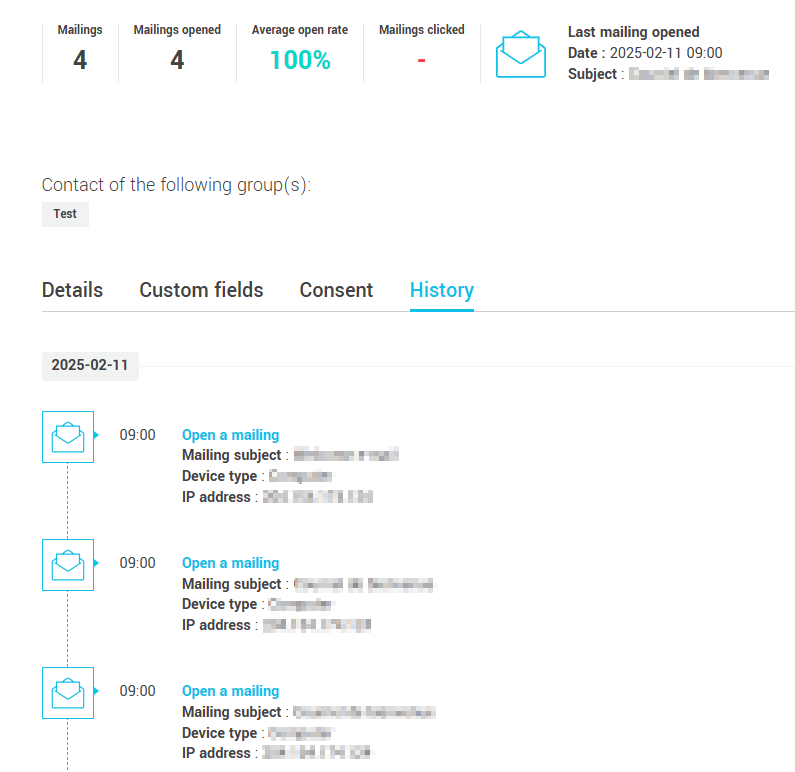
You have, in each contact details page, subscribed or unsubscribed, many details about events that occurred for your contact since they were added in your account. Indeed, the History tab of the contact details page contains events such as the date and time an email was opened or a link was clicked, if they unsubscribed, subscribed back, if their consent was updated, etc. There really is a lot of interesting information about your contact, just waiting for you!
On top of accessing this information directly in your account, you can also export it and keep a copy in your archives. Follow these steps to export a contact's history:
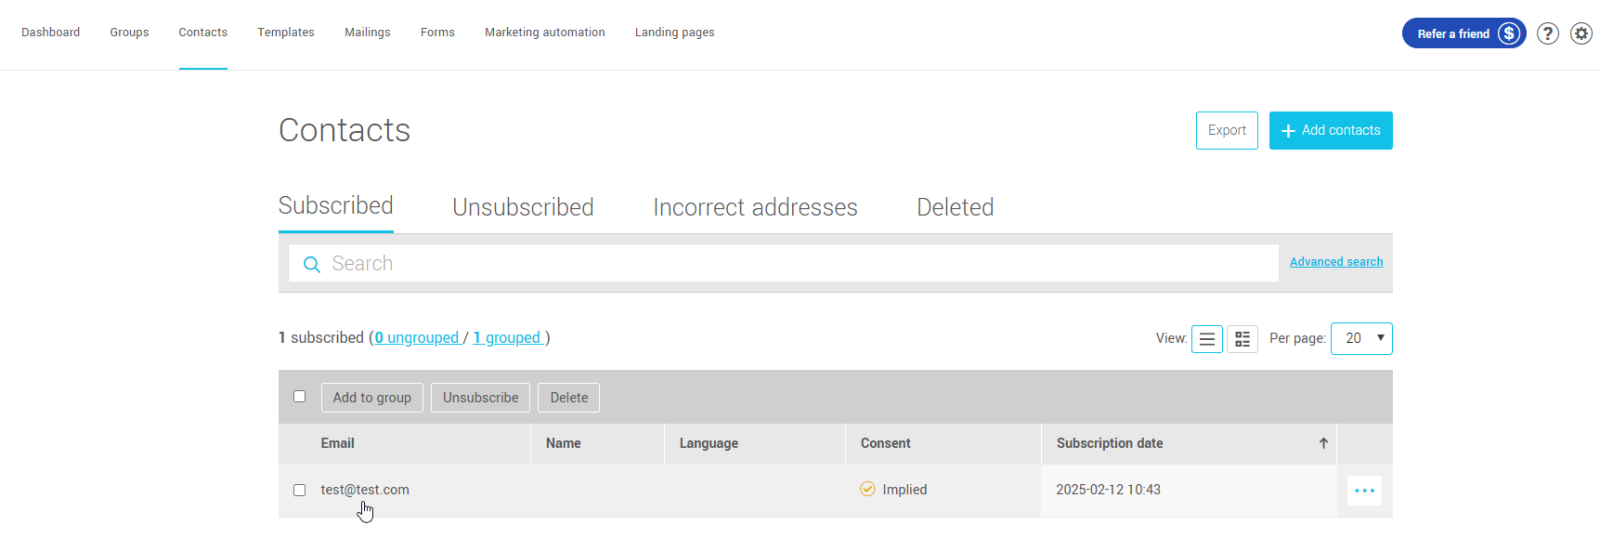
- Open the contact details. To do so, directly click the email address of your contact from the menu or from the list of contacts associated to a group ( menu > click the right group name > click the email address of your contact).
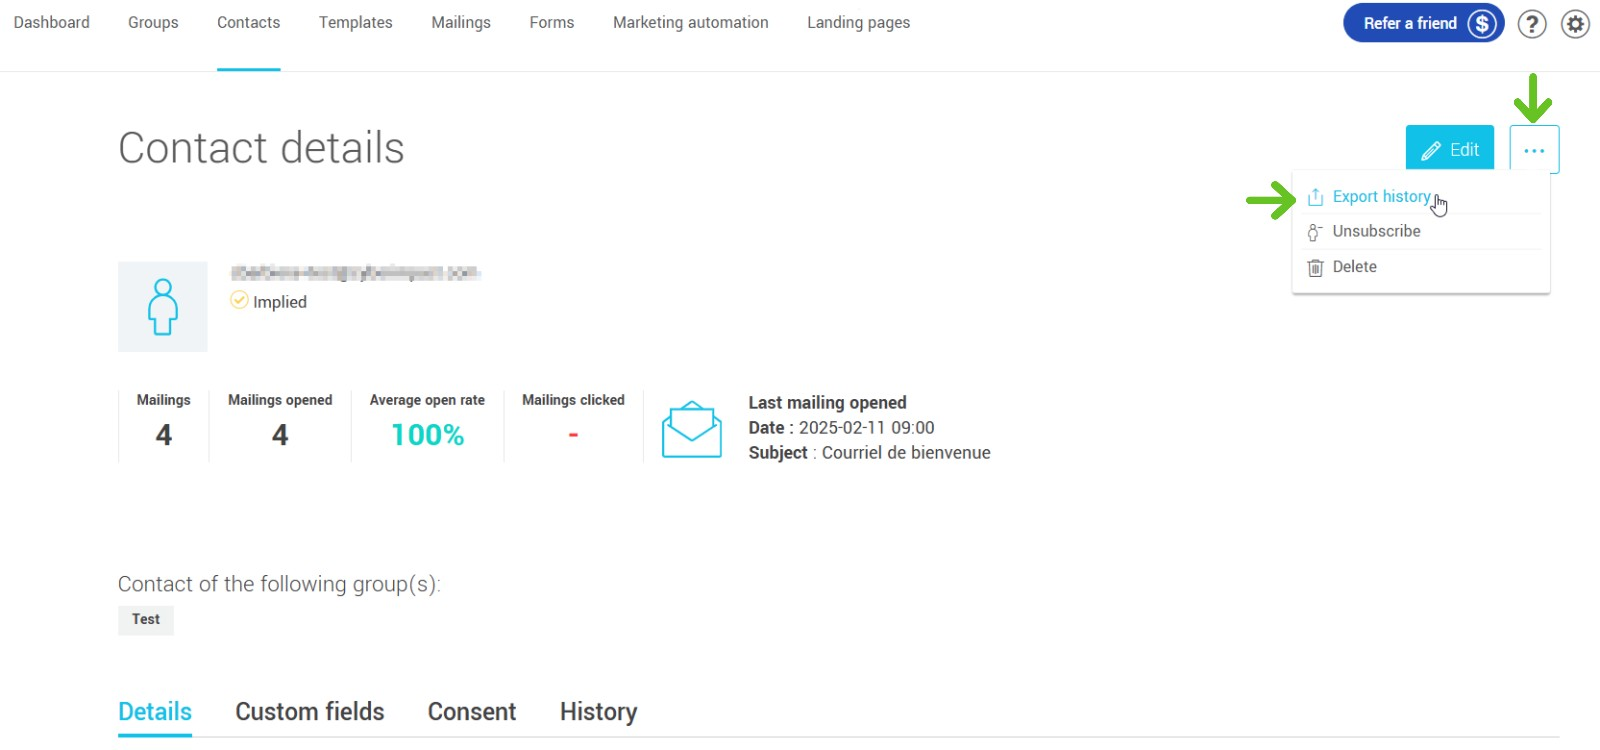
- In the contact details, click on the actions menu (...), then click on Export history.
The file will be available in your browser's downloads and you'll be able to choose if you want to open it immediately or download the file to your computer.
You'll find in the contact exportation the very same information available in a group or ungrouped contact export, along with the complete contact history.
How to export contacts from the different mailing statistics?
It's possible to export the list of contacts who, for example, clicked a link in your mailing or opened an email. Here is how:
- Access the complete statistics of your mailing.
If you wish to use the statistics of your last mailing, from your , click the action menu (...) and statistics.
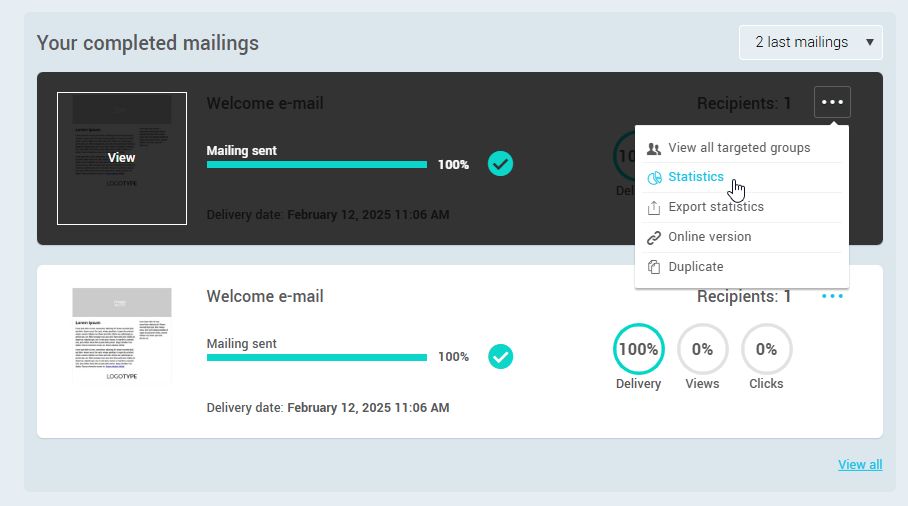
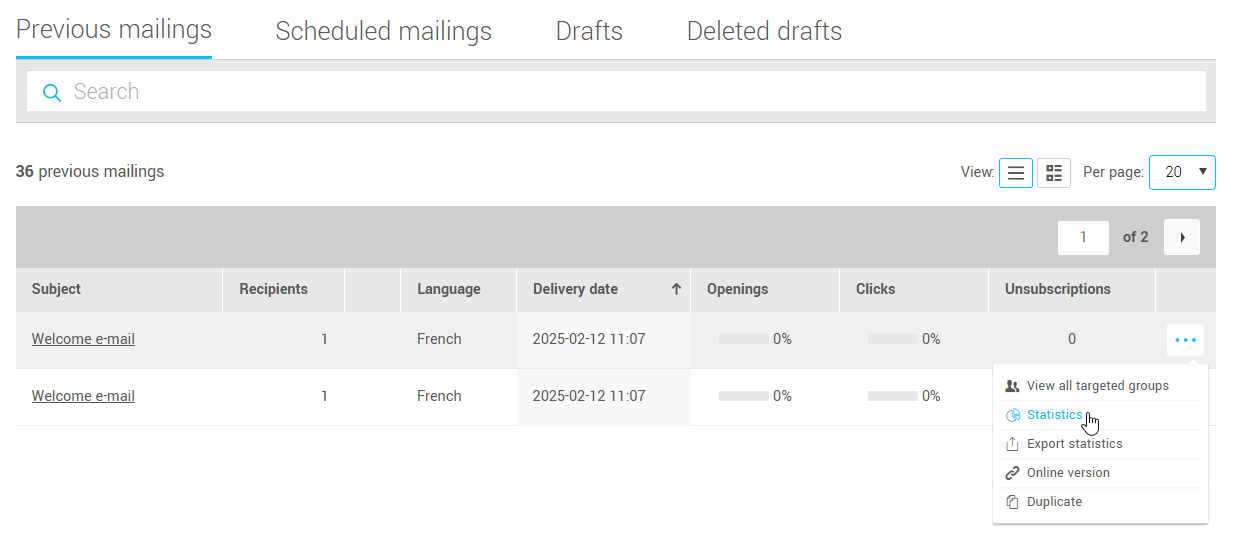
If the statistics you wish to export are from an older mailing, go to > Previous mailings and open the action menu (the three dots) on the right of the specified mailing. Choose Statistics from the menu.
- In the Target group section, select the group(s) for which you wish to export the statistics (ex: The list of contact from a specific group who opened the specific email).

To select all the groups targeted in the mailing, check the box on the top left, beside the Add to a group based on a statistic on the dark grey header of the Target groups section.

- Click the Export statistics (.xlsx) button.
- Select from the list the statistic you wish to obtain the contact list of.
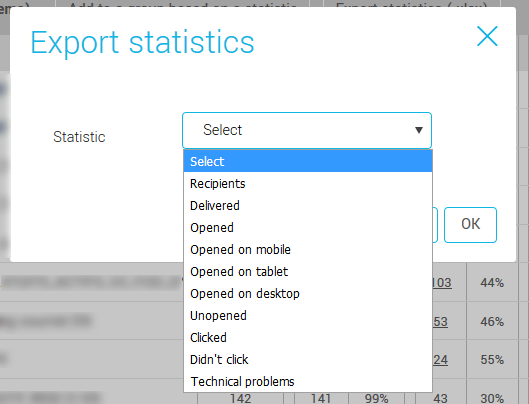
- Click OK to confirm.
- Once the export completed, a dialog box will appear on your screen. Click the link to immediately download your export file. The file will be available in your browser's downloads and you'll be able to choose if you want to open it immediately or download the file to your computer.
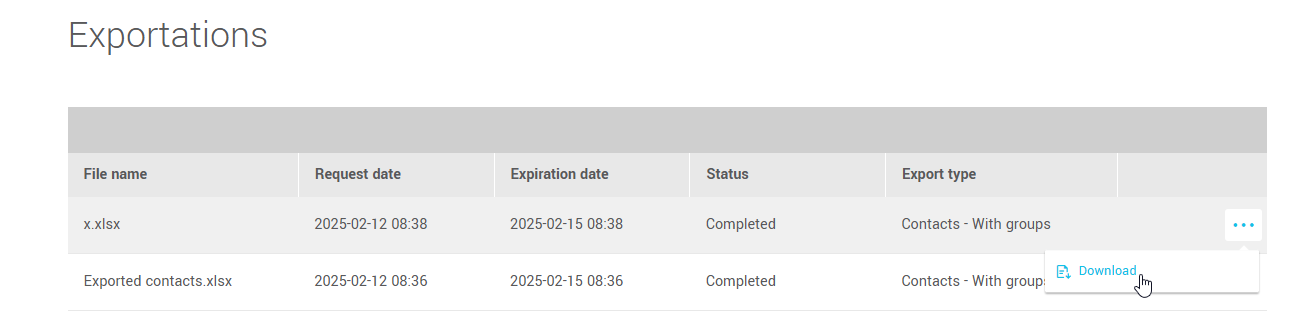
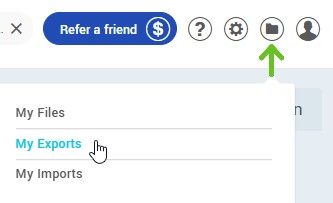
Export files will be accessible in your account for 72 hours. To access your recent exports, put your mouse on the icon (the folder icon on the top right) and select My Exports. Click the action menu (the three dots) on the right of the export file you wish to download and click Download.
How to export the incorrect addresses from specific mailings?
To export the list of incorrect addresses from a specific mailing, follow these steps:
- Access the complete statistics of your mailing.
If you wish to use the statistics of your last mailing, from your , click the action menu (...) and statistics.
If the statistics you wish to export are from an older mailing, go to > Previous mailings and open the action menu (...) on the right of the specified mailing. Choose Statistics from the menu.
- Click on the number of incorrect addresses in the Mailing performances section to access the list of incorrect addresses.
- Click the Export Incorrect addresses at the top right of the page.

The file will be available in your browser's downloads and you'll be able to choose if you want to open it immediately or download the file to your computer.
Where can I find my export file?
To access your recent exports, put your mouse on the icon (the folder icon on the top right) and select My Exports.
Click the action menu (...) on the right of the export file you wish to download and click Download.