In this article:
Before starting
You can create different users to access your account. For security purposes, we strongly recommend that everyone has their own access codes. This way, each user will have their own password and will be able to retrieve it easily in case of loss. This will also allow you to use two-factor authentication to protect your account. And if someone leaves your organization, you can simply delete their user, and they will automatically lose access to the account. This is much less work than sharing a new password with multiple people or risking forgetting to do it. Finally, in order for someone to be authorized to communicate with us about your account, their name must be in the list of account users. This will also speed up the processing of your support requests.
Note that there is no limit to the number of users you can create.
User types
There are three types of users:
- administrator
- user
- custom (available in the Plus or Pro plan)
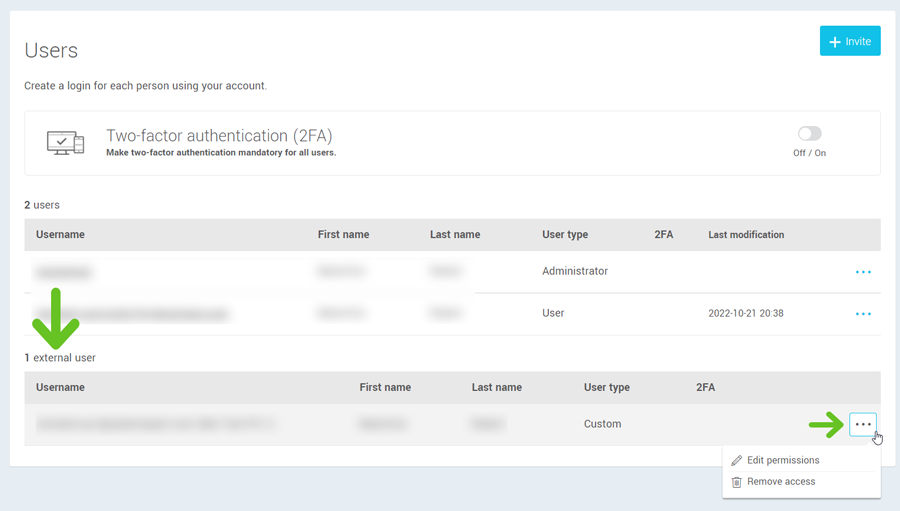
Administrators are the users who have the highest level of access to your account. They are the only ones who can create, delete or modify other users, including their passwords. They are also the only ones who can create API tokens.
Users, on the other hand, have access to all account features except those reserved for administrators. They cannot see or modify other users, nor can they create new ones. They can only edit their own profile.
Users with custom permissions are users who have access to the basic permissions, in addition to the permissions you decide to grant them. Choose from the list of customizable permissions the ones you want to add to each user's profile. (available in the Plus or Pro plan)
Learn more about custom permissions >
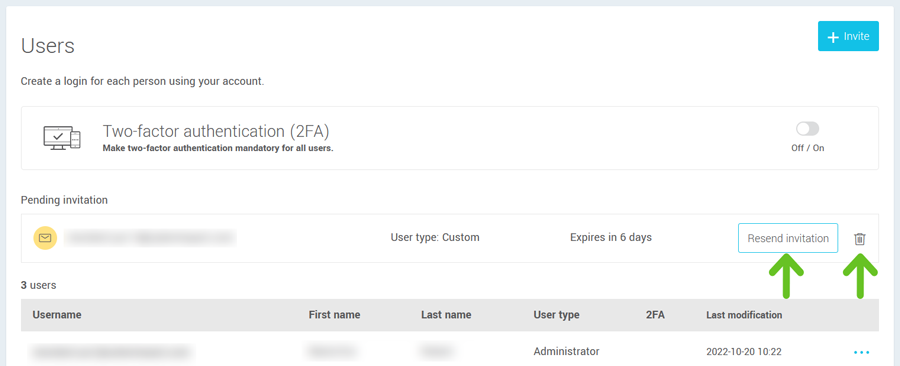
Invite a user
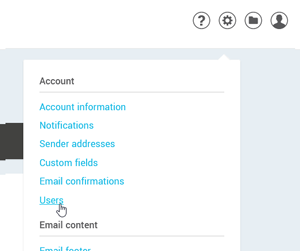
- To create a user, go to .
- Click the +Invite button.
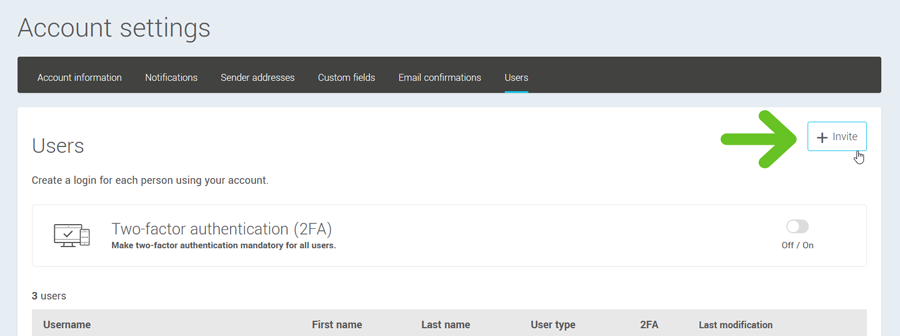
- Enter the email address of the person you wish to invite to access the account and choose their user type.
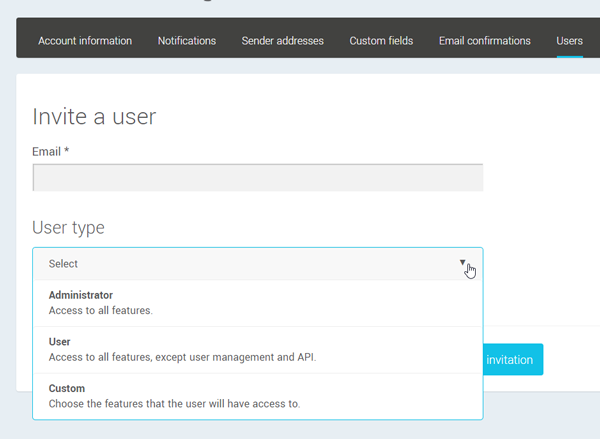
- Then click on the Send invitation button. An email will be sent to the user. The email will contain an invitation link to allow the user to complete their profile and finish creating their user.