In this article:
Creating a mailing
step-by-step
- In the section, click the New mailing button.

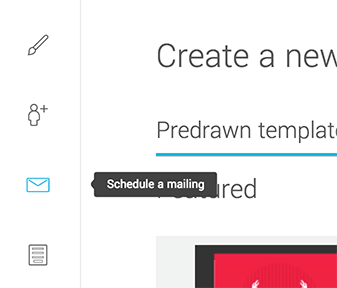
Or use the shortcut in the left-hand navigation:
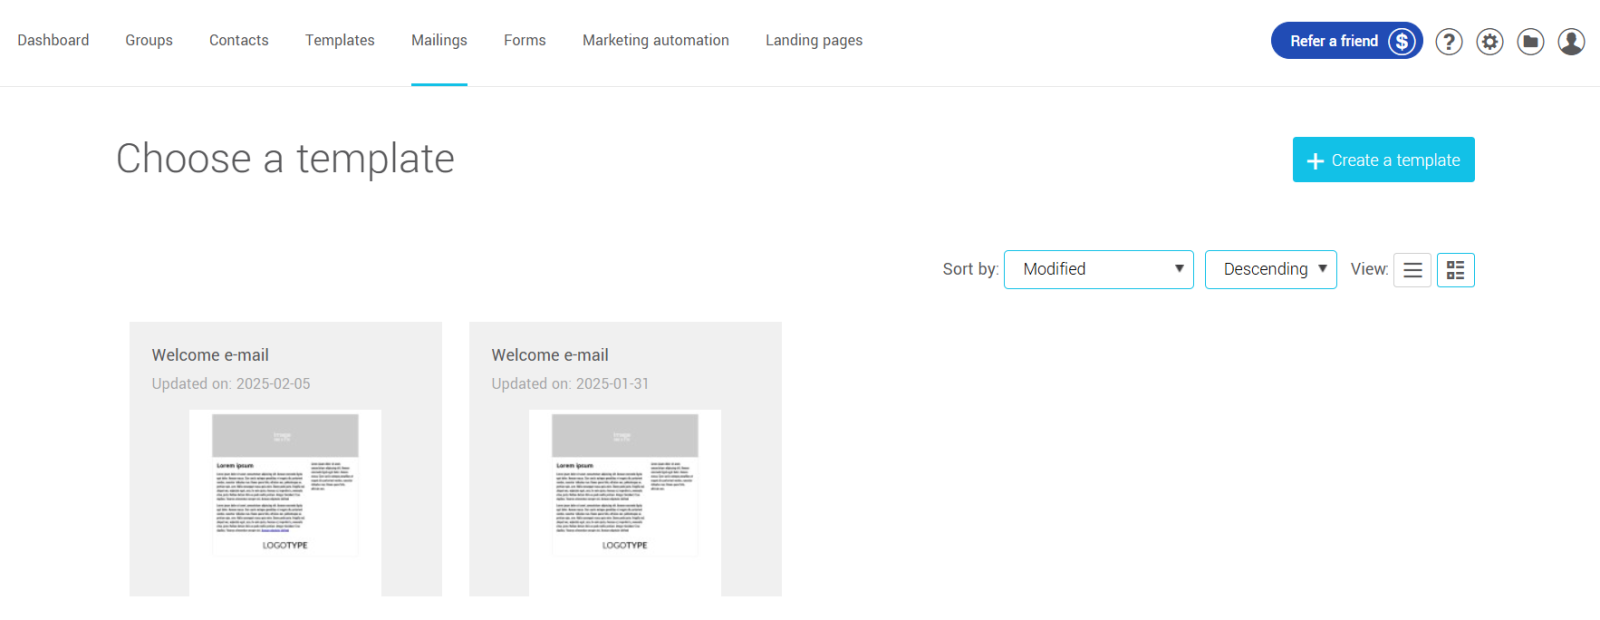
- Select a template you have already customized from the list.
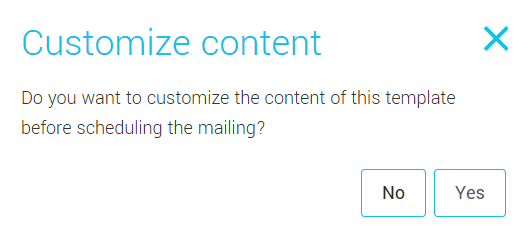
- Choose if you want to customize your template or not. If you choose no, continue to step 7.
- Choose your favorites images, texts and links.
- Test your mailing! Use the test mailing option to make sure that it works properly. Try your mailing in different platforms (Hotmail, Gmail, Outlook, etc.).
- Click Continue for the next step, or Save draft to continue later.
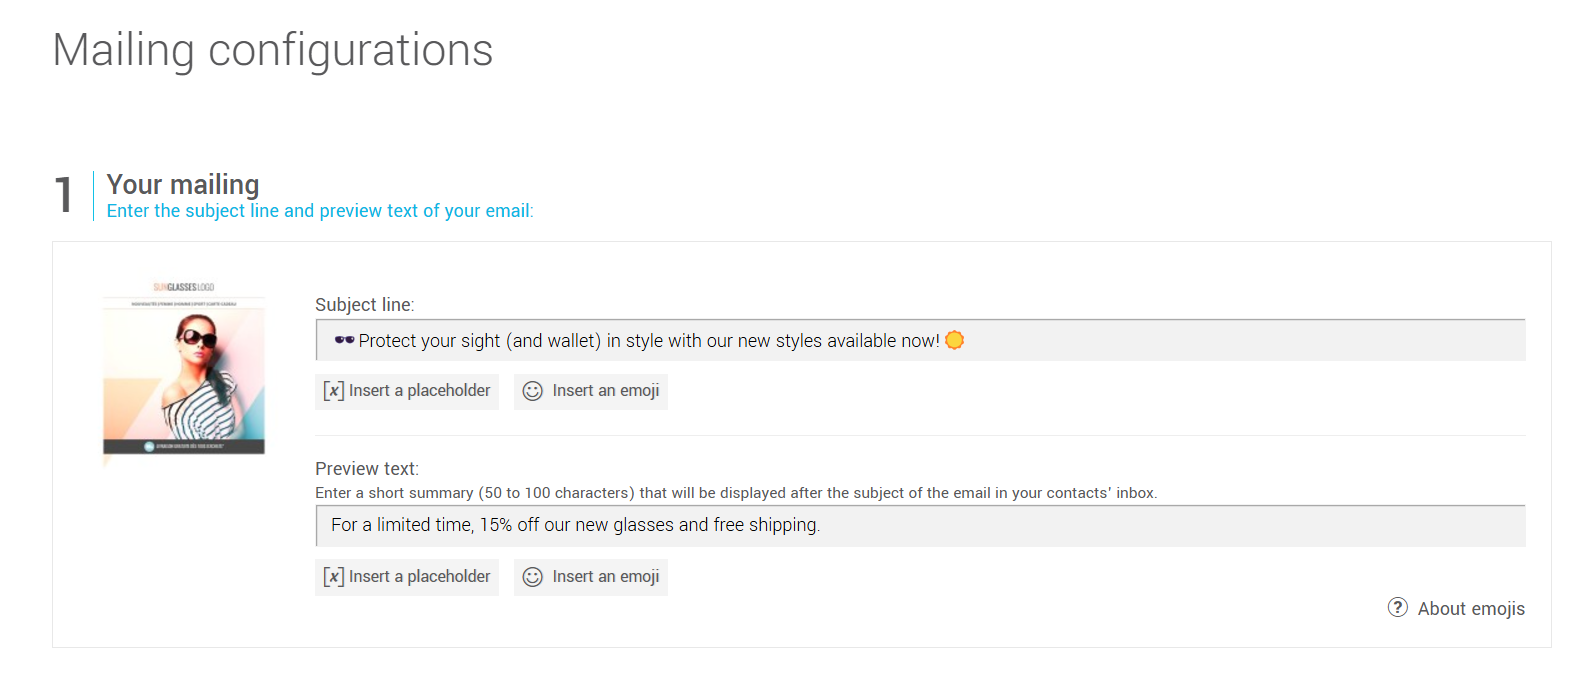
- In the Your mailing section, edit the subject of your mailing if need be. The subject (or title) of the email is very important because it's one of the first things your recipients will see in their inbox when they will receive your email. It will help them decide if they open it or not.
Then, enter a preview text for your mailing. The preview text is a short summary of the content of your mailing. It will be displayed after or beside the sender name and your email subject in your recipients' inbox.
Learn more about the preview text and the best practices to write a good one >
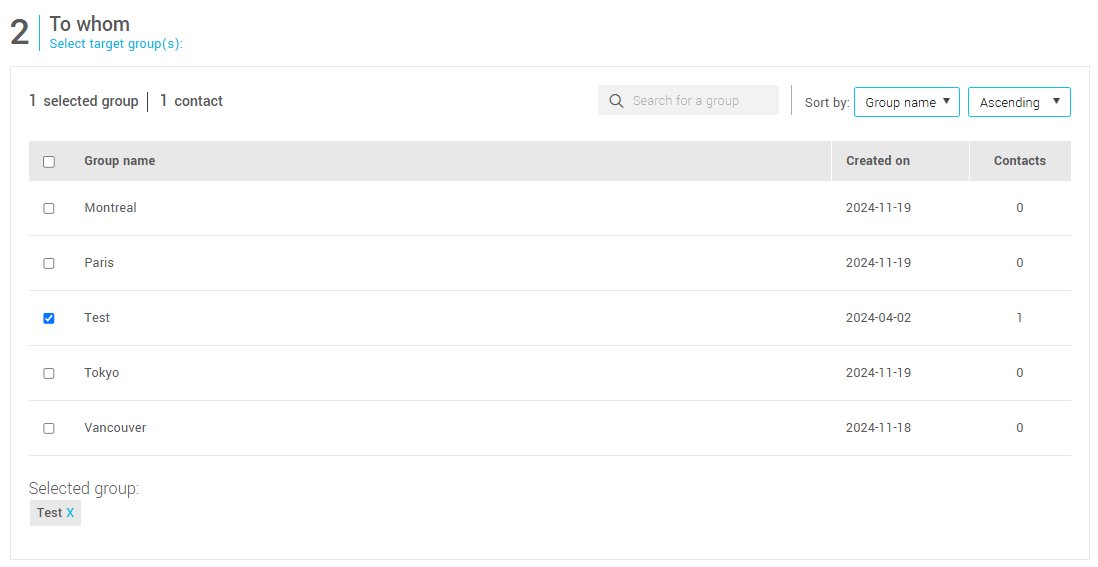
- Under the To whom section, select the target group or groups to whom you would like to send your message.
- Next, enter the date and time of your mailing. You can pre-program your mailings. This option is very useful, especially if you plan on taking a vacation or like to prepare your communications in advance.
.png)
- Check and modify, if necessary, your coordinates (from, sender address, return address).

- Choose your preferred language. The footer of your mailings will be displayed in that language.
You can also select a link to update your profile.
Learn more about profile update forms >

- Select the type of tracking for your delivery statistics.
For more information, please refer to the following pages:
About anonymized mailing statistics
Mailing statistics
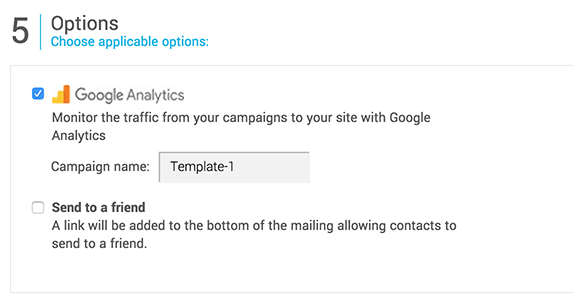
Activate, if necessary, the Google Analytics option. This will automatically add UTM parameters to all your email links.
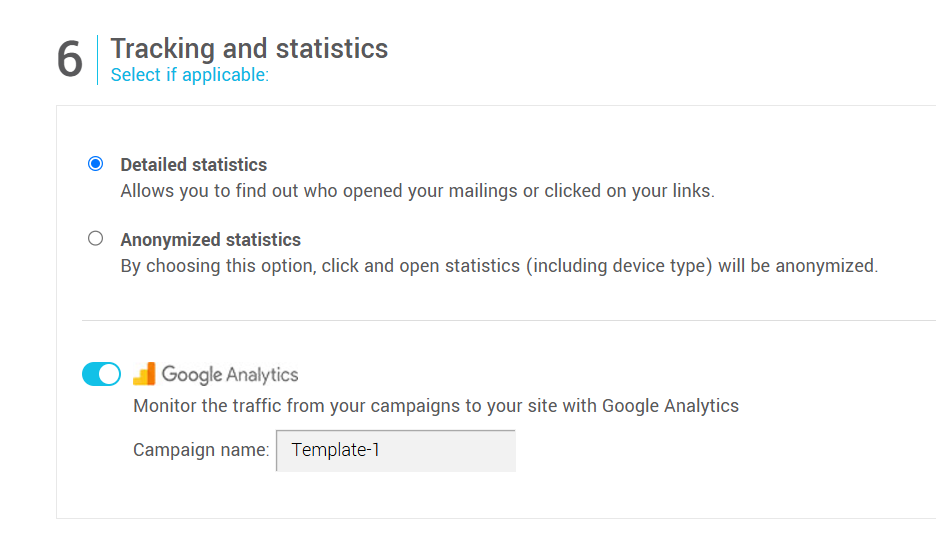
Google Analytics: Use this option to automatically create a campaign in the target sites of your clickable links. Enter a campaign name without accents, special characters or spaces, and you are ready to go. To avoid problems with your links, make sure that the sites linked to your mailing allow Google analytics.
- When you are done, click on Next.
- A summary window of your mailing will be displayed. If you are ready, click on Send. To make corrections, click on Cancel.
After clicking on Send, this future mailing will appear on your dashboard.
You’re done! Your mailing has been planned. You can now start to track your statistics.

Email footer and unsubscribe link
When your mailing is ready to start, the system begins to build your emails (one email per recipient). A footer containing your contact information, an unsubscribe link, a link to contact us and report an abuse and a link to our anti-spam policy is automatically added to the bottom of each email during this process.
Except your coordinates and our logo, the footer can't be modified. This information (address and unsubscribe link) at the bottom of your email is necessary to ensure that your mailings comply with the Canadian Anti-Spam Law (Bill C-28).
How to update your contact information in the footer >
Learn how the unsubscribe link in the email footer works >
Learn how to remove our logo from the footer of your emails >
Saving a mailing (draft)
At the bottom of the editing page, click on Save a draft. Your email will be added to the draft list and will remain available until you decide to send it. When you are ready to continue to edit your draft, go to the Mailings menu and select Drafts. Then, click on the Edit optoin of the actions menu located at the right-end of the draft's row.
Mailing delivery time
Mailing list update
Viewing all the scheduled mailings
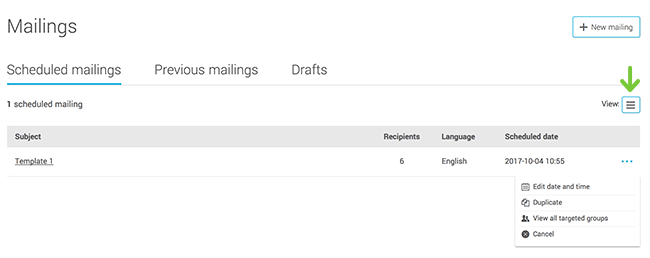
Only the next scheduled mailing is visible from your Dashboard. To see all the scheduled mailings, go to the Mailings section and select Scheduled mailings.
By using the actions menu at the right of each scheduled mailing, you can:
- Modify the time and date of the mailing
- Duplicate the mailing
- Cancel the mailing
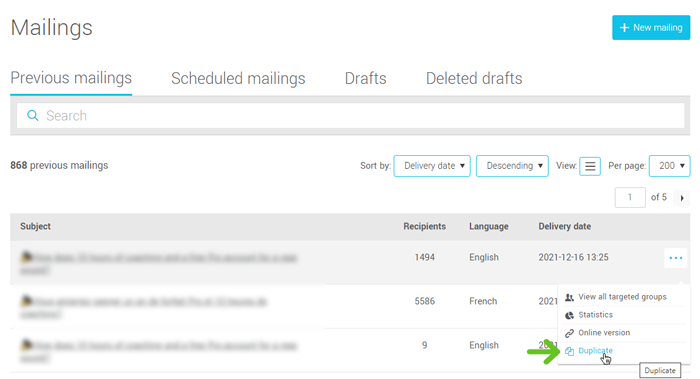
Re-sending a previous mailing
Google Analytics and problems with hyperlinks
- Your statistics do not show for a particular link
- One or more than one link is redirected to the wrong page or seems to be broken
