
In this article
Edit basic block properties
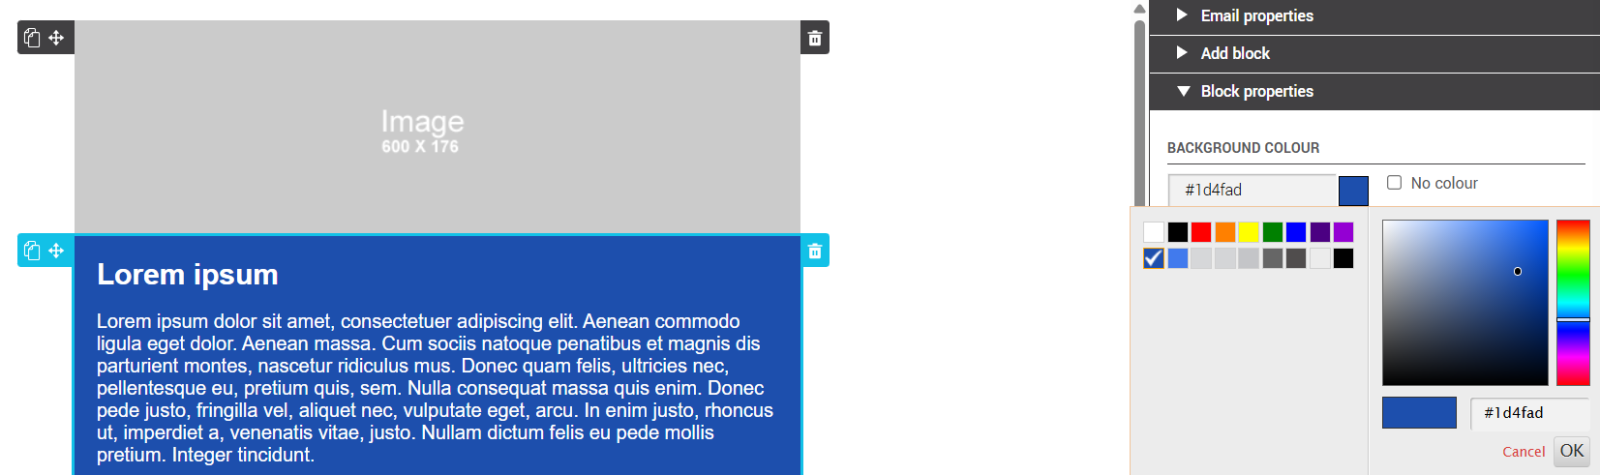
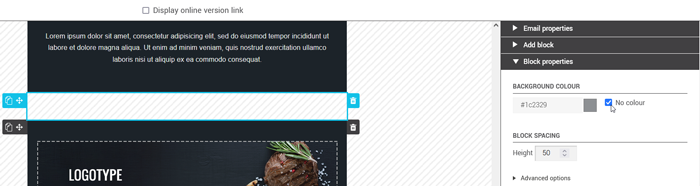
To edit the basic block properties, simply click on it. The block will be highlighted (colour border). In the side panel, the Block Properties panel allows you to specify the background colour and the desired spacing at the top and bottom of the block.
.png)
Dynamic Content
The Limit Block Visibility feature allows you to display a block only to specific contacts who meet certain criteria, such as belonging to a group or having a specific value for a placeholder (e.g., first name, country, etc.).
To enable this option, use the switch to the right of the Limit Block Visibility element. Once enabled, you can set the criteria under which the block will or will not be displayed to your contacts. This allows you to personalize your messages without having to duplicate the entire content.
- This feature is available only with Plus or Pro plans.
- To learn more, check out our article on this topic.
Background color
To customize the background colour of a block, start by unchecking the No colour checkbox to the right of this element. To specify the colour of the background, simply click on the coloured square to the right of the item you want to change and choose a colour from the many shades available in the colour picker. If you're familiar with HTML, you probably recognize the hexadecimal colour codes (# 000000) that appear in each field. You can change them directly rather than using the colour picker.
Content Language
In the Block Properties panel, you can define the language of the block’s content. This option is useful to improve accessibility and help certain software or screen readers better interpret the content.
To do this, use the Content language dropdown menu and select the appropriate language. This will automatically add a lang attribute to the block in the HTML code.
.png)
- This setting does not affect the sending language or the automatic language detection of the email, but it can help some tools better interpret the content.
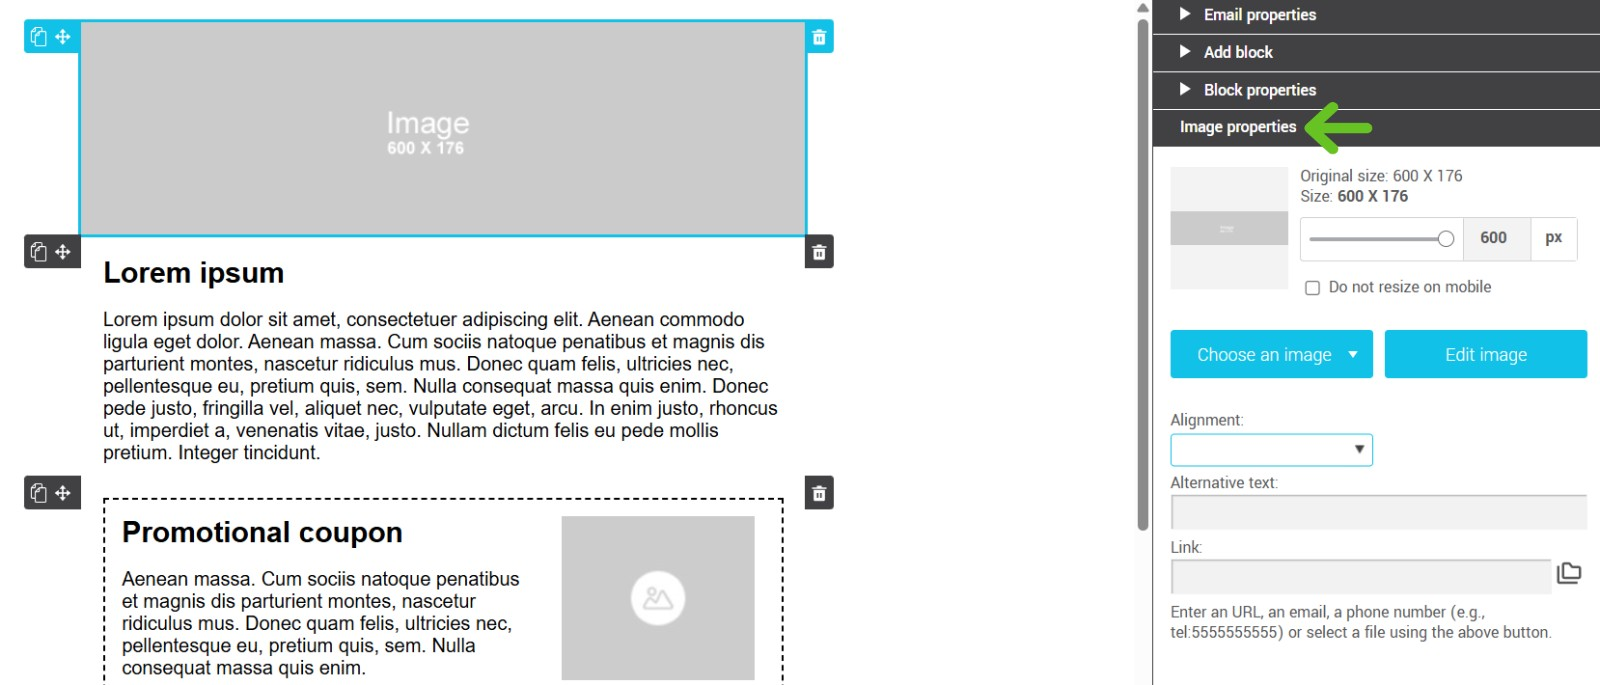
Edit image properties
To edit the image properties, simply click on the image of your choice. The block will be highlighted (colour border). In the side panel, the panel Image Properties allows you to choose an image, edit your image, and specify certain properties (alignment, alternative text, hyperlink).
To learn more about selecting an image, click here.
To learn more about modifying an image, click here.
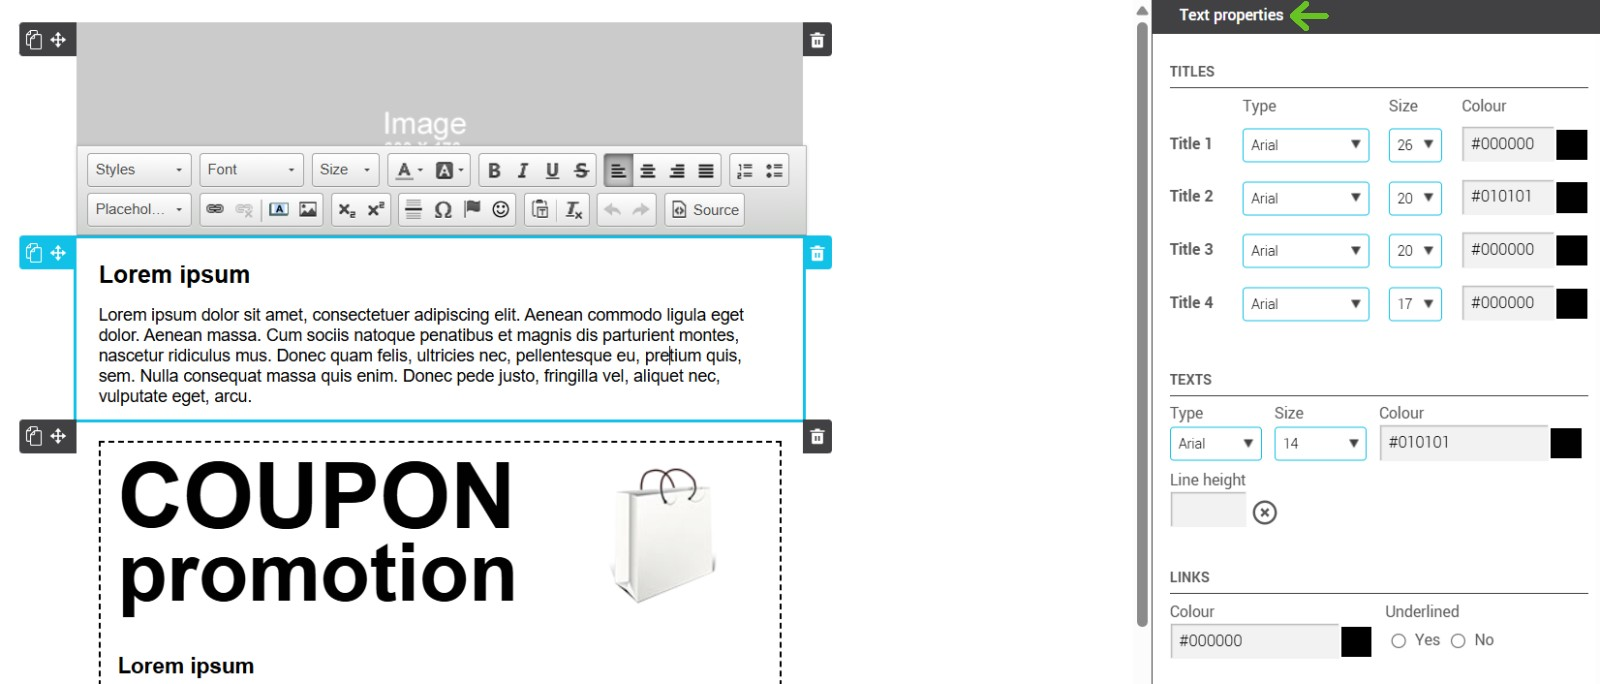
Edit text properties
To edit text properties, simply click on the text you want to edit. The block will be highlighted (colour border). In the side panel, the Text Properties panel allows you to specify the following:
- Title (font type, size and color, as well as the heading level – h1 to h4)
- Texts (type, size and font colour)
- Links (colour)
- Buttons (Type, size and font colour as well as button colour and edge shape)
To learn on how to create a link, click here.
To learn on how to create buttons, click here.
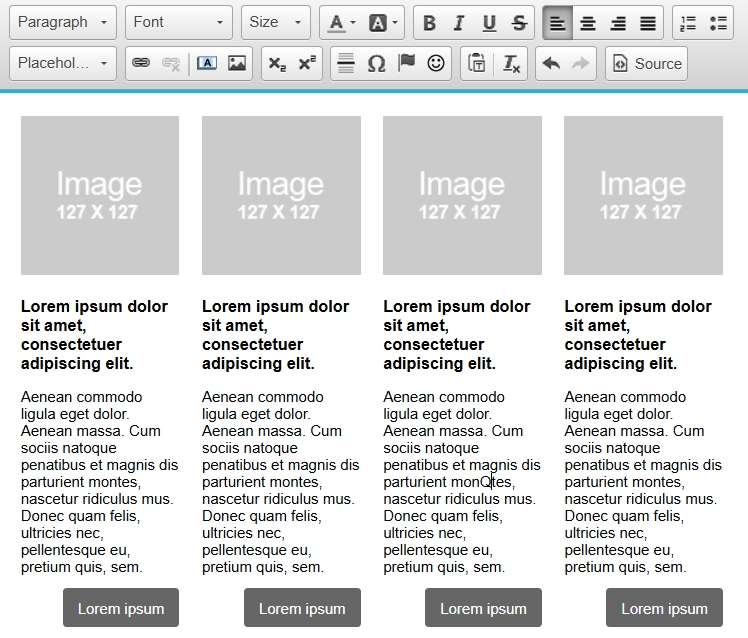
Edit a mixed block including image and text
To edit mixed block properties, ie a block including an image and a text block, simply click on the block of your choice. The block will be highlighted (colour border). By clicking on the image of your block, the Image properties panel will open in the sidebar.
Copy, paste, undo and redo styles
In order to easily and quickly standardize the formatting of your text blocks, the editor allows to copy and paste styles from one text block to another. Start with setting the general layout of a text block in the Text Properties sidebar. When the general layout of your text block is complete, simply click on Copy styles button at the bottom of the side panel. To apply these styles to another block, all you have to do is to click on the text block you want to apply the same styles and once this block is highlighted, click the Paste styles button at the bottom of the side panel. If you are not satisfied with the results, click the Undo styles at the bottom of the side panel. You can Restore styles if you made the mistake of canceling them.
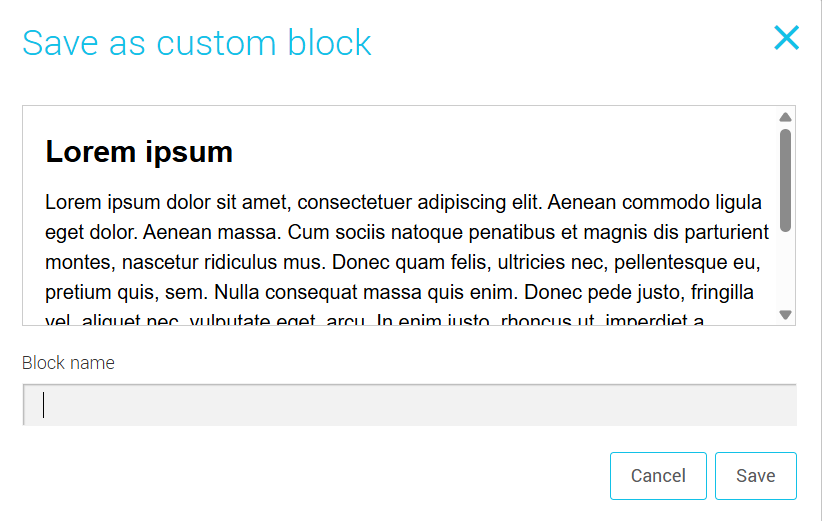
Save a block
You would like to re-use a block in different mailings? The editor allows you to save your blocks for later use. When your block is complete, you can save it by clicking the Save Block button at the bottom of the side panel.
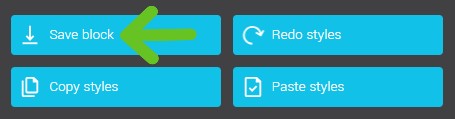
When saving your block, make sure to set a significant name for easy future reference.
Once saved, your block will be added to the Add block side panel under the Custom blocks category. Blocks are listed alphabetically by name. To use a custom block, simply drag and drop it in your template.
Making changes to a previously saved custom block
If you want to edit a previously saved custom block, you will have to add it to an email, make the corrections and save it again. Then you can delete or keep the previous version as you wish: it won't affect mailings in which you have used this block (which also means you will have to update them manually if you want them to use the newly created block).