
In this article:
Before starting
Here are some important things to know about subscription forms and contests:
- It is possible to run a contest and collect entries from our subscription forms. Drawing a prize or a gift among your new subscribers is even an excellent incentive to attract prospects and increase your contact list. However, since these are "subscription forms", you must clearly indicate that to participate, they must agree to subscribe to your newsletter. For example, you could use wording like this for the form title: Subscribe to our newsletter and get a chance to win…
- All our forms (hosted, iframe and HTML) are protected by reCAPTCHA. Although the CAPTCHA offers some form of protection against bots, we strongly recommend that you use double opt-in for your email subscriptions. This method ensures that the email address is valid and that the person who subscribed is the rightful owner of the address. The consent proof will also be automatically saved in your contacts' detail. This prevents bots from adding spam addresses in your email list and therefore, protects your sender reputation.
- If you organize a contest in Quebec, don't forget to comply with the Rules on publicity contests from the Quebec's Régie des alcools, des courses et des jeux.
How to do

Learn how:
- Create your form
- Add contest rules
- Configure your form settings (opt-in type, confirmation pages and groups)
- Customize your form link sharing
- Send a welcome email to your new subscribers
Step 1: Create your form
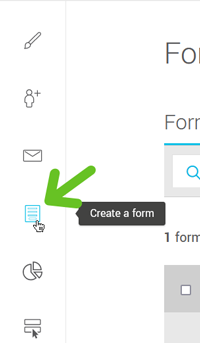
- To get started, open the menu at the top of the screen and click Add a form from the quick access menu on the left side bar, click .
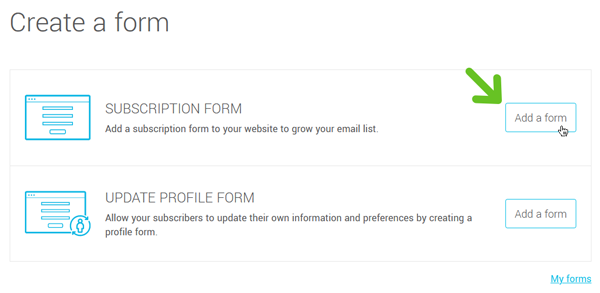
- In the Subscription form box, click Add a form.
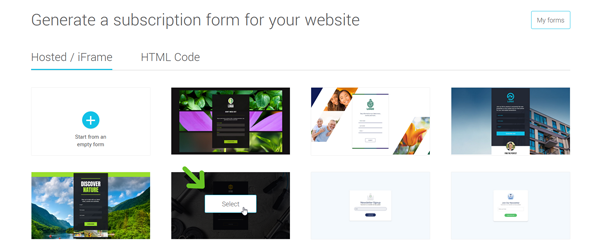
- Choose from our ready-to-use form templates or start from an empty subscription form.
- Enter a name for your form. This will only be visible to you.
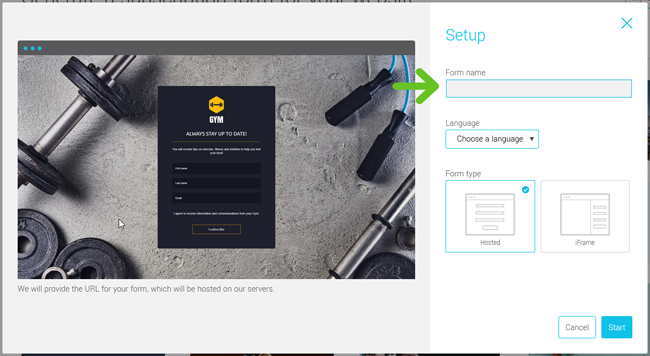
- Choose a language for your form. All contacts who subscribe will be automatically associated with it.
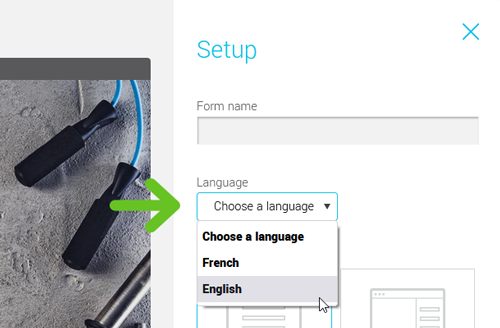
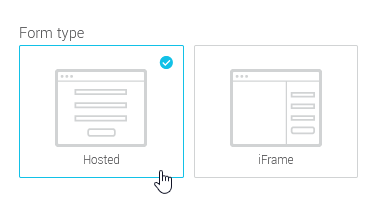
- Choose the type of form: hosted or iframe.
- Click Start. All you have to do is customize your form. Watch our step-by-step tutorial to learn how.
See also:
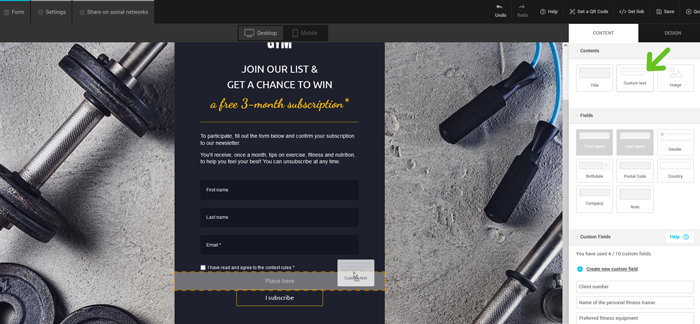
Step 2: Add contest rules
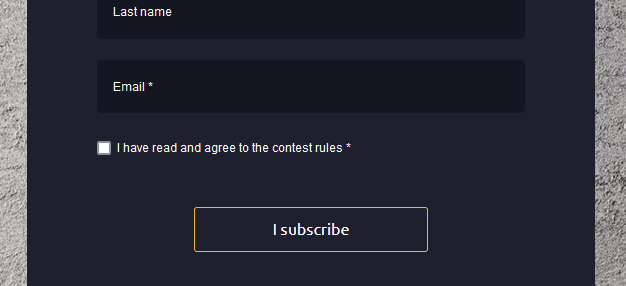
In contest entry forms, it is customary to add a checkbox to accept the rules of the contest. Complete rules are usually hosted on a page on your website or can be listed in a PDF-like document.
Learn how to:
Add a checkbox to accept the contest rules
To add this checkbox, you can use a text-type custom field and make it mandatory to complete. Here's how:
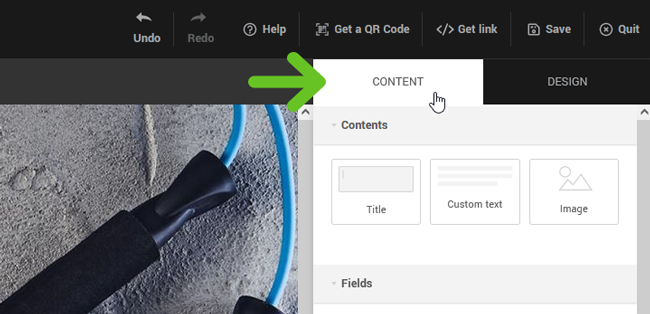
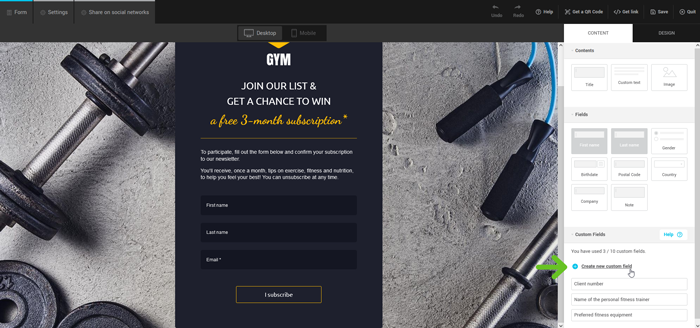
- Open the Content tab in the panel to the right of the form.
- Under the Custom Fields section, click the Create new custom field link.
- Choose Text for the field type.

- Enter the name of the new field (e.g., Acceptance of XYZ Contest Rules) and click Save.

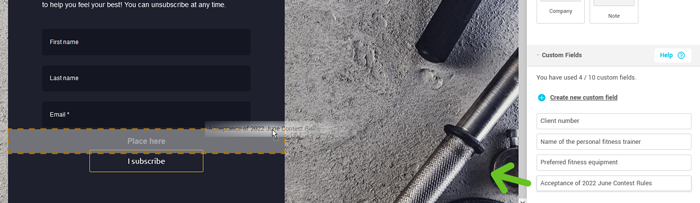
- Find the new field in the list of your custom fields. Keeping the pressure on your mouse button, drag and drop it into your form at the desired location. This box is usually placed just before the submit button of the form.
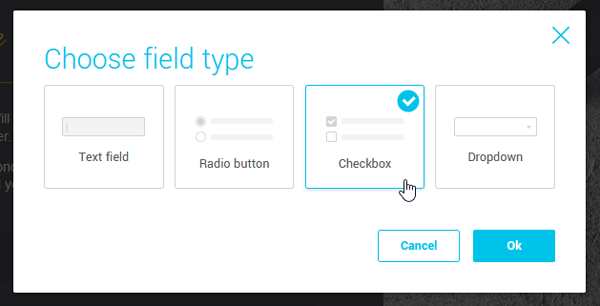
- In the Choose field type window, click Checkbox, then click OK.
- Click once on the new row in your form to select it. The field options will then appear in the right panel.
- Check the Required field option to ensure that all entrants agree to the contest rules.
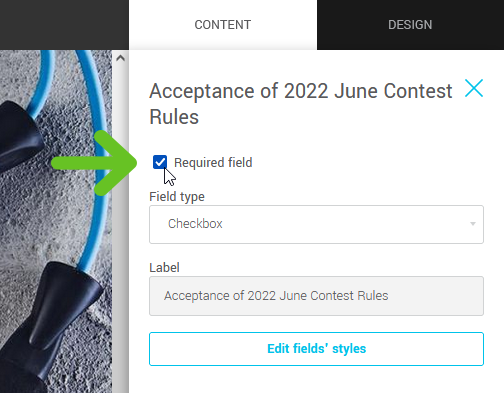
- Modify, if needed, the label of the field. You can also delete it completely.
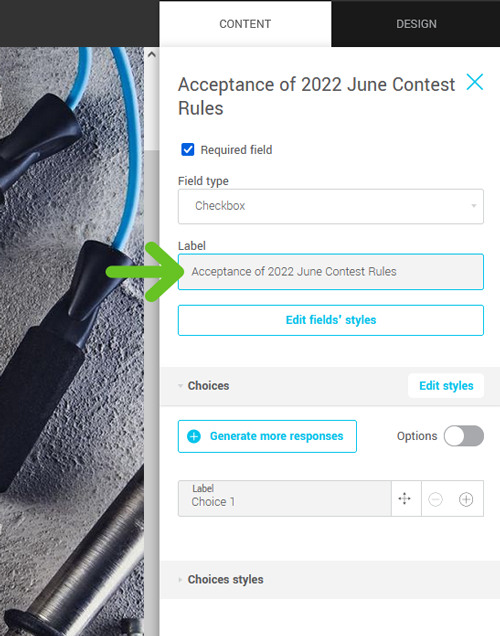
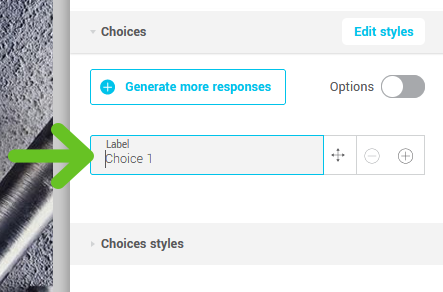
- Then, customize the wording of the response choice label. Change Choice 1 to a meaningful text or phrase like "I have read and agree to the contest rules".
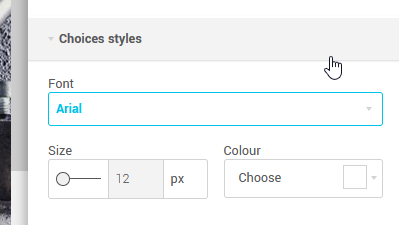
- In the Choice Styles panel, you can change the font, size, and color of the text.
Add link to read the contest rules
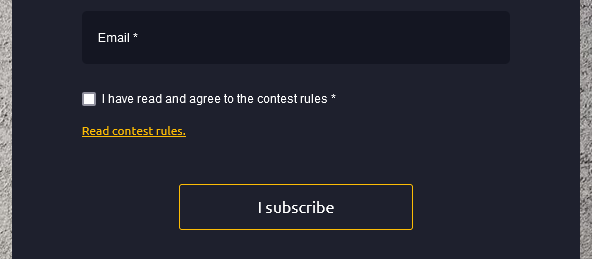
Don't forget to add a link to the contest rules at the top of your form or near the checkbox. To do so:
- Open the Content tab in the panel to the right of the form.
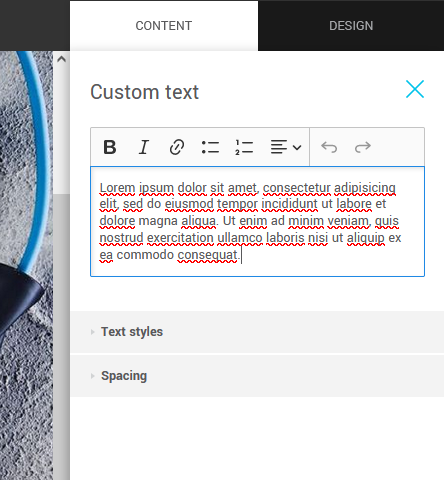
- In the Contents section, while holding down the mouse button, drag and drop a Custom Text element to the appropriate place in your form.
- Click once on the new row in your form to select it. The field options will then appear in the right panel.
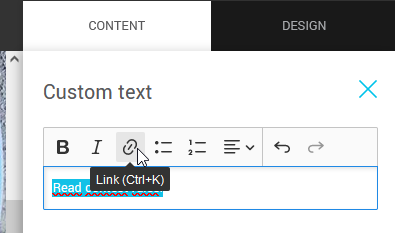
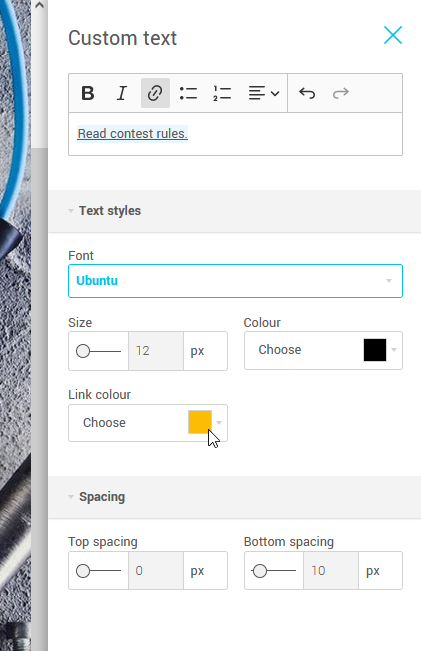
- Replace the filler text by a phrase like "Read contest rules."
- Select the call-to-action phrase or words and click the Link icon in the toolbar above the text.
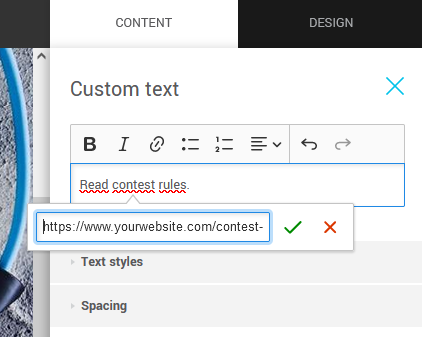
- Enter the full URL of the page (including HTTP...) where you can find the contest rules. You could also link a document such as a PDF if it is publicly hosted online. Then, click on the green checkmark to confirm the addition of the link.
- In the Text Styles panel, change the appearance of the text and the color of the link as needed.
Step 3: Configure your form settings (opt-in type, confirmation pages and groups)
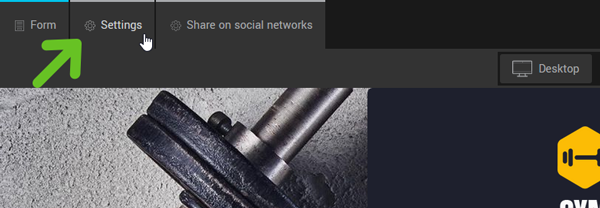
- Go to the Settings tab of your form.
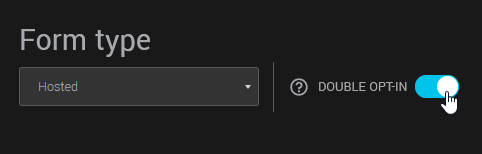
- To disable or enable double opt-in, click the switch to the right of the form type. Learn more about the type of opt-in >
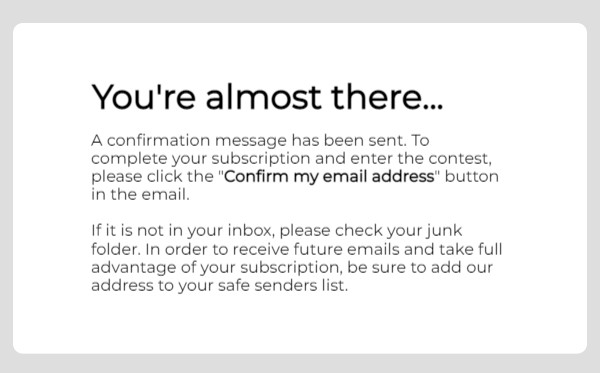
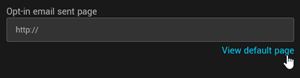
- (Optional step) Depending on the type of opt-in chosen, it is possible to customize the opt-in email sent page and/or the thank you page where your new subscribers will be redirected after they submit the form and confirm their subscription. Instead of using our default pages, you can use pages created on your website. To do so, enter the full URL of each page (including HTTP...) in the appropriate field.
Using personalized pages allows new subscribers to come back to your website after completing the subscription process. You can also adapt the message to the occasion. For example, in addition to thanking people for subscribing, you could remind them of some contest details.
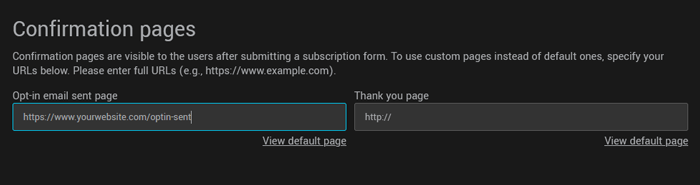
Example of an Opt-in email sent page
Example of a Thank you page

If you don't have a website or don't want to customize these pages, simply leave the fields blank and our default confirmation pages will be used instead. You can see a preview of these pages by clicking on the View default page links.
Learn how to add your logo to our default pages >
- Then bind your form to one or more lists. Under the Target groups section, check the group(s) in which you want to add the contacts following their subscription.
To easily find contest participants, we strongly recommend that you choose a new group that will only be used to accumulate contest entries. To do so, click the Create a group button. Then, enter the new group name (e.g., 2022 June Contest Subcribers) and click Create. Your new group will automatically be associated with your form.
Learn more about forms' subscription type and target groups >
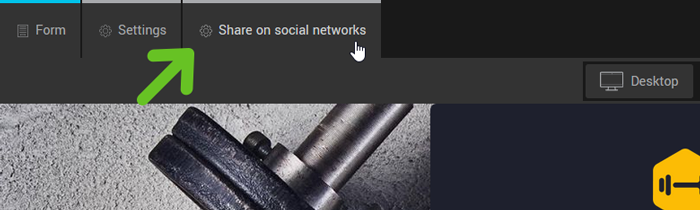
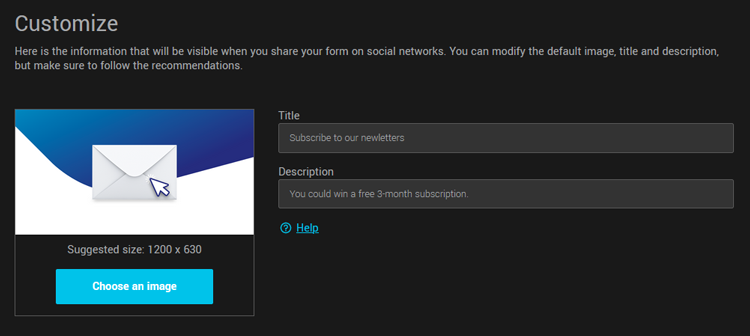
Step 4: Customize your form sharing
To customize the image, title and description that will accompany your post when sharing the form link on your social networks, go to the Share on social networks tab.
Make the necessary changes and don't forget to save your changes before exiting the editor.
Learn more about customizing form link sharing on social media >
Step5: Send a welcome email to your new subscribers
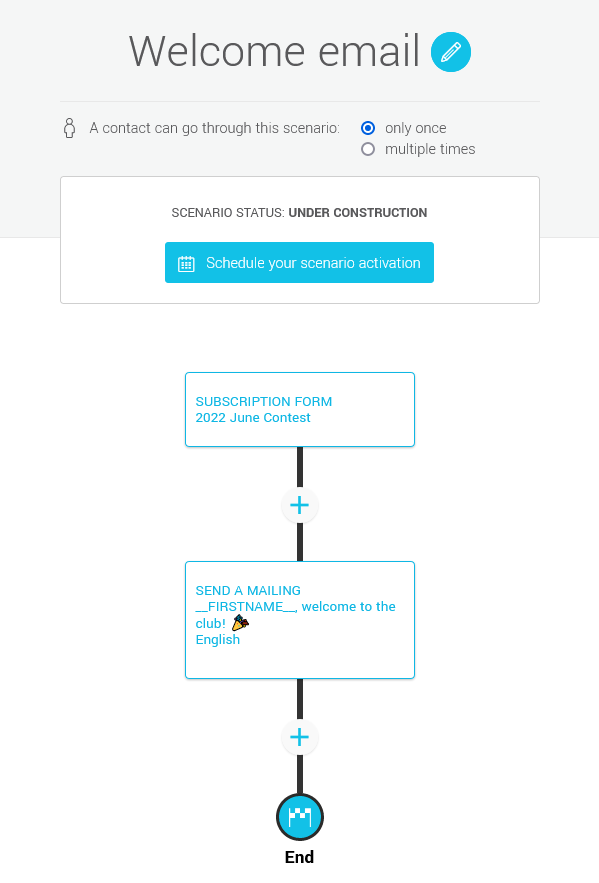
Before sharing your form, consider setting up an email to welcome your new subscribers. This email usually generates excellent open and click-through rates (often better than your regular newsletters), which shows a positive sign of engagement from your contacts and helps build a good sender reputation.
Take advantage of the welcome email to invite them to update their profile or preferences. This will allow you to know them better and to gather more information about them.
No need to stay behind your computer to send this email. Thanks to the marketing automation, you can set up a scenario to send this email automatically after your contacts' subscription, in just a few clicks. Learn how to create a welcome scenario >
See also:
- All about welcome emails
- How to create an update profile form
- How to add an update profile link in your email template
- How to personalize your emails with your contacts' data
Share your form link
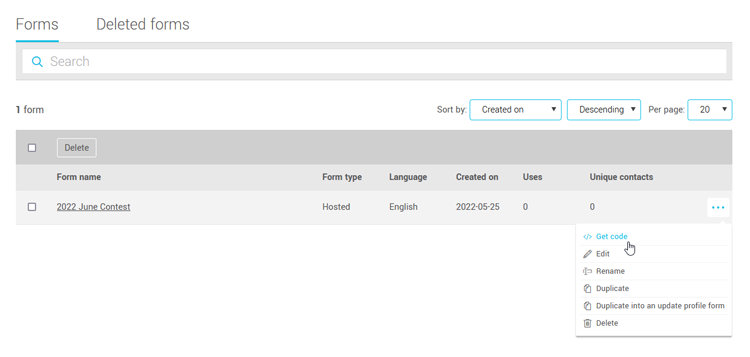
To share your form on your website, your social networks, like your Facebook page, or to add it in your email signature, simply retrieve its web address (URL) and add it as a link on text or a button. To do so, go to the menu and open the at the right of your form. In the drop-down menu, select the Get code option and copy your form URL.
To share your form on your Facebook page, create a new post in which you will paste the URL of your form. An image, description and title will automatically accompany the link preview. You can pin the post to the top of your news feed to keep it prominent and accessible. It is also possible to boost it to increase your number of views.
Learn how to customize the elements accompanying the sharing of the form link on social networks >
.png)
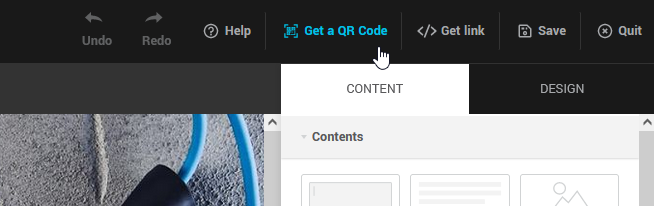
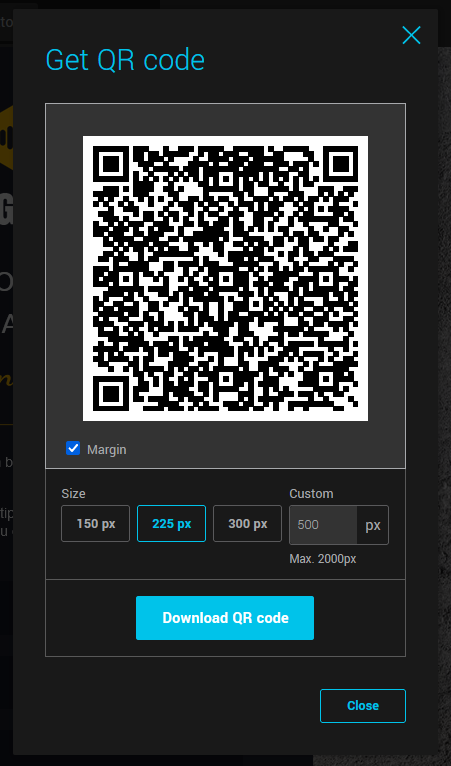
To share your form in places other than your website or your social networks, it is possible to generate a QR code that you can add, for example, to your posters or flyers. People can quickly access your form link and join your email list by simply scanning the code from their mobile device.
Learn how to create a QR code to access your form link >
Pick a winner
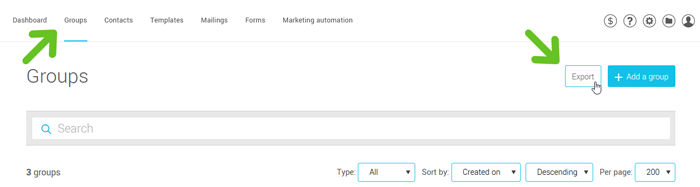
When the big day has come, export the list of contest participants to make the draw. To do so:
- Open the menu and click the Export button, located at the top right of the page.
- Enter a name for the file to export.
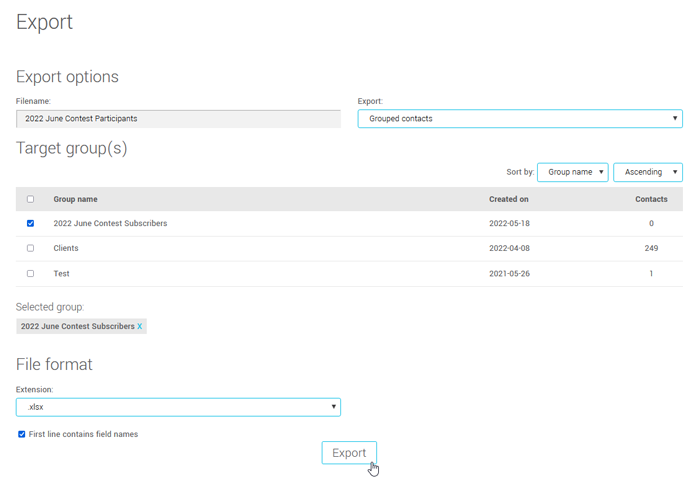
- In the Export drop-down menu, leave Grouped contacts.
- Under the Target group(s) section, check the group in which your contest participants have been added.
- Select the appropriate file format, then click Export.
- Once the export is completed, a pop-up window will appear on the screen prompting you to download your exported contacts file. Then use your favorite app to draw the winner.