
In this article:
Why use a countdown block
Countdowns are great for announcing events, new product launches or simply to build excitement for a promotion that expires in a limited time. They are usually placed prominently at the top of the email. They serve to build anticipation or a sense of urgency in your reader.
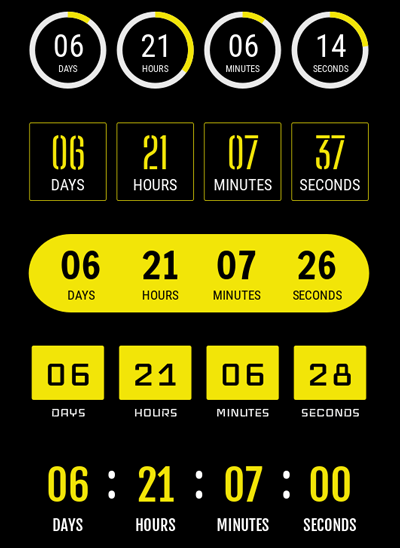
Our countdown blocks offer you multiple customization possibilities. In fact, you can choose from several styles of countdown templates and customize their colors, size as well as the font of the text and numbers. So be creative! Your countdowns will not go unnoticed.
How does the countdown work
The countdown blocks are composed of a dynamic image. It is an animated GIF. The link (URL) of the image contains parameters that allow you to calculate and display the remaining time of the countdown in relation to the end date you have chosen. This time is calculated and updated when the image is downloaded. When your recipient opens and downloads the images in the email, a 60-second animation begins, and you can see the time remaining in the countdown.
The support for GIFs is fairly universal. However, some email clients, such as Outlook 2007-2019 for Windows, cannot show the animation. In this case, users of these programs will instead see a static image that will display the remaining time of the countdown, calculated at the time of its download, but the numbers will not move.
What happens when the end date is exceeded ?
The countdown will only display zeros.
Adding a countdown block to your template
Countdown blocks can be added to any template made from the pre-drawn and basic template email editor.
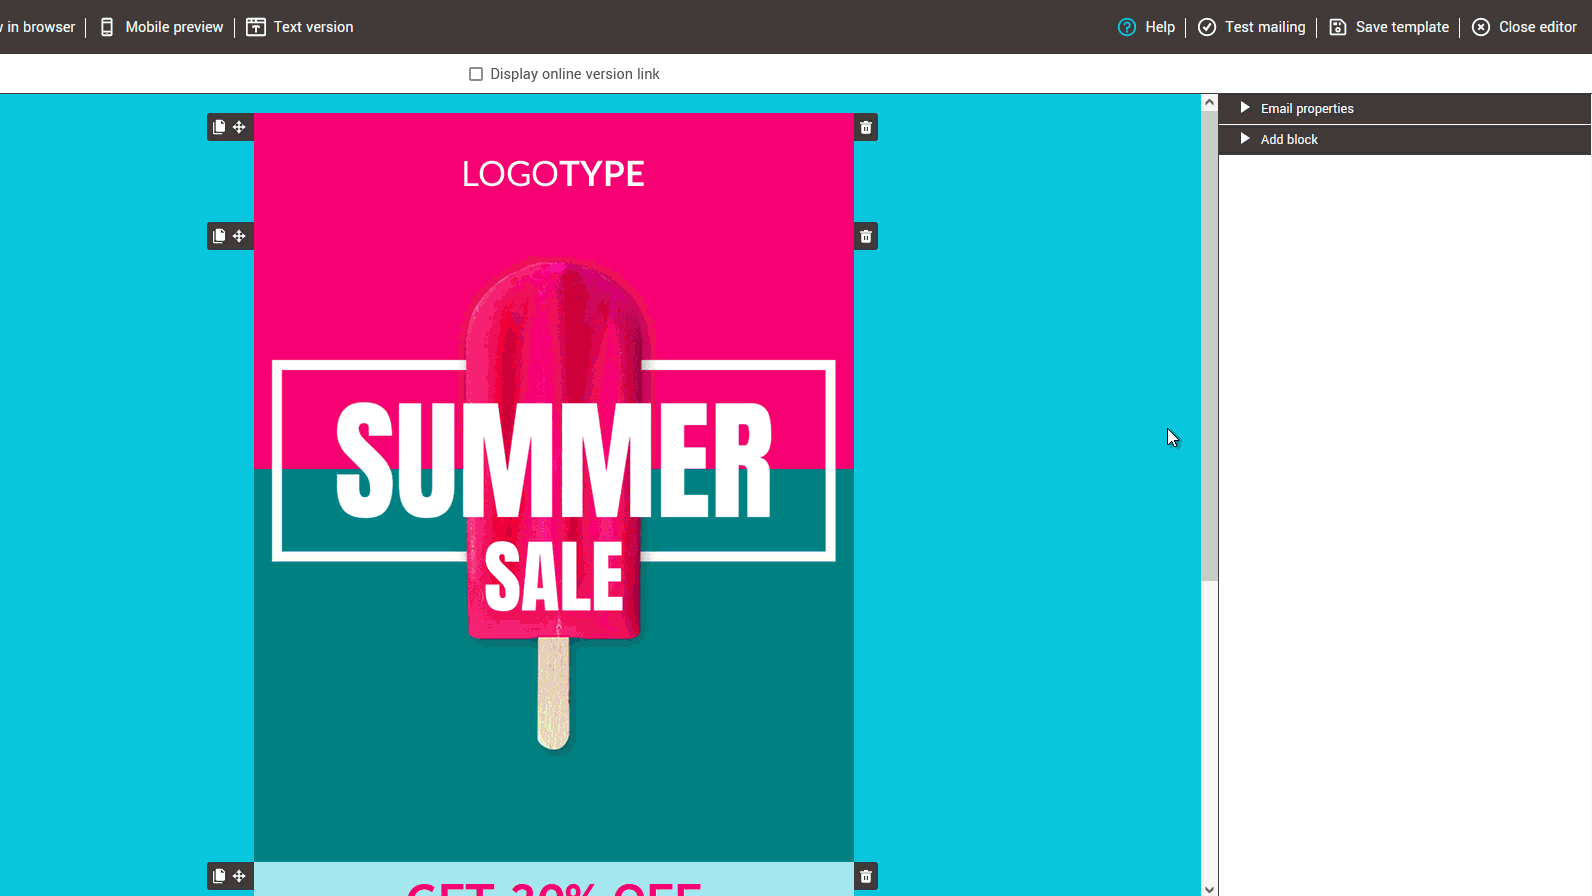
- Open your template in edit mode.
- In the sidebar to your right, go to the Add block section. If this is not expanded, click on the triangle to the left of this title to see the list of categories.
- Open the drop-down list of block categories and choose Countdown Timers.
- Drag and drop the Countdown block to the desired location on your template.
Customize the display of your Countdown Timer block
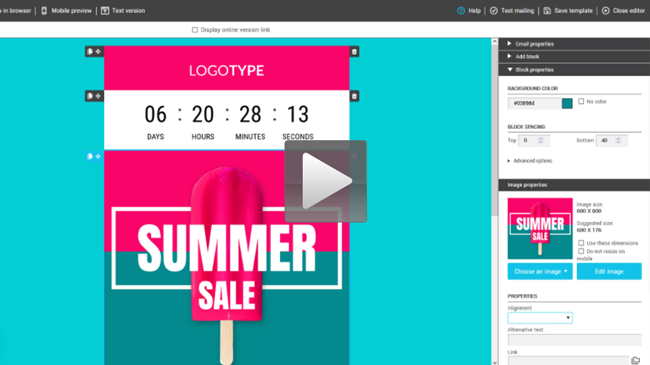
- Click on the countdown block you added to your template to select it.
- In the side panel to your right, you will see the block's properties.
- Select your preferred countdown template from the choices offered.
- Then customize its size, colors, language and fonts (for numbers and text).
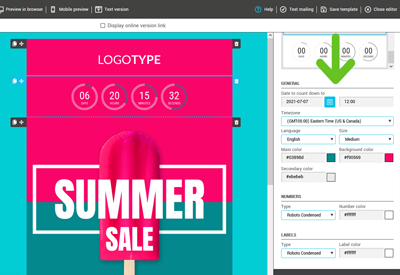
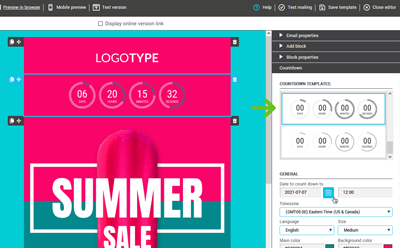
Configure the date to count down to and the timezone
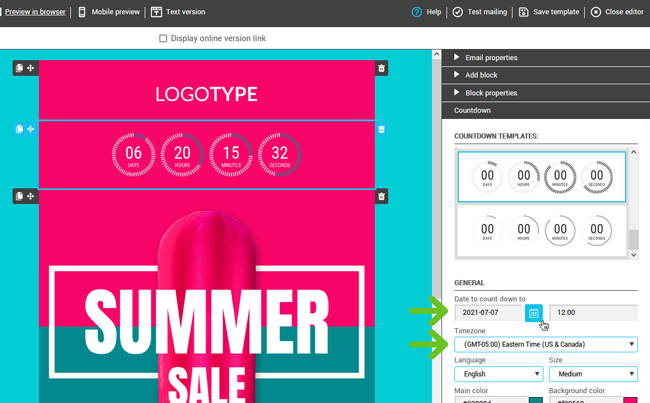
- Click on the countdown block you added to your template to select it.
- In the side panel to your right, you will see the block's properties.
- In the General section of the countdown properties, select the date to count down to and the appropriate timezone.