
In this article:
Create a group based on your micro survey statistics
To do so:
- From the fast access bar from the left of your screen, select the "Micro surveys" module.
- Go to the appropriate tab to find your survey : "Surveys" (for active or under construction surveys) or "Archived surveys".
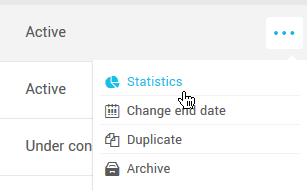
- Click the action menu on the right and select "Statistics".
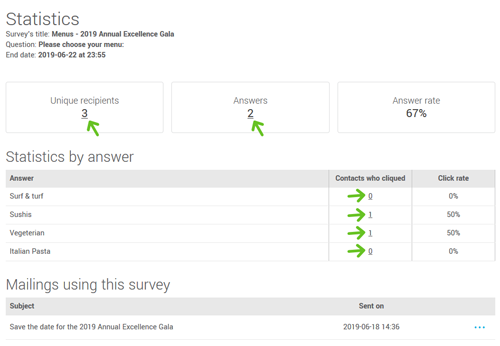
- Click on the number result for the statistic you're interested in to access the contact list.
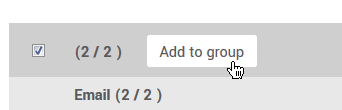
- To select the entirety of your survey statistics, check the box in the grey header on top of your contact list, just beside the "Add to group" button.

- Click on the "Add to group" button.
- Choose to add your contacts to an existing group or a new group.
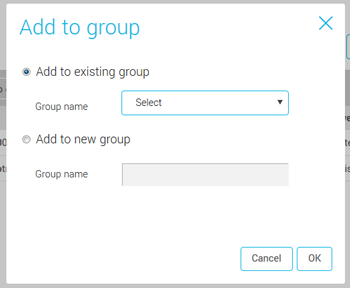
- Click "OK" to confirm.
Note : if contacts were deleted or unsubscribed after replying to your survey, they will not be added to the group as they're no longer active contacts in your account.
Automate the addition to a group based on participation to a survey
You can use an automated scenario to add your contacts to a group depending on the participation to your survey: whether they answered, didn't answer or depending on what they answered.
To do so, you'll first need to have access to the automated scenario module. This module is included in the Plus and Pro plans.
It's recommended to create and activate your scenario before sending out officially your survey. Otherwise, you'd lose some subscriptions to your group. Your scenario will only count the triggers that happened after activation.
To create your scenario:
- Go to the "Marketing automation" module.
- Click on "+ New scenario".
.png)
- Then, click the "Create my own scenario" button.

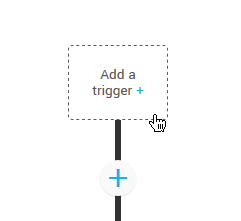
- Click on "Add a trigger" .
- Select the appropriate trigger. In this case, it would be "Answered question" or "Unanswered question".
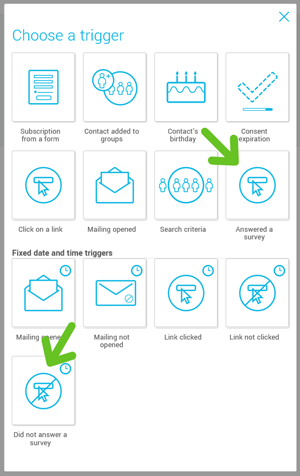
- Complete the configuration of your trigger by following the steps on the screen.
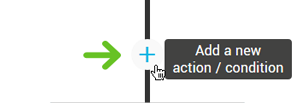
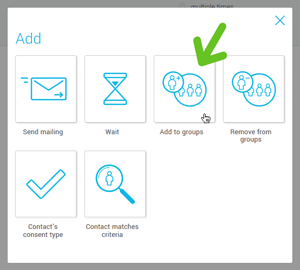
- Click the "+" in the scenario and select "Add to a group". Select the appropriate group(s) in which you want your contacts to be added.
- Don't forget to save your scenario.
- Once you've completed the set up of your scenario and you're ready for it to start, schedule its activation. Click here to learn how to do it.