In this article:
Micro surveys and Marketing automations: More powerful when combined !
Combine our micro surveys and marketing automation scenarios for even more results!
For example, you could use your micro surveys to segment your groups depending on their center of interests by adding your contacts to the appropriate groups. You could also send emails about your upcoming events automatically based on answers regarding attendance. People didn't respond? Send them a reminder! Send out special offers as a thank you to people who participated to your micro survey!
To learn more about marketing automation scenarios, click here.
What you need to know before you start
First, you'll to have access to the marketing automation module. Learn more about our plans >
To use your micro-survey to its full potential, it's best to create and activate your scenario after configuring your survey, but before you send out your mailing containing your micro survey. The scenario will only take into consideration answers received after its activation.
Creating your scenario
Two triggers are related to the micro surveys: Answered question (you can choose between any answers or specific answer) and Unanswered question. They both are available if you choose to create your own scenario. If you are a new Marketing Automation user, we suggest you start from one of our scenario templates. Here's how:
- Go to the "Marketing automation" menu.
- Click "+ New scenario".

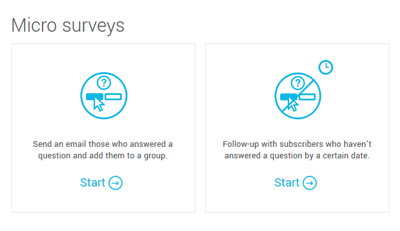
- Scroll down the different scenario templates. Scenario related to surveys are named "Answered question" and "Unanswered question".
Answered question: automate actions such as sending out an email and/or adding a contact to a specific group when your subscriber answers your survey.
Unanswered question: use this scenario to send out a follow-up or reminder email to people who didn't answer your survey by a specific date.

- Click "Start" on the right of the appropriate scenario.
- Click on the different steps to complete the configuration of your scenario. You can add additional steps by clicking the "+" sign or delete unnecessary actions. To learn more about scenario creation, click here.
- Once you've completed the set up of your scenario and you're ready for it to start, schedule its activation. Click here to learn how to do it.
- Click on "Quit" to exit the scenario.
