
To transfer your contacts from MailChimp to your account, you'll first need to export your lists to a CSV file. You'll be able to use this file to import them into your account.
Here is the procedure to follow:
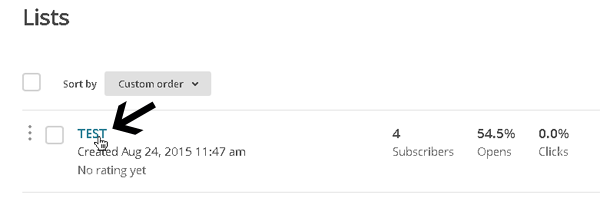
- Login to your MailChimp account and click the "Lists" menu at the top.

- Select the list you wish to export by clicking on its name.
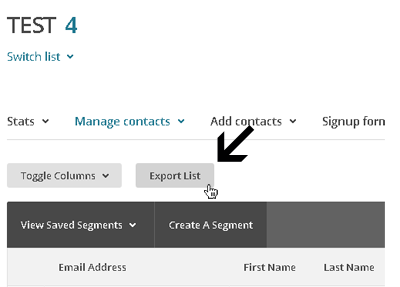
- Click the "Export list" button.
Note: You can export by "Segment" or "Group" as well in MailChimp. You can find the complete export process right here.
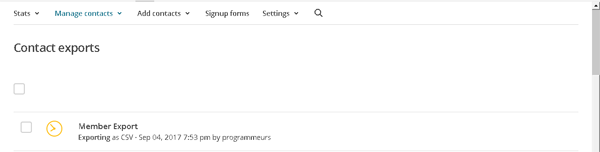
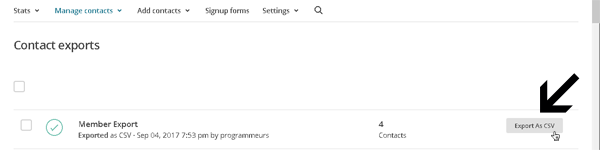
- A yellow clock icon will appear before the name of your list. Wait for it to turn to a green checkmark, then click on the "Export as CSV" button on the right to export your file. If the button doesn't appear, refresh your page (press F5). Save the file to your desktop.
Before:
When your list is ready to be downloaded:
- There you go! All you have left to do now is import your contacts to your account. For the importation process in our system, click here.
Additional tip: Pay attention to dates! Dates generated by MailChimp in "Birthday" or "Consent date" fields might not be in the right format for your importation in our system. Make sure they follow this format: yyyy-mm-dd otherwise your contacts will not be imported. You will probably need to remove the time from the field. To do so, open your CSV file in Excel and convert your data to columns if it's not already the case. You will be able to change the format of your column from there.