
In this article:
Gravity Forms and Cyberimpact integration guide
Prerequisites:
- You must have a Cyberimpact Plus or Pro plan with API access.
Installation:
- Install and activate the Gravity Forms plugin on your WordPress site.
- Install and activate the Cyberimpact – Email Marketing Integrations plugin on your WordPress site:
English: Download here
French: Télécharger ici - In your Cyberimpact account, go to Settings and Configurations > API Tokens.
Click on Create a new API token.
Copy the API token.
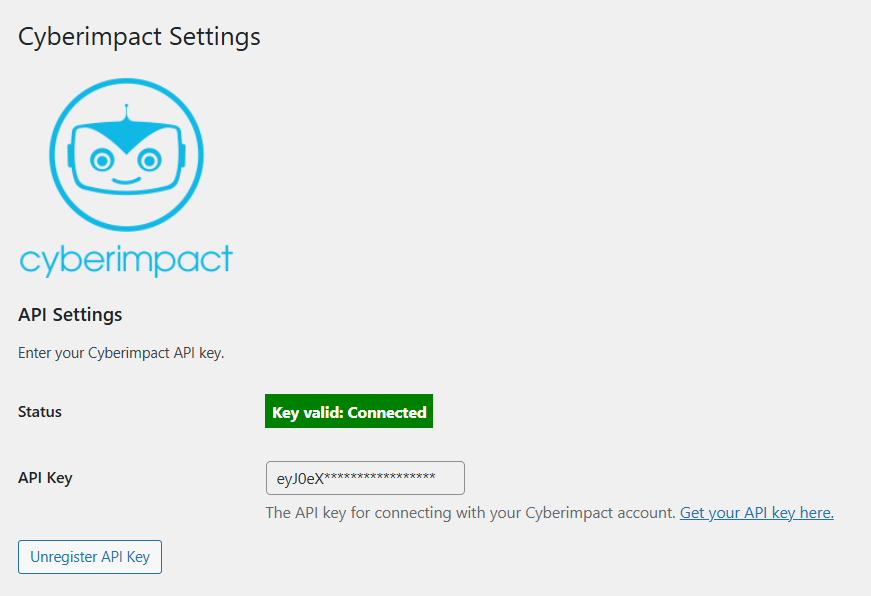
- In your WordPress admin panel, go to the Cyberimpact plugin settings, paste your API key, and click Save Changes.
The status should now display Key valid: Connected in green.
Form creation:
- Create your form using the Gravity Forms plugin.
- In the form's Settings, map the form fields to your Cyberimpact contact fields, then save your changes.
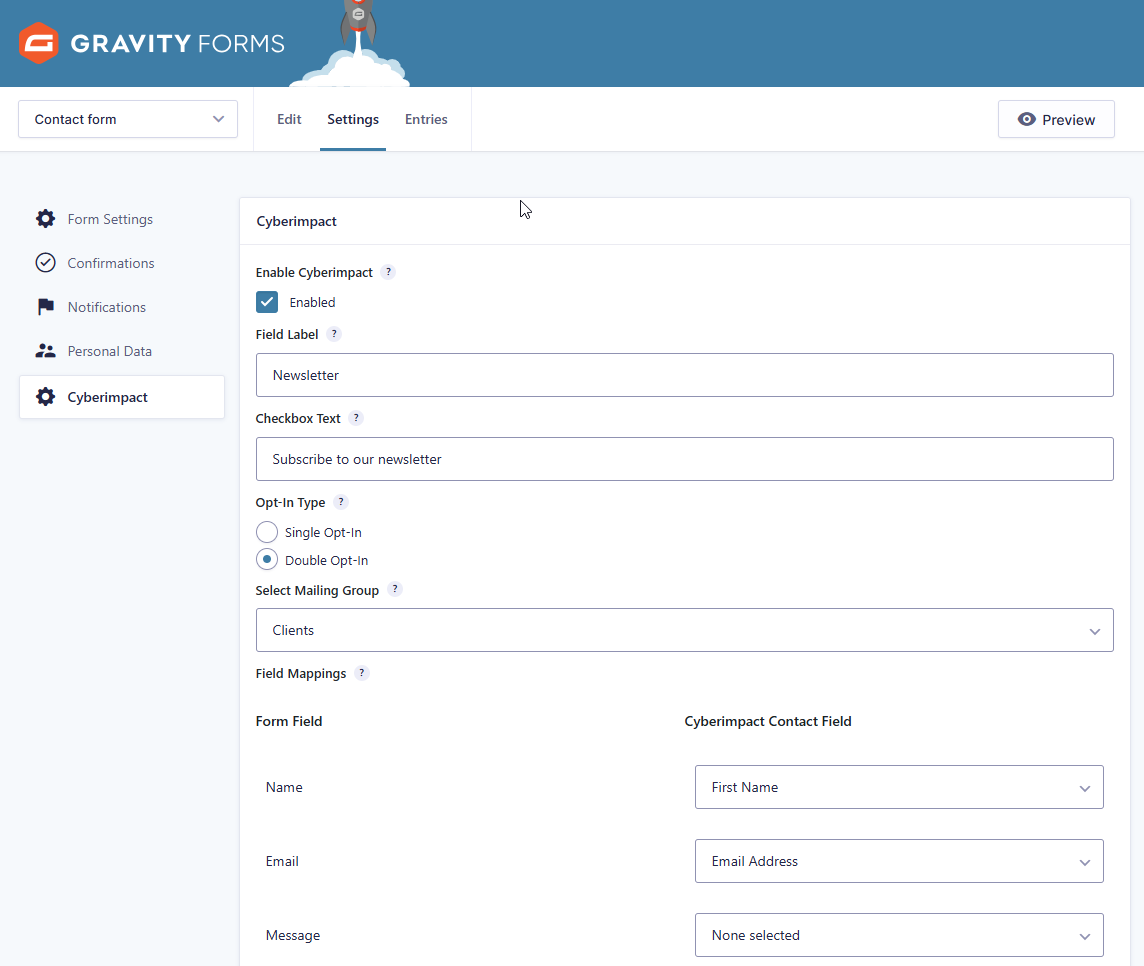
- Your form should now include a checkbox labeled Subscribe to the newsletter.
- Test the form by submitting it and selecting the subscription checkbox.
- If double opt-in is enabled, you will receive a validation email within a few minutes.
- If double opt-in is disabled, your contact should now appear in the selected group within Cyberimpact.
AVADA and Cyberimpact Integration
Prerequisites:
- You must have a Cyberimpact Plus or Pro plan with API access.
Installation:
- Install and activate the AVADA theme on your WordPress site.
- Install and activate the Cyberimpact – Email Marketing Integrations plugin on your WordPress site:
English version: Download here
French version: Download here - Generate an API token in Cyberimpact:
In your Cyberimpact account, go to Settings and Configurations > API Tokens.
Click on Create a new API token.
Copy the generated API token. - Add your API key in WordPress:
In your WordPress admin panel, go to the Cyberimpact plugin settings.
Paste your API key, then click Save Changes.
The status should now display Key valid: Connected in green.
Creating the Form:
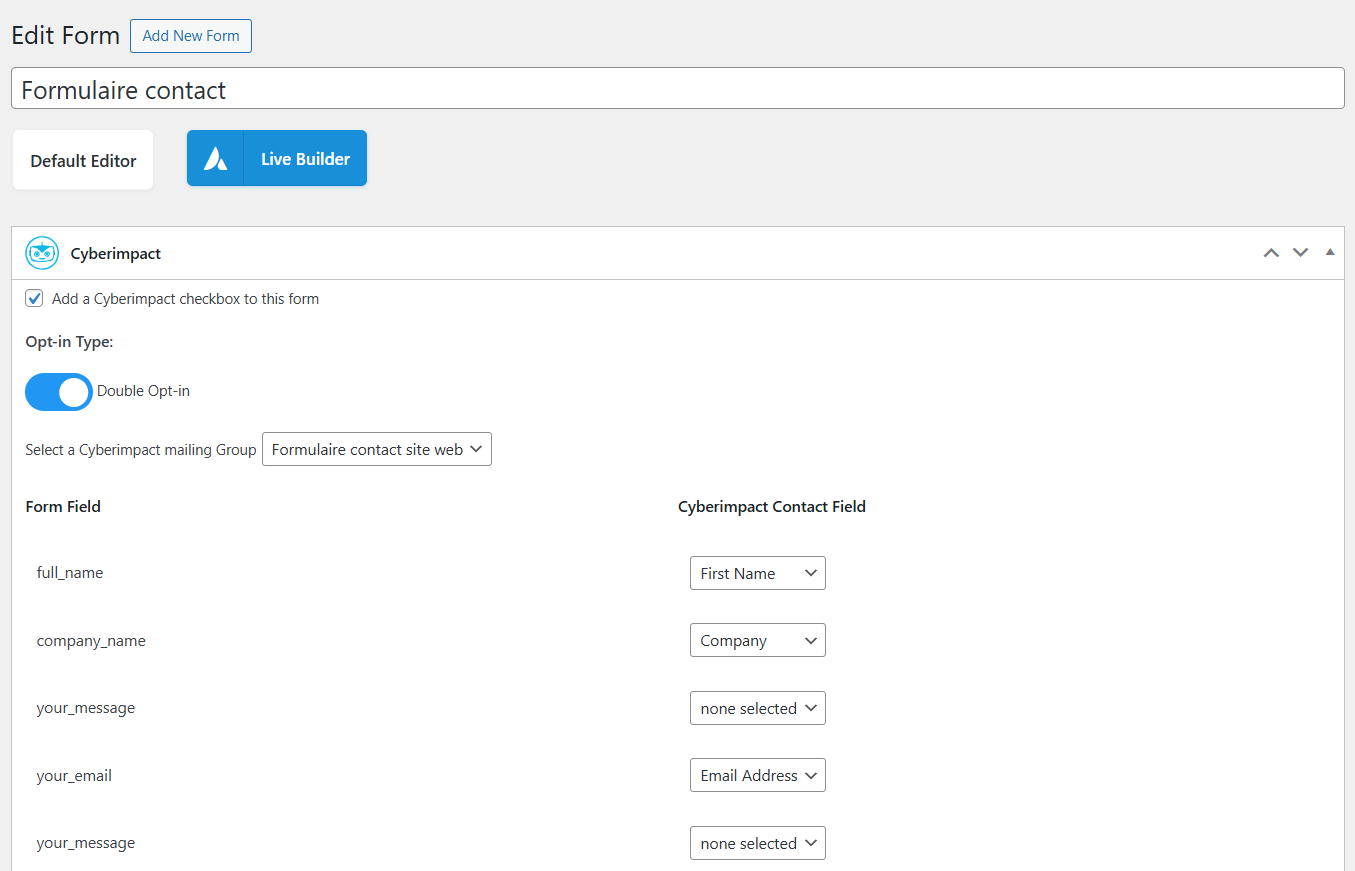
- Create a form in the AVADA > Forms tab.
Map the form fields to the corresponding Cyberimpact contact fields, then save your changes.
- Insert the form on the desired page using the AVADA shortcode.
- Ensure that your contact form includes a checkbox:
Subscribe to the newsletter - Test your form by filling it out and checking the subscription box:
- If double opt-in is enabled, you will receive a confirmation email within a few minutes.
- If double opt-in is disabled, your contact will be immediately added to the selected Cyberimpact group.
Contact Form 7 and Cyberimpact integration
Prerequisites:
- You must have a Cyberimpact Plus or Pro plan with API access.
Installation:
- Install and activate the Contact Form 7 plugin on your WordPress site.
- Install and activate the Cyberimpact – Email Marketing Integrations plugin on your WordPress site:
English version: Download here
French version: Download here - In your Cyberimpact account, go to Settings and Configurations > API Tokens.
Click on Create a new API token.
Copy the generated API token. - In the WordPress admin panel, go to the Cyberimpact plugin settings, paste your API key, and click Save changes.
The status should now display Valid Key: Connected in green.
Creating the Form:
- Create a form in the Contact Form 7 plugin (Left menu > Form).
- In the form editor, under the Cyberimpact tab, assign the form fields to the corresponding fields in your Cyberimpact contacts, then save your changes.

- In the form editor, you should now see the option to add the Cyberimpact component, which will display a checkbox labeled Subscribe to the newsletter.
- Test the integration by filling out the form and checking the subscription box:
- If double opt-in is enabled, you will receive a confirmation email within minutes.
- If double opt-in is disabled, your contact should immediately appear in the selected Cyberimpact group.