In this article:
Subscription and contact forms are key components in building successful landing pages. Whether you aim to collect newsletter subscriptions or provide a way for visitors to contact you directly, adding a form to your page can turn visitors into valuable leads and enhance your marketing strategy. In this article, we guide you through the steps to seamlessly integrate a subscription or contact form into your landing page and fully leverage this functionality.
Before you begin
Here are some useful details to know before creating your forms and adding them to your landing pages.
Why are forms important on a landing page?
A well-designed form is a powerful tool to engage your visitors and gather essential information about them. Here are a few reasons why forms are crucial:
- Generate Leads: Capture contact details from interested visitors, facilitating their conversion into customers.
- Streamline Communication: Contact forms provide a quick and direct way for visitors to ask questions or request information.
- Personalize Messaging: Collect valuable insights that help you segment contacts and deliver tailored, relevant content based on their interests, preferences, or characteristics.
Difference between a subscription form and a contact form
Although sometimes confused, these two types of forms serve distinct purposes:
- Subscription Form: Its main goal is to collect visitors’ email addresses and add them to your mailing list. This is an essential tool for expanding your audience and maintaining regular engagement through targeted campaigns.
- Contact Form: Designed for visitors to send specific messages directly to your inbox. It can include fields like name, email address, and a free-text field for questions or comments. You can also add custom or additional fields to gather necessary details and ensure you receive complete messages. Although a subscription option can be included, the primary purpose of this form is to facilitate personalized communication rather than growing your subscriber base.
How to add a form to your page
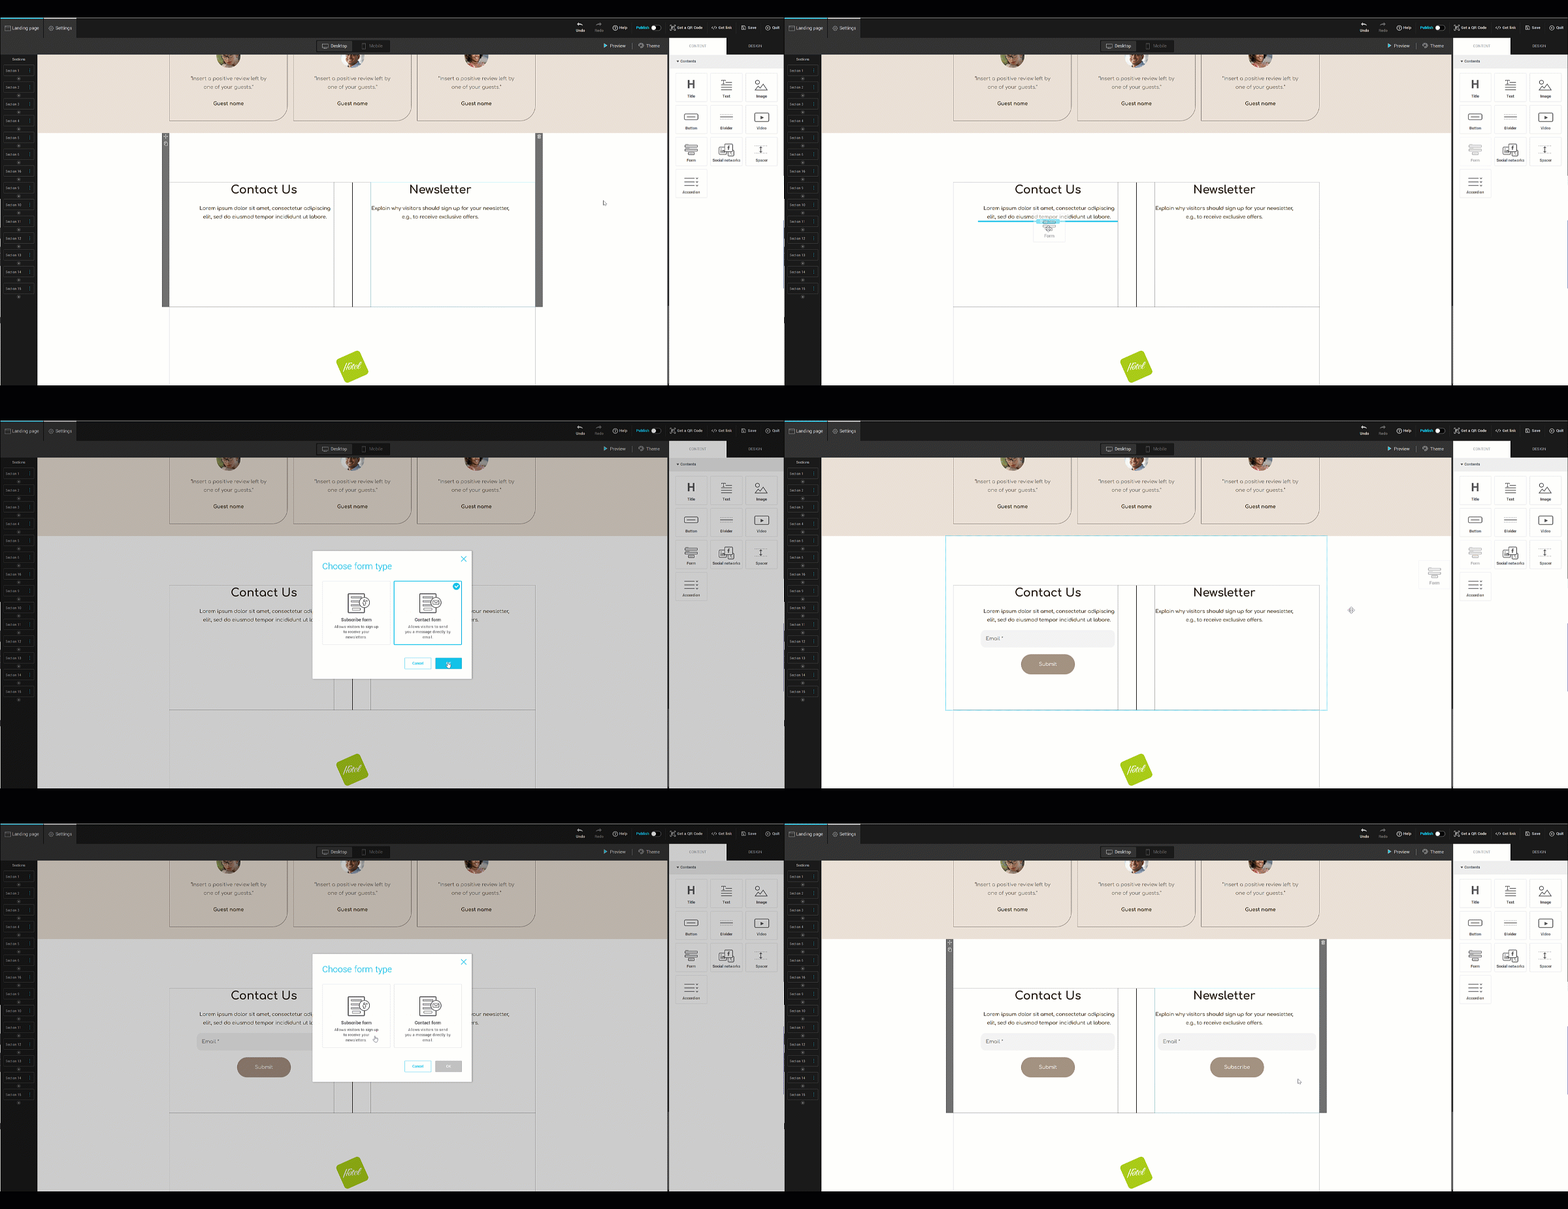
To add a form:
- Open your page in edit mode.
- In the side panel on your right, go to the Content > Elements tab.
- Select the Form element, then drag and drop it to the desired spot on your page.
- Choose the type of form you want and click OK to confirm.
Configure fields and form options
To begin, select your form on the page to display its properties in the right-hand panel. To modify your form's field list, button or other options, go to the Form (sub-tab) > Content.
In this section, learn how to:
- Add fields
- Reorder fields
- Delete fields
- Modify field or button labels
- Modify field options
- Make a field mandatory
- Add a newsletter subscription option (contact form only)
- Add a link to your privacy policy (contact form only)
Add fields
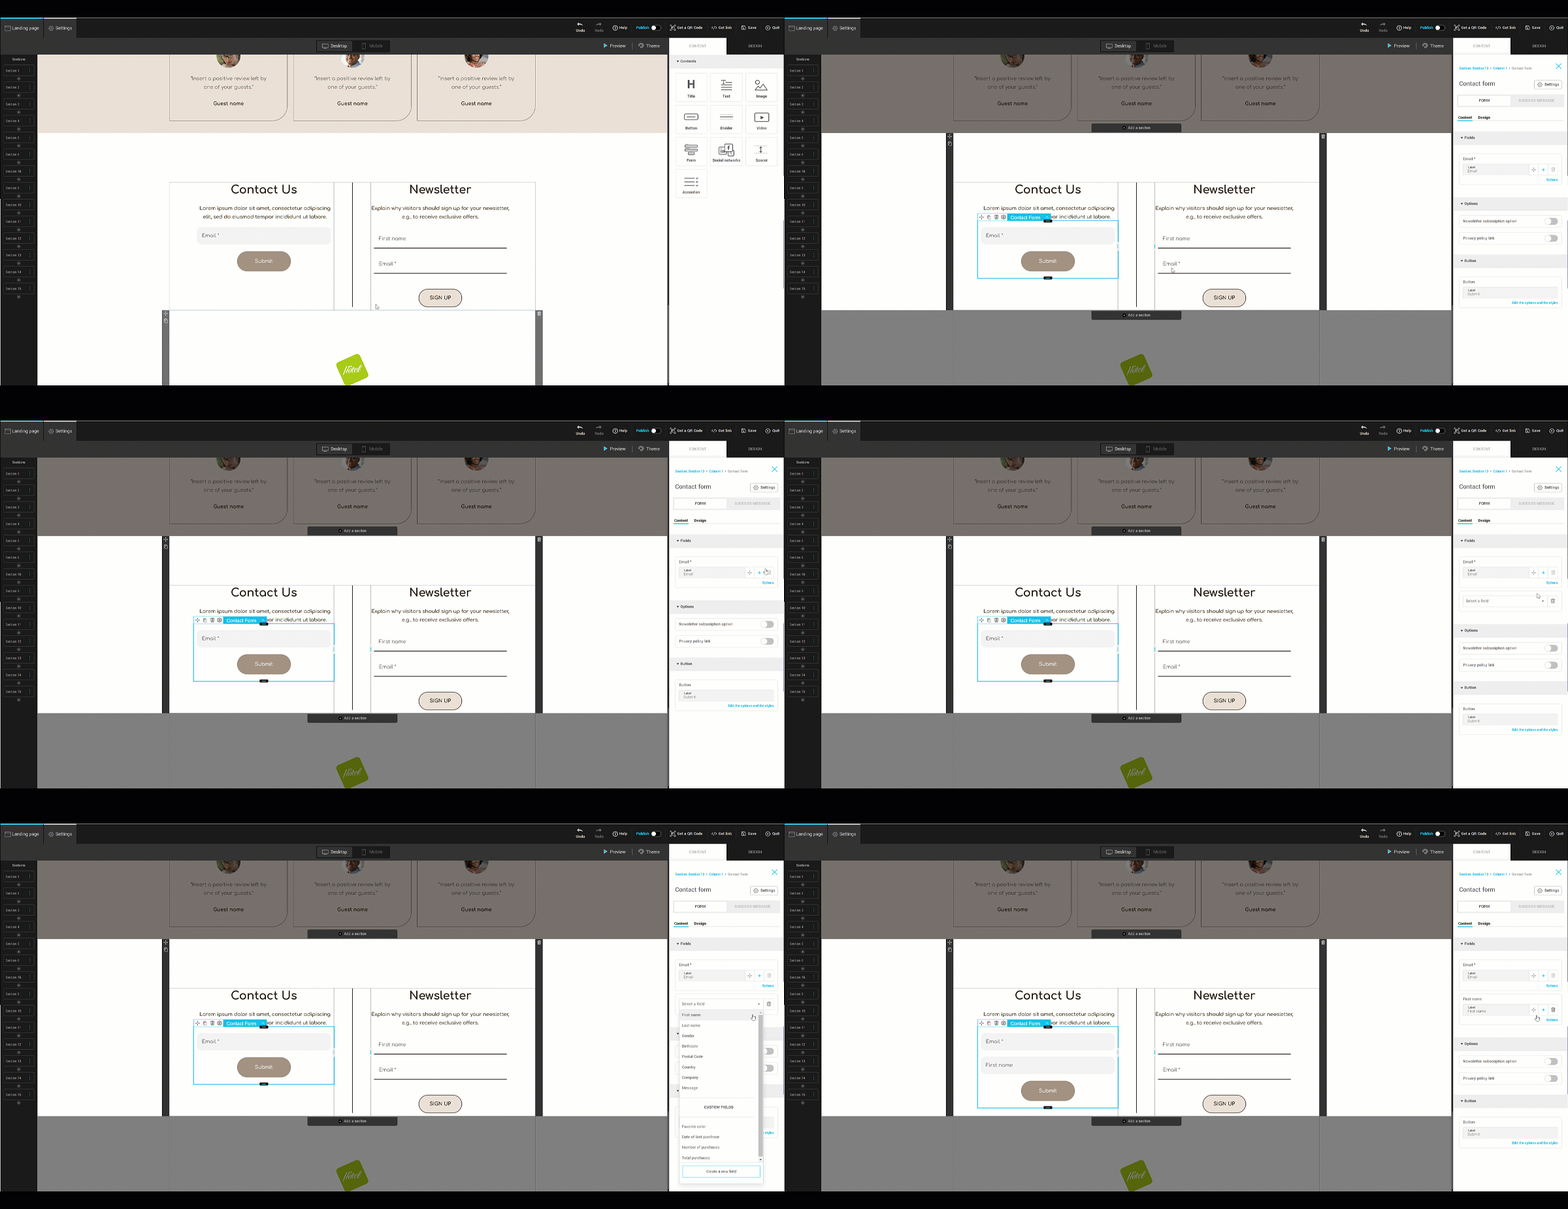
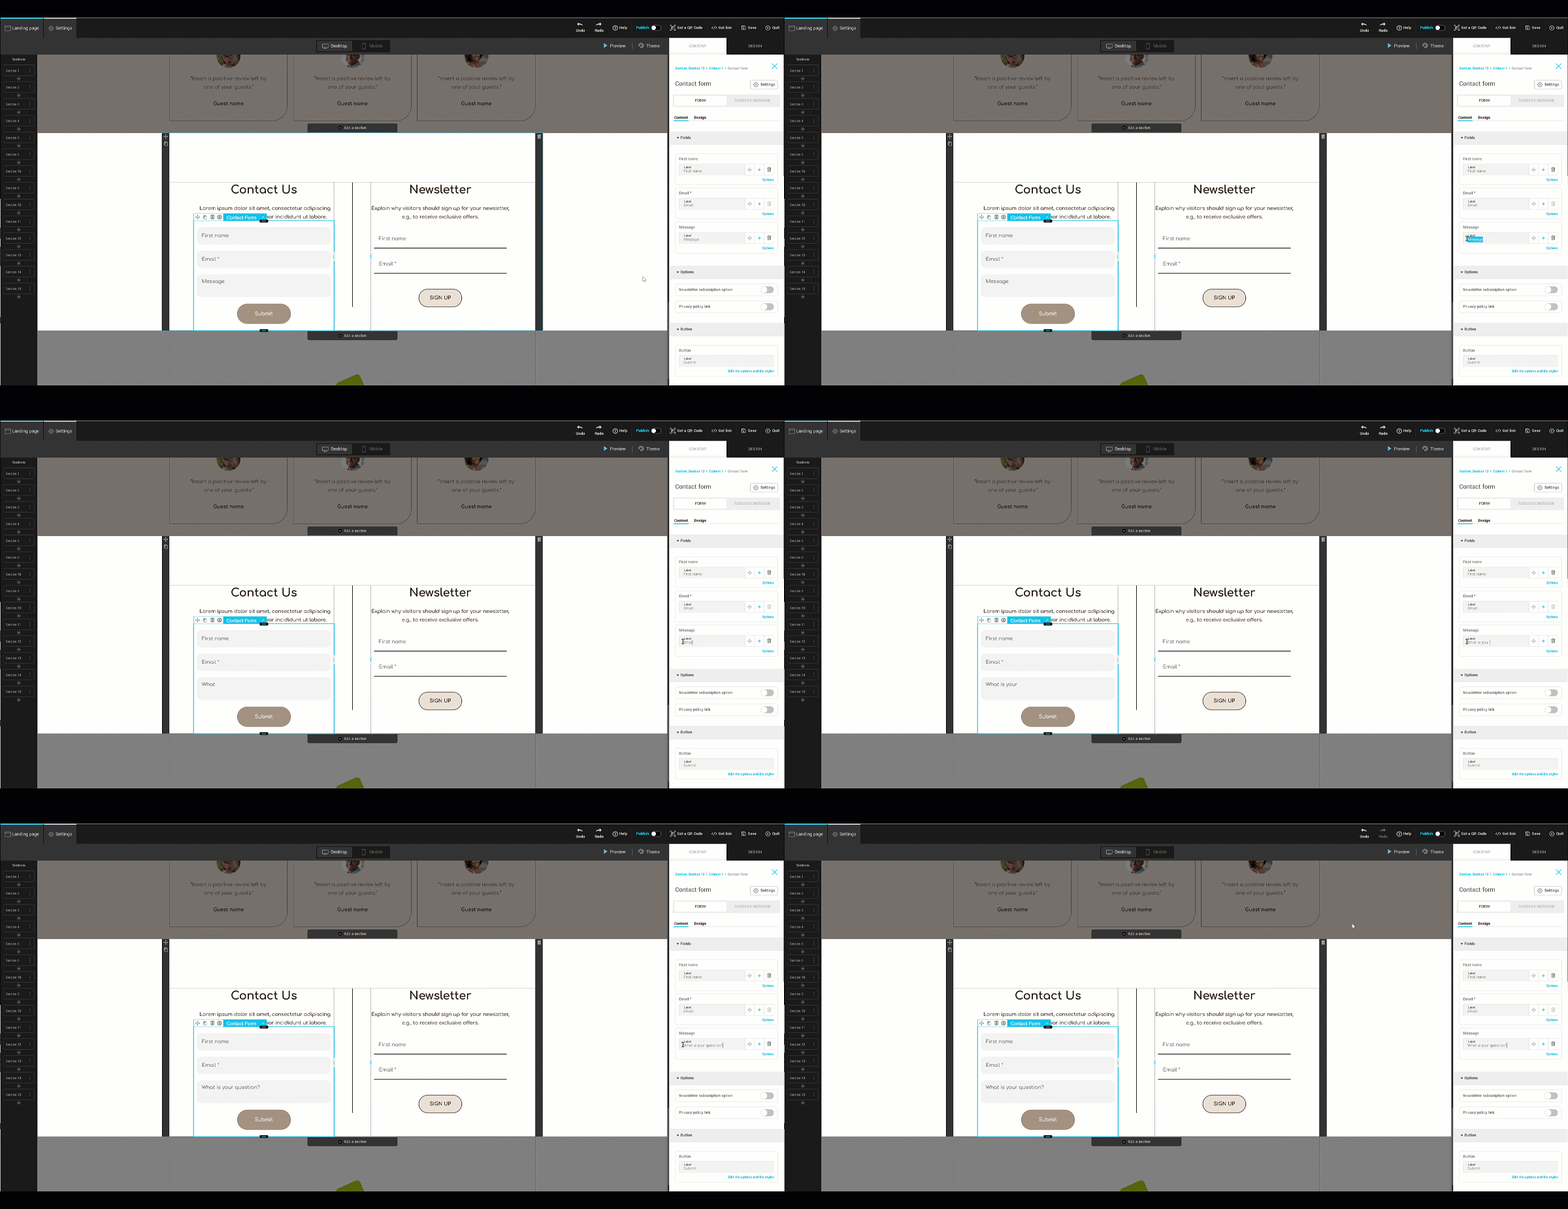
- Add fields by clicking the + icon in the options to the right of any field.
- Select the desired field from the dropdown list. In some cases (e.g., custom text fields or gender field), you’ll need to confirm the field format (e.g., dropdown, radio buttons, checkboxes, or text field).
- If the field you need is not available, you can create new ones. To do this, follow the steps below:
Subscription form
Click Create new custom field in the fields drop-down list. Define the field type, give it a name, and click Save. It will then be added to the list of custom fields for selection.
Contact form
Click Create a new field in the fields drop-down list. Choose between creating a custom field or an additional field. Then, define the field type, give it a name, and click Save. If you have chosen to create a custom field, you will need to perform an additional step to select it from the list in order to complete its addition.
Contact form-specific fields
Message Field
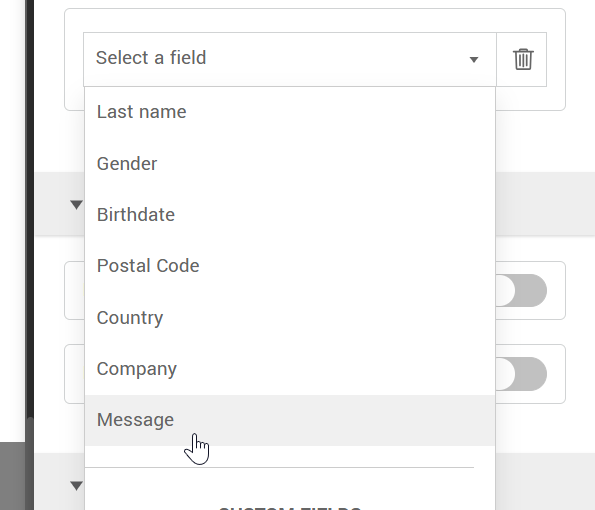
The contact form allows adding a Message field, a larger text area for visitors to write detailed messages or questions.
Additional fields
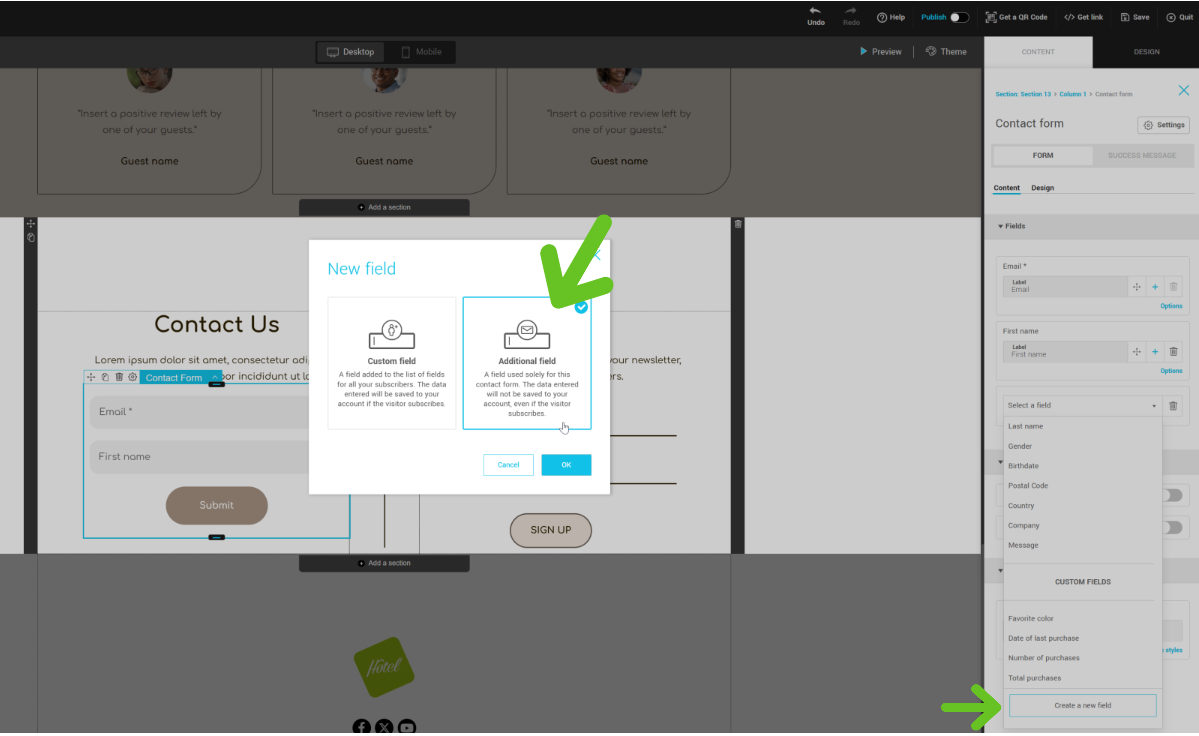
When creating fields in a contact form, you can choose whether to add custom fields or additional fields. Additional fields are specific to the contact form you configure and are not added to your account's list of custom fields. As a result, the data entered in these fields will not be saved in your subscriber profile if a visitor subscribes to your newsletter via this form. They are therefore ideal for collecting one-off or non-essential information for managing your subscribers.
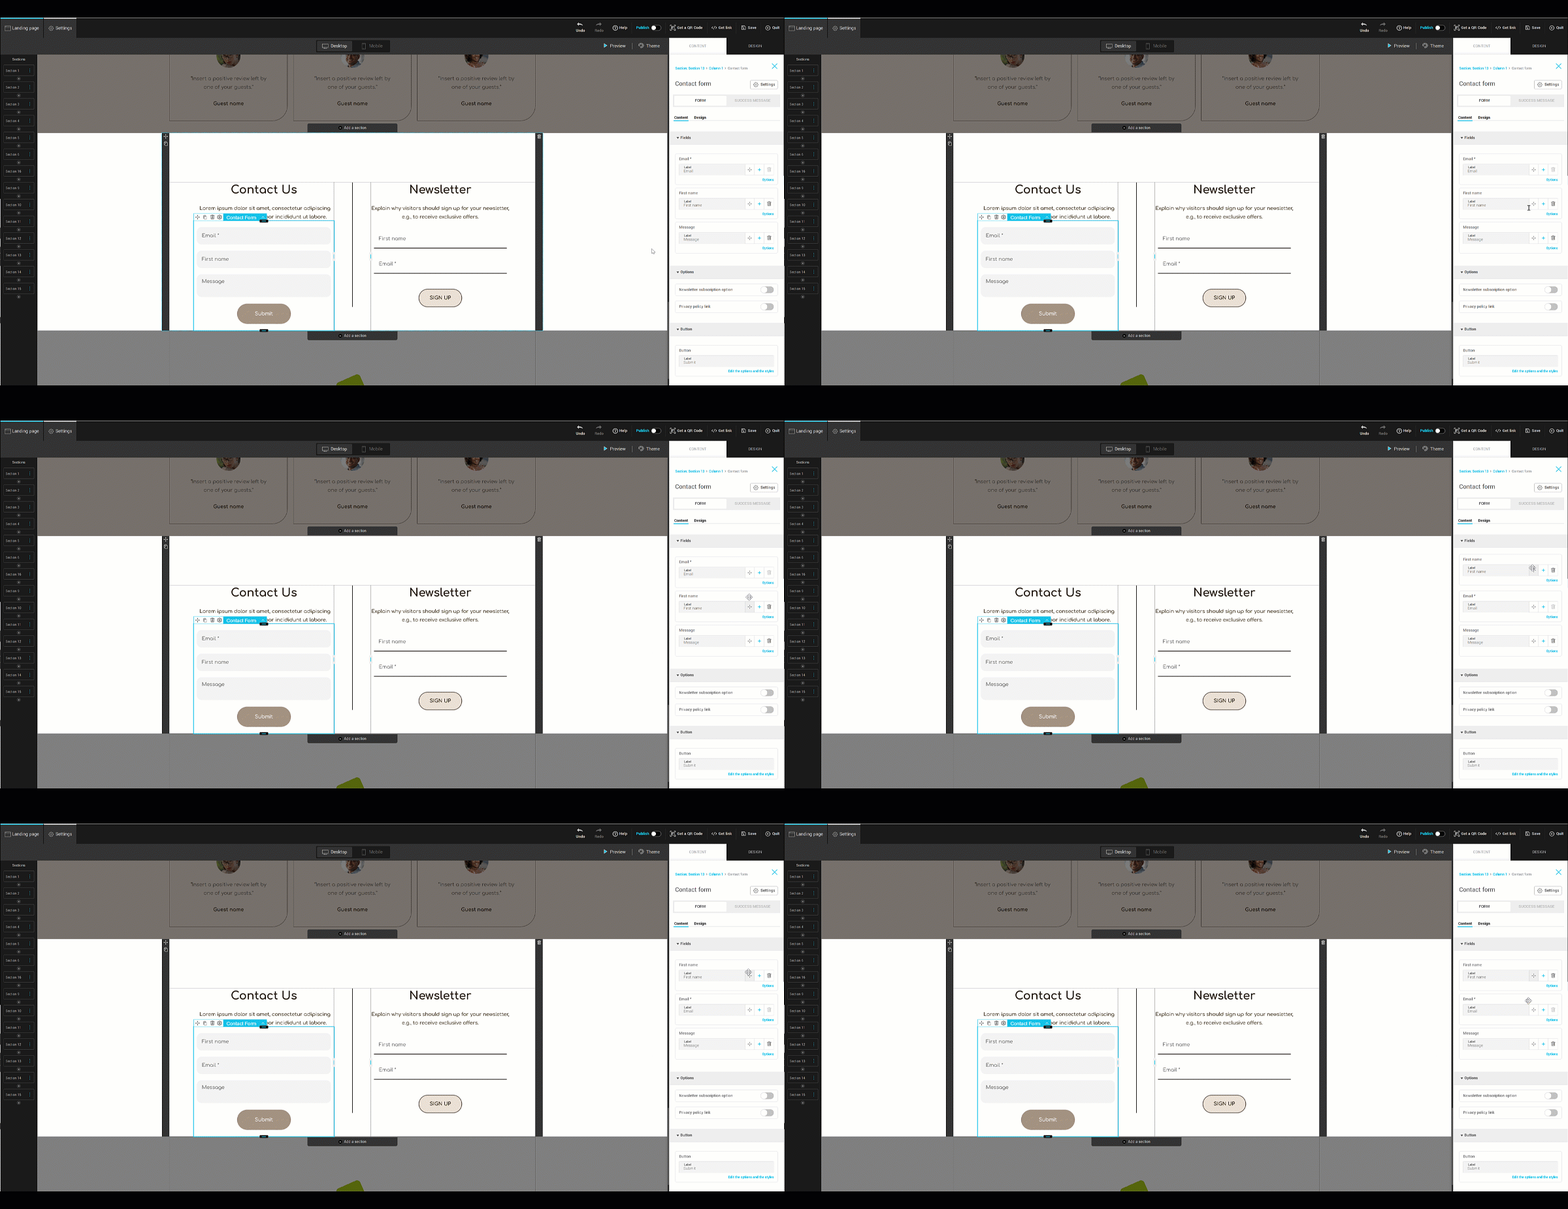
Reorder fields
To reorder fields, hold and drag the cross-arrow cursor to the desired position.
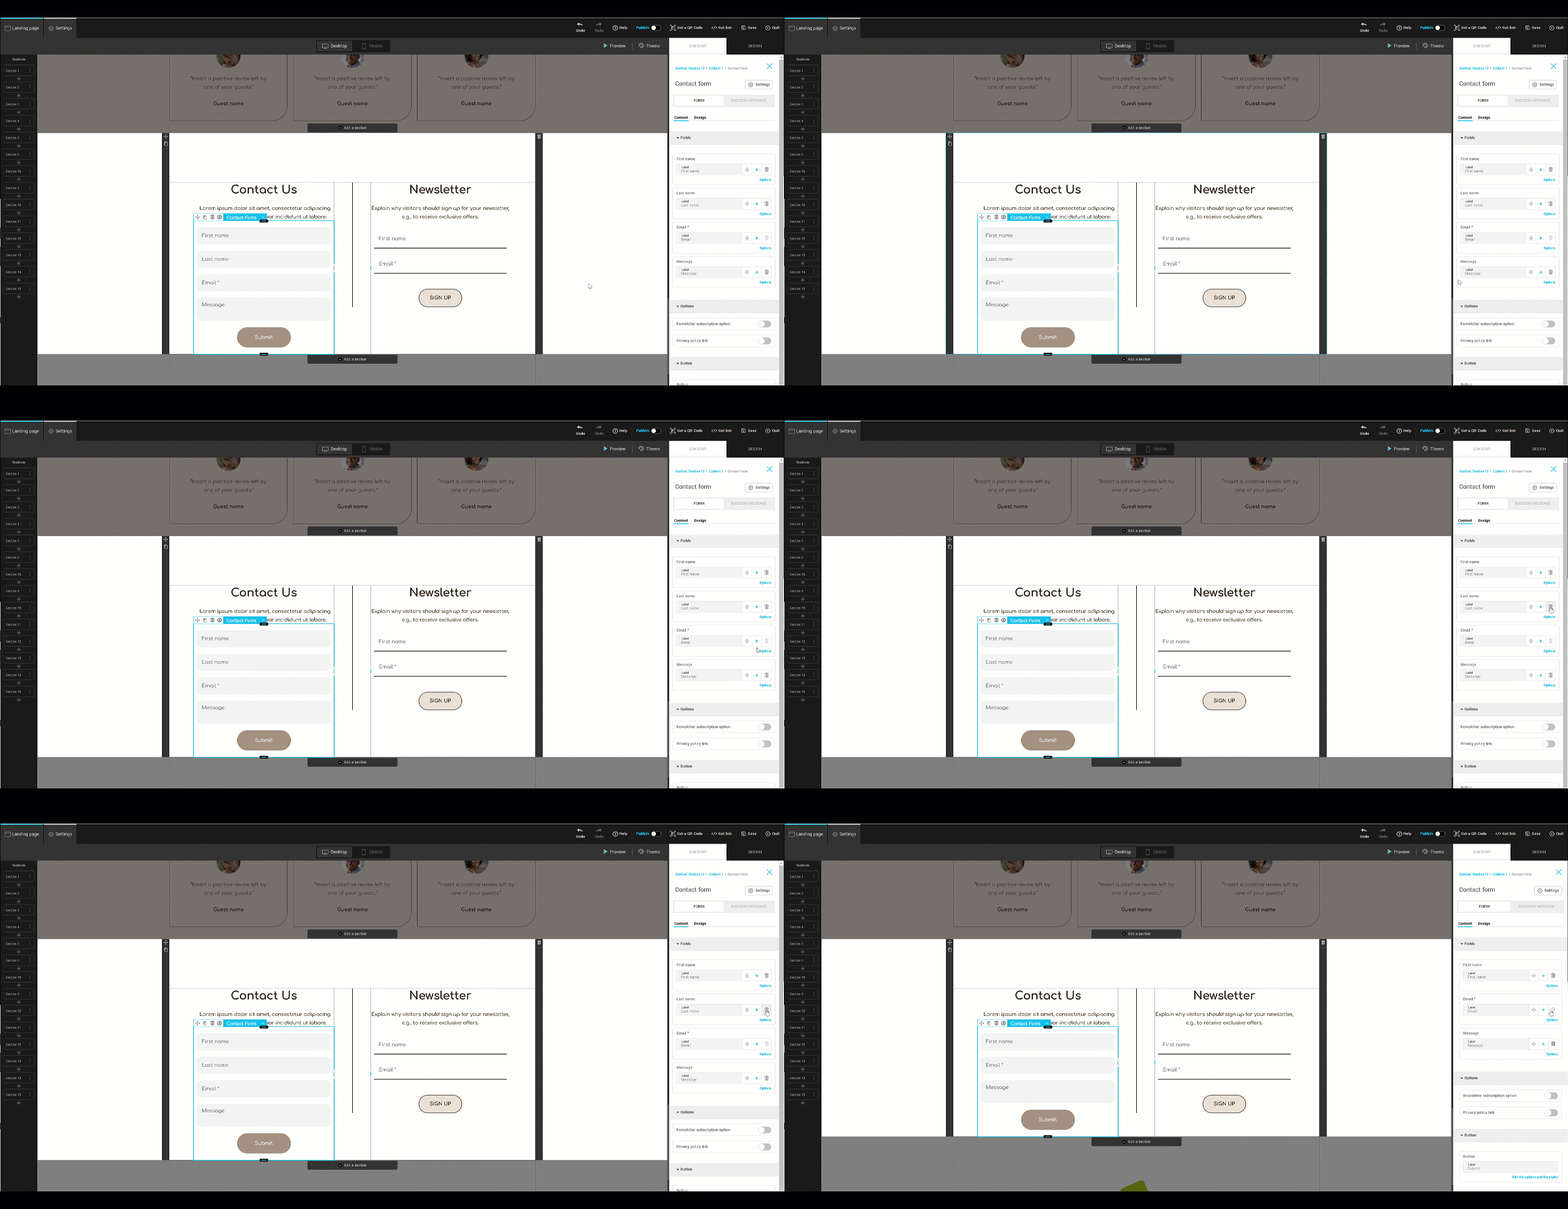
Delete fields
Click the trash icon next to a field to remove it.
Edit fields or button labels
You can edit field labels or the submit button text directly in the Form > Content panel or from the field options.
Modify field options
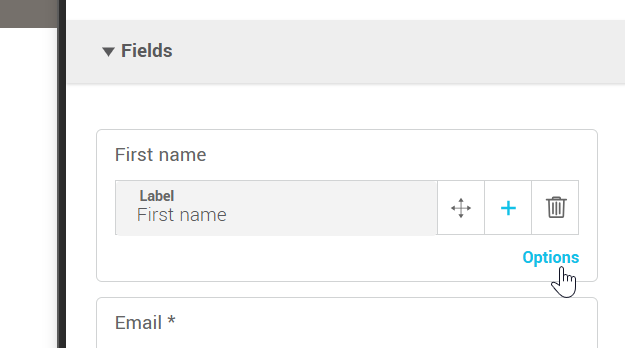
Some fields have special properties or additional options (for example, if you want to modify or add answer choices to a custom text field with checkboxes). To explore and configure the properties of each field, click on the Options link under its label name.
Make a field mandatory
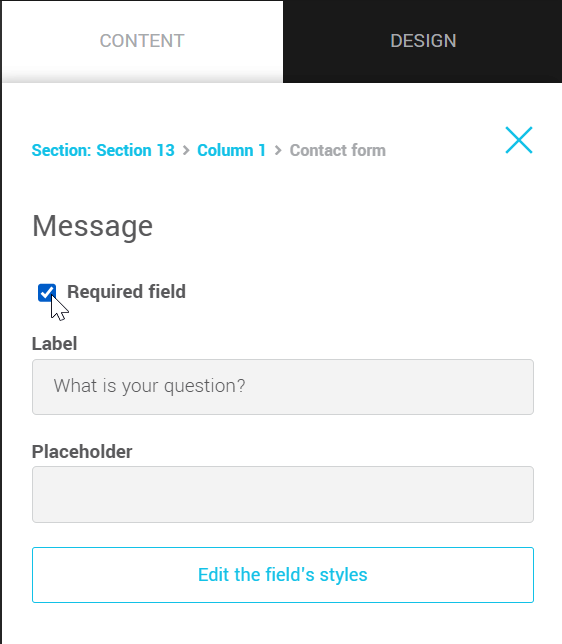
To make a field required, go to the Form > Content panel, click the field's Options link. Then, check the Required Field box in its properties.
Once this option has been activated, visitors will have to fill in this field to submit the form.
Add a newsletter subscription option (contact form only)
.png)
You can add a checkbox allowing visitors who use your contact form to subscribe to your newsletter. To do this, in the form content Options section, activate the Newsletter subscription option switch.
For details on how to customize this option, see Configure your form settings.
Identify subscription fields
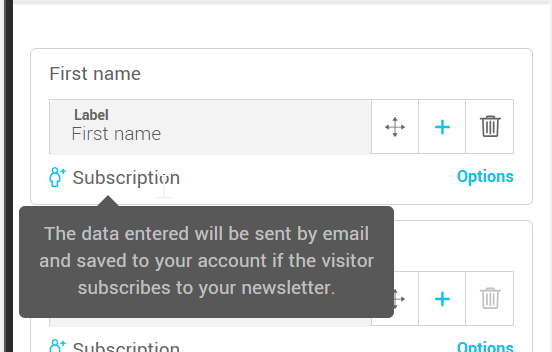
The fields whose information will be saved in your subscribers' profiles when they subscribe via your contact form are indicated by an icon followed by the word “Subscription”. The data entered in the other fields will be sent to you by e-mail, but will not be saved in your subscribers' profile if they subscribe to your newsletter.
Add a link to your privacy policy (contact form only)
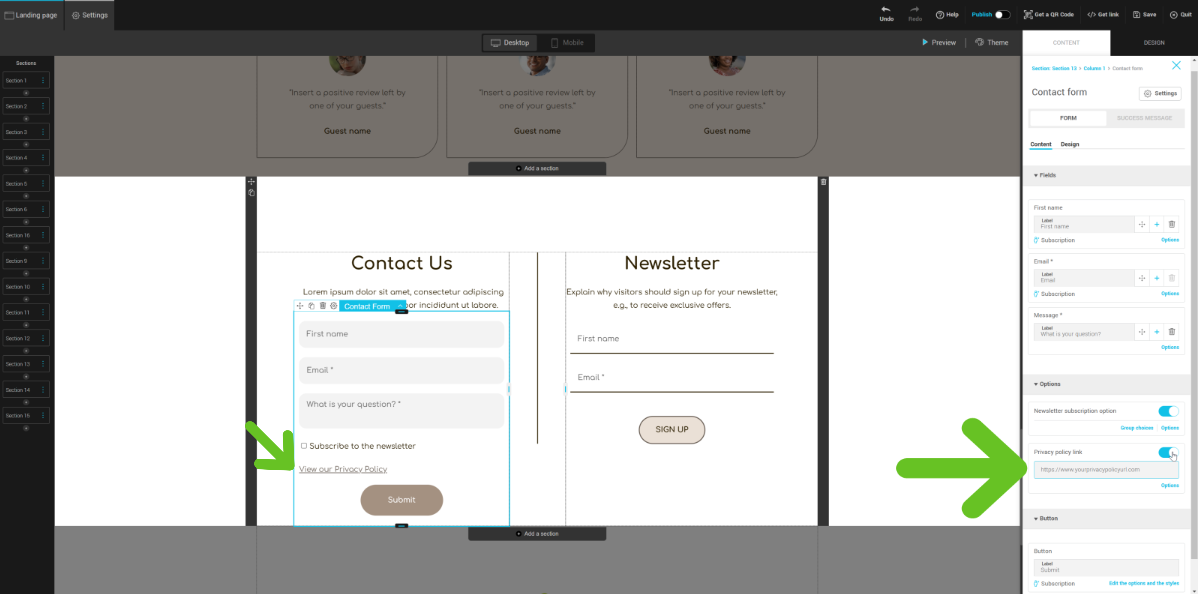
To include a privacy policy link above the submit button, activate the Privacy policy link switch in the form content Options section and enter your privacy policy URL.
You can customize the link style and label.
Customizing form appearance
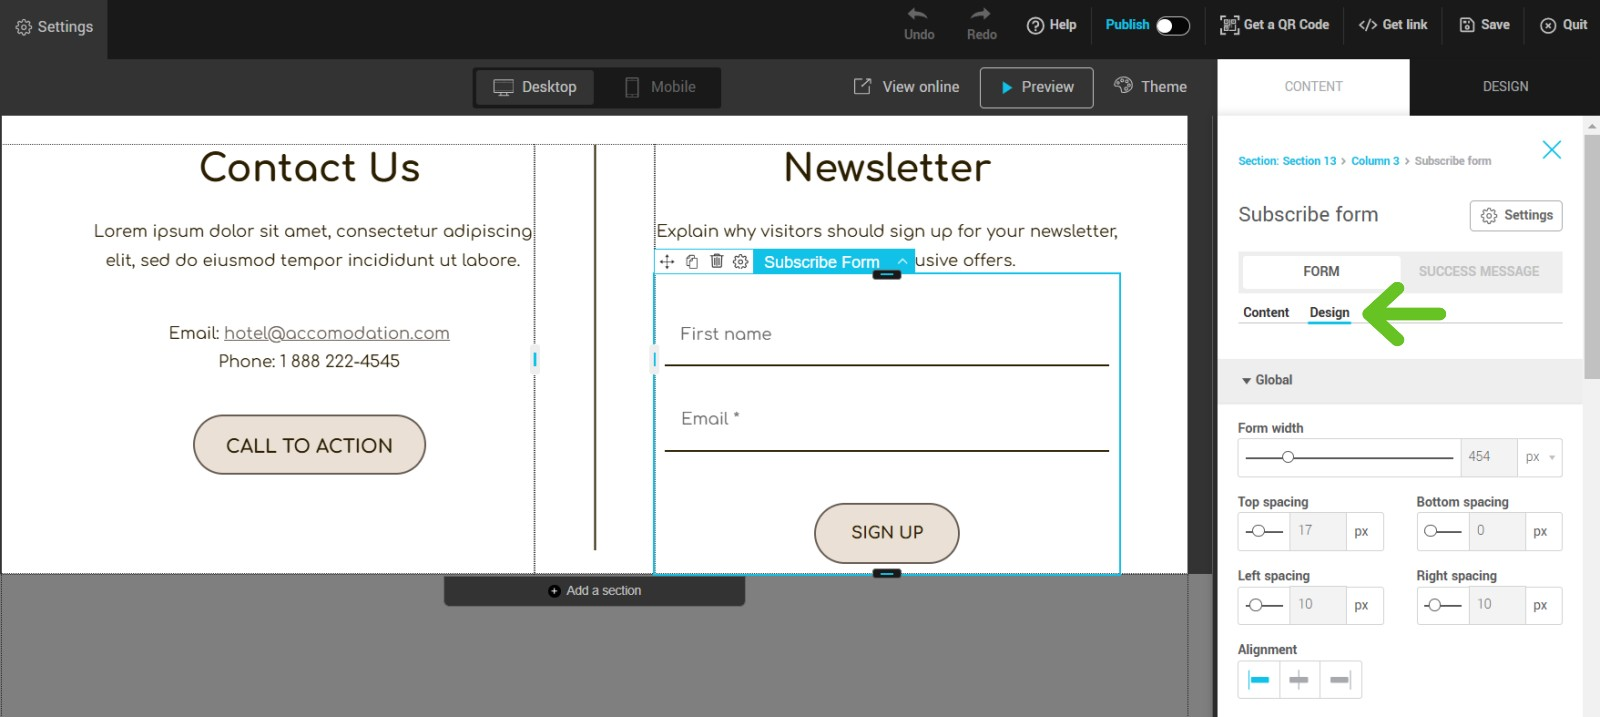
To customize the layout of your form, go to the Form > Layout sub-tab. Here you can modify the overall visual properties of your form (such as its width or spacing before or after), as well as the styles of fields, labels, the submit button and answer choices.
Configure form settings
Configuring the settings of a subscription form
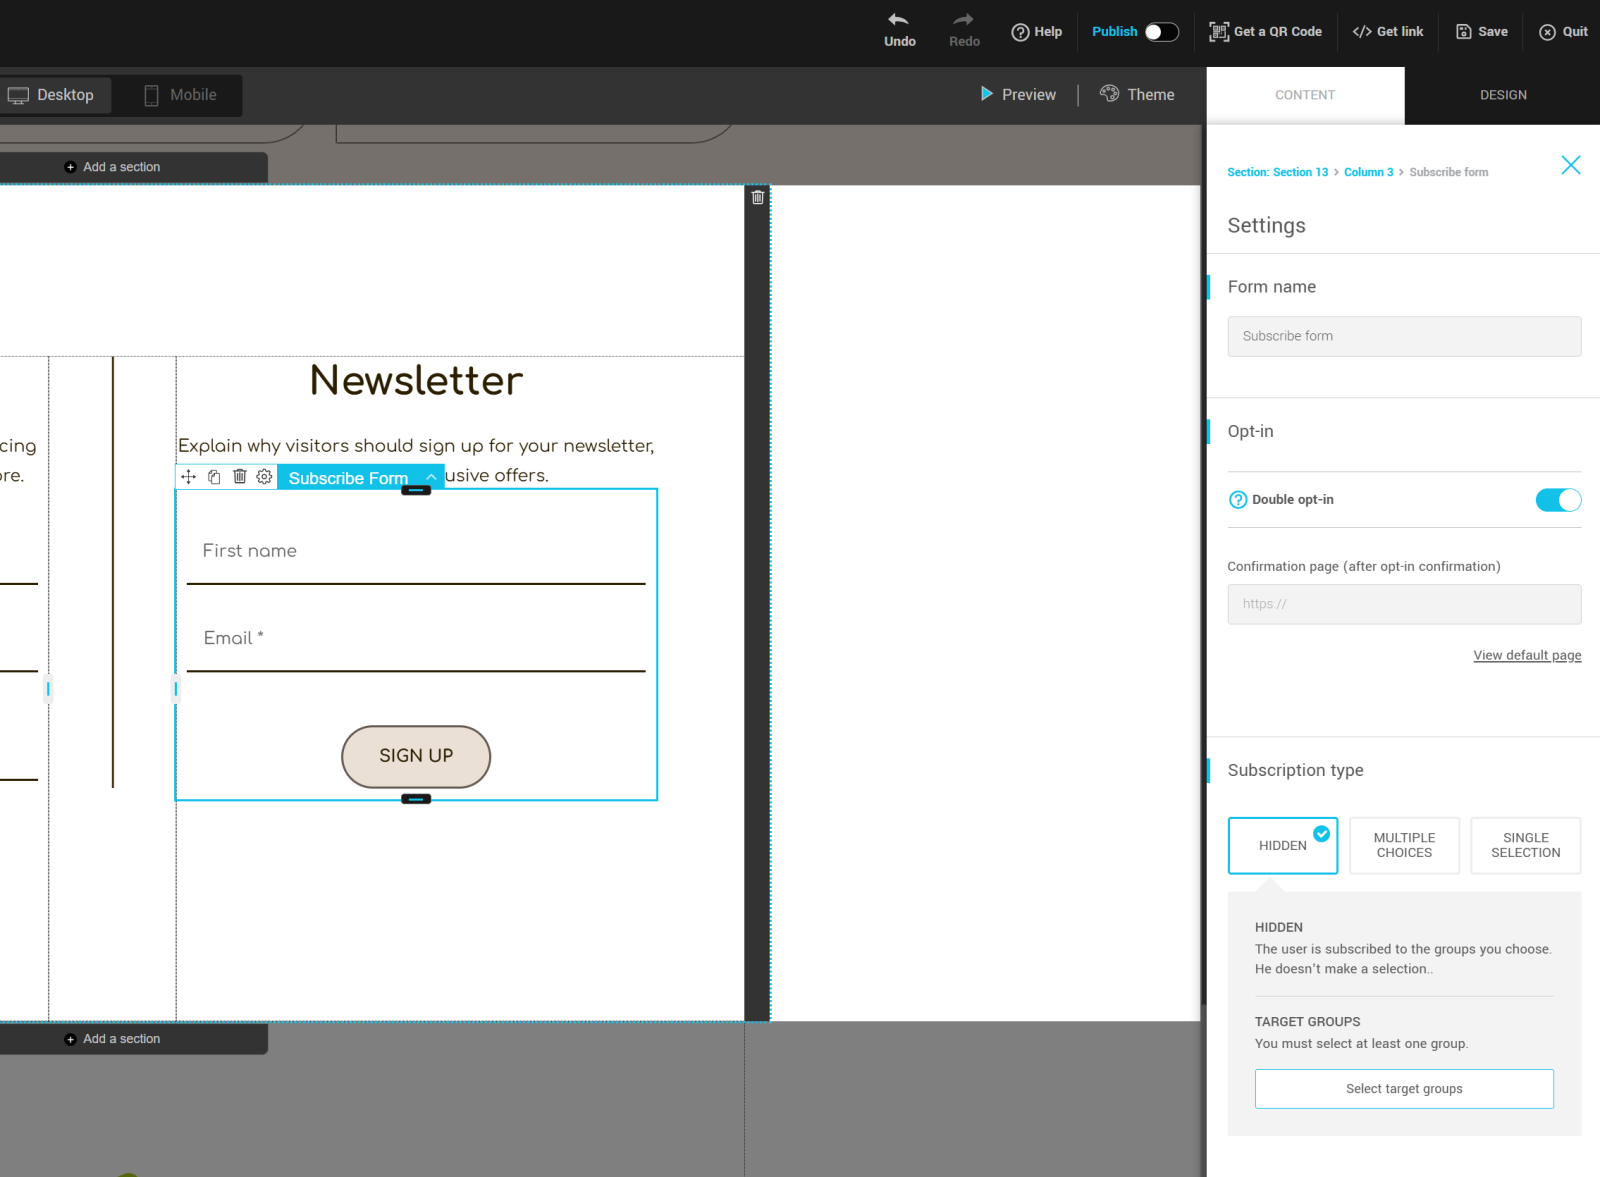
- Open the settings by clicking the Settings button.
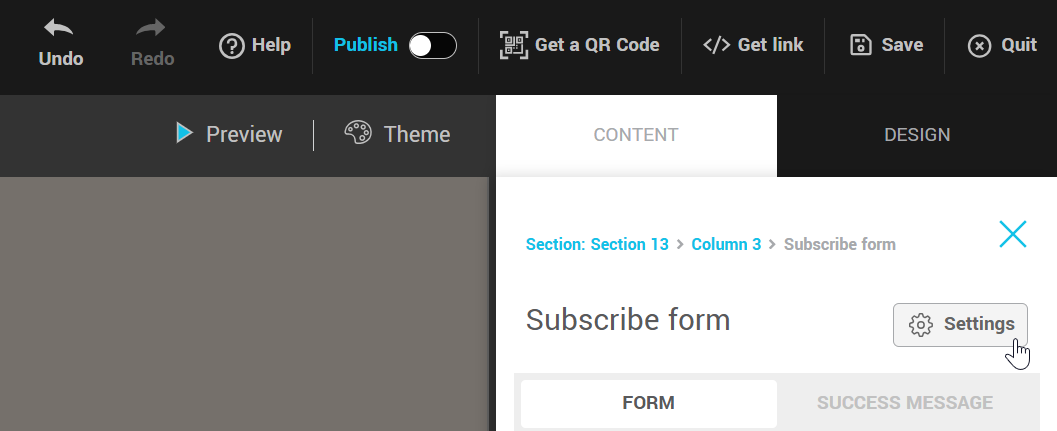
- Customize the name of your form.
- If required, change the opt-in type by toggling the switch.
When the switch is activated, the opt-in type is set to double opt-in.
When deactivated, the opt-in type changes to single opt-in.
-
(Optional) If you choose Double opt-in, you can customize the landing page that appears after the subscriber has confirmed their subscription. To do this, enter the URL of your customized confirmation page in the field Confirmation page (after opt-in confirmation). This page can be a landing page you've designed or a page on your website.
If you leave this field empty, a default confirmation page will be displayed. -
Choose the type of subscription: invisible, multiple choice or single selection.
The subscription type determines how your subscriber is added to the groups linked to your form.
Invisible: The user is enrolled in all the groups you choose. No selection is required.
Multiple choice: Users can check the group(s) they wish to join (checkboxes).
Single selection: Users can select the group they wish to join from a drop-down list. -
Select the target groups to which contacts who subscribe through your form will be added.
Multiple Choice and Single Selection
If you have selected Multiple choice or Single selection as the subscription type, click on the Options and response choices link to customize: the order of the choices offered, their style and the label of the Groups field in your form.
Also note that with these two subscription types, a new field (Groups) is automatically added at the end of your form. You can change its label, its position in your form and access its options via the Form > Content sub-tab.
Configuring the settings of a contact form
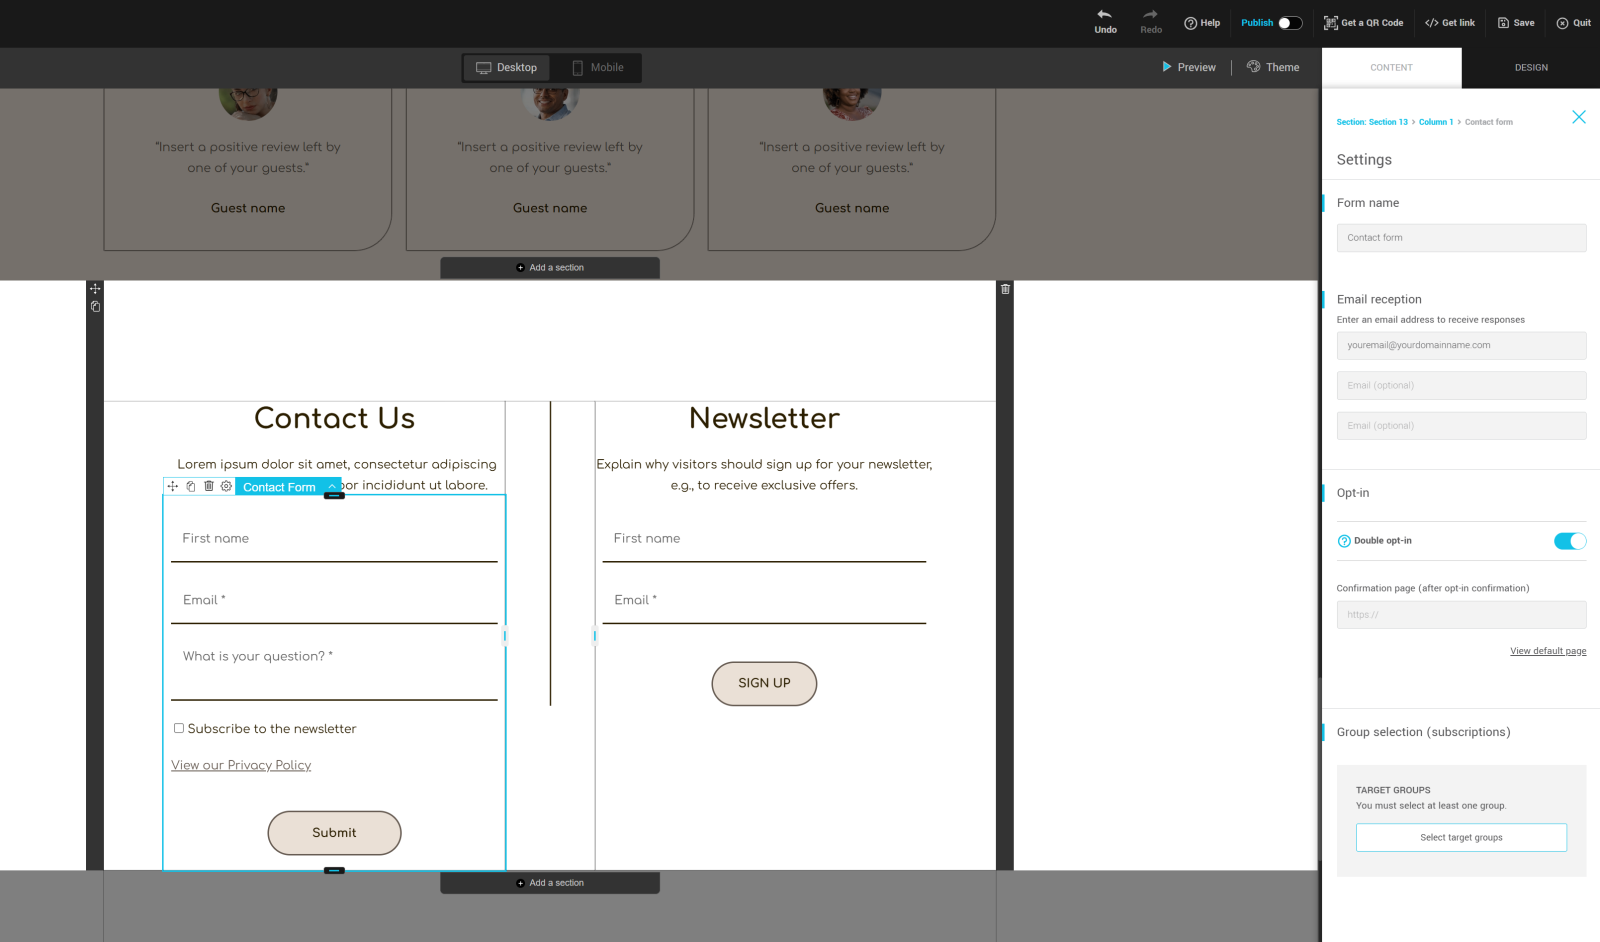
- Open the settings by clicking the Settings button.
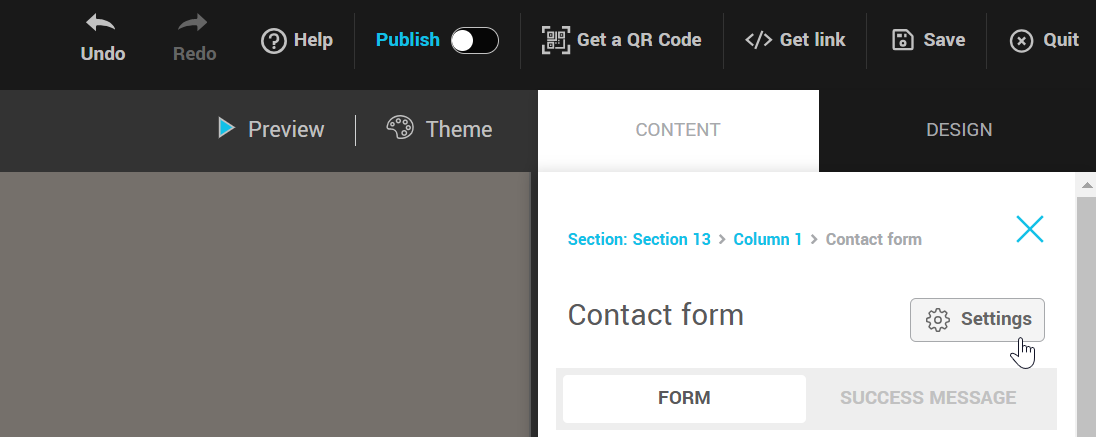
- Customize the name of your form.
- Enter up to 3 email addresses where you would like to receive replies to your form.
If you don't enter an address, they'll be sent to the account email address (the one entered in Settings and configurations > Account information). - If required, change the opt-in type by toggling the switch.
When the switch is activated, the opt-in type is set to double opt-in.
When deactivated, the opt-in type changes to single opt-in.
-
(Optional) If you choose Double opt-in, you can customize the landing page that appears after the subscriber has confirmed their subscription. To do this, enter the URL of your customized confirmation page in the field Confirmation page (after opt-in confirmation). This page can be a landing page you've designed or a page on your website.
If you leave this field empty, a default confirmation page will be displayed. -
Select the target group(s) where to add contacts who subscribe to your newsletter through your contact form.
-
When you're finished, click on the X at the top right of the panel to exit the settings.
Customize your form's success message
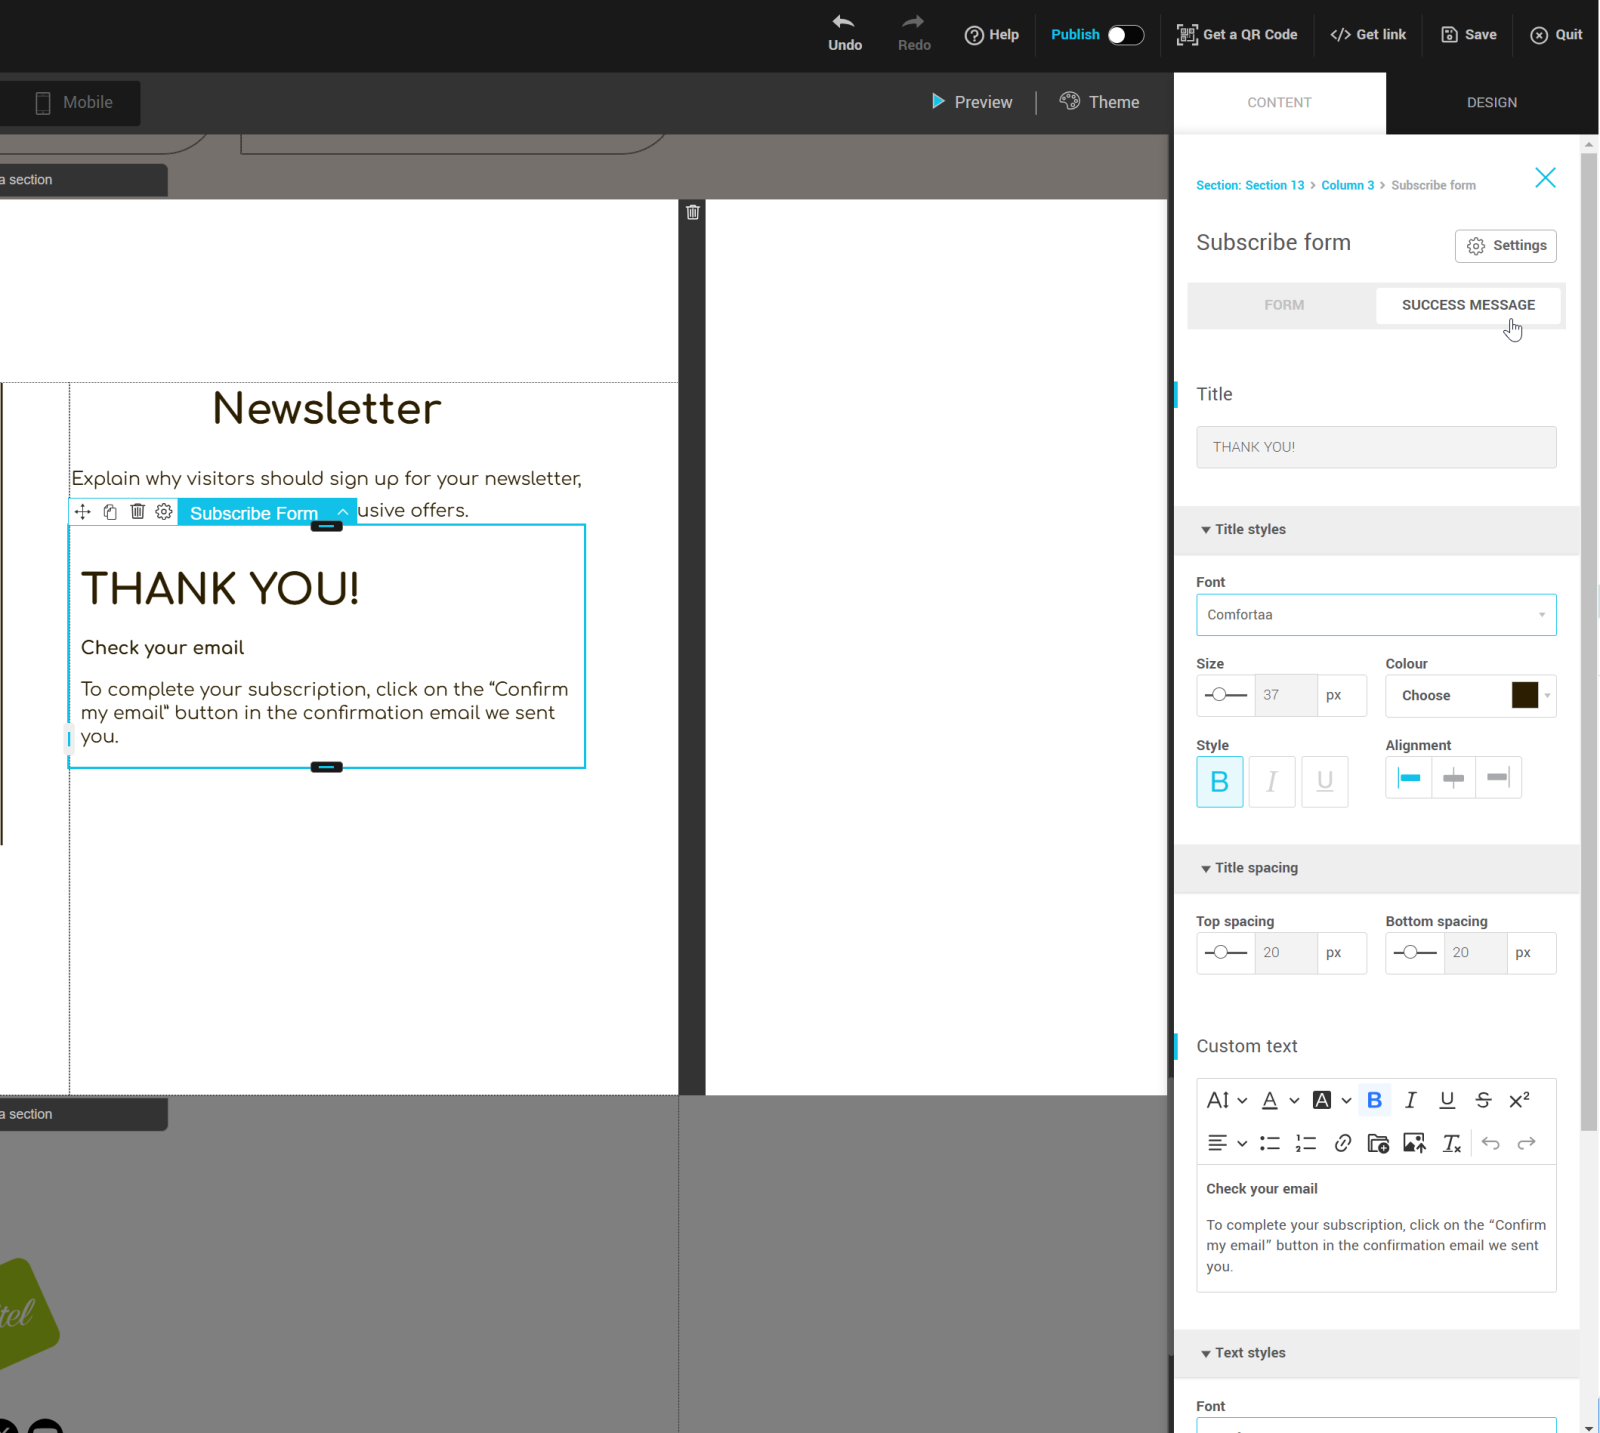
To customize the success message displayed after submission of your form, access the Success message sub-tab. Here you can modify the message title, text and style.
Contact form
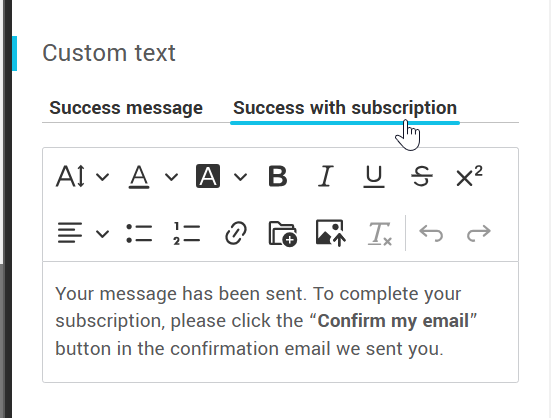
If your contact form includes a subscription option, you can configure separate versions of the success message according to your visitor's choice. In this way, the message will adapt according to whether or not the subscription box has been checked.
Adjust your form's mobile styles
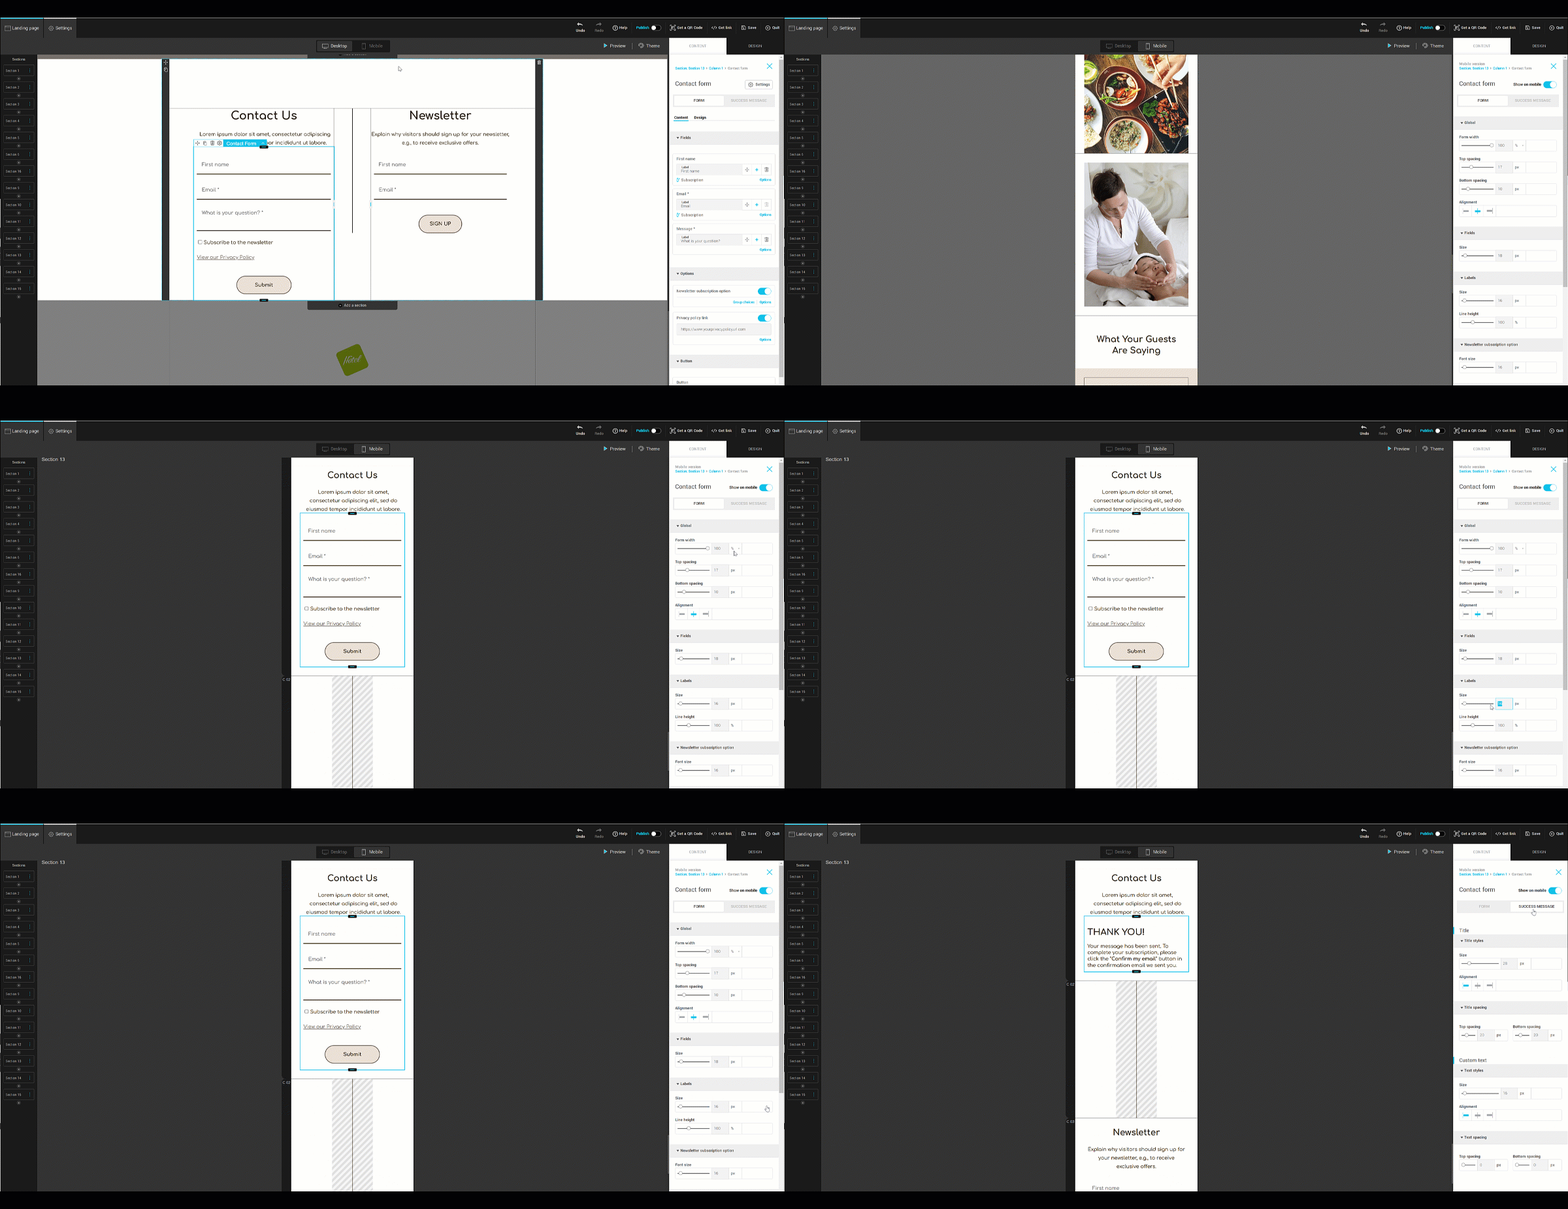
- At the top of your page preview, click on the Mobile tab to switch to the mobile view.
- Select your form by clicking on it to access its specific options for mobile display. Make the necessary adjustments.
- In the right-hand panel, switch from the Form sub-tab to the Success message sub-tab to customize the mobile properties of the success message.
- Don't forget to save once you're done.
Test your form
- For a quick preview of your page: Click on Preview to view your form in Desktop and Mobile modes, without the editing tools.
- To test the form submission: You'll need to publish your page.
Not sure how to publish your page? Read our detailed article here.
About choosing the right opt-in type
By default, all forms on your landing pages (subscription forms or contact forms with subscription) use Double opt-in. If you prefer the Single opt-in method, simply deactivate the corresponding switch in the form settings.
Double opt-in (recommended method)
With this method, contacts and their information are only added or updated after they have confirmed their subscription. To do this, they will simply need to confirm their email and then confirm their subscription. This approach:
- Ensures that only people who have given explicit (express) and verifiable consent are added to your list.
- Ensures that email addresses actually belong to subscribers, thus reducing typographical errors or fraudulent subscriptions.
Simple opt-in
With this method, contacts are added immediately to the group(s) associated with your form. However :
- It does not allow you to update the information of existing contacts (i.e. those already present in your account prior to their registration via the form), as no verification is performed to validate the ownership of the e-mail address. These contacts are only added to the groups linked to the form, without modifying the data already stored in their profile.
- Explicit consent is not guaranteed, as there is no confirmation that the subscription has been carried out by the true owner of the email address.

