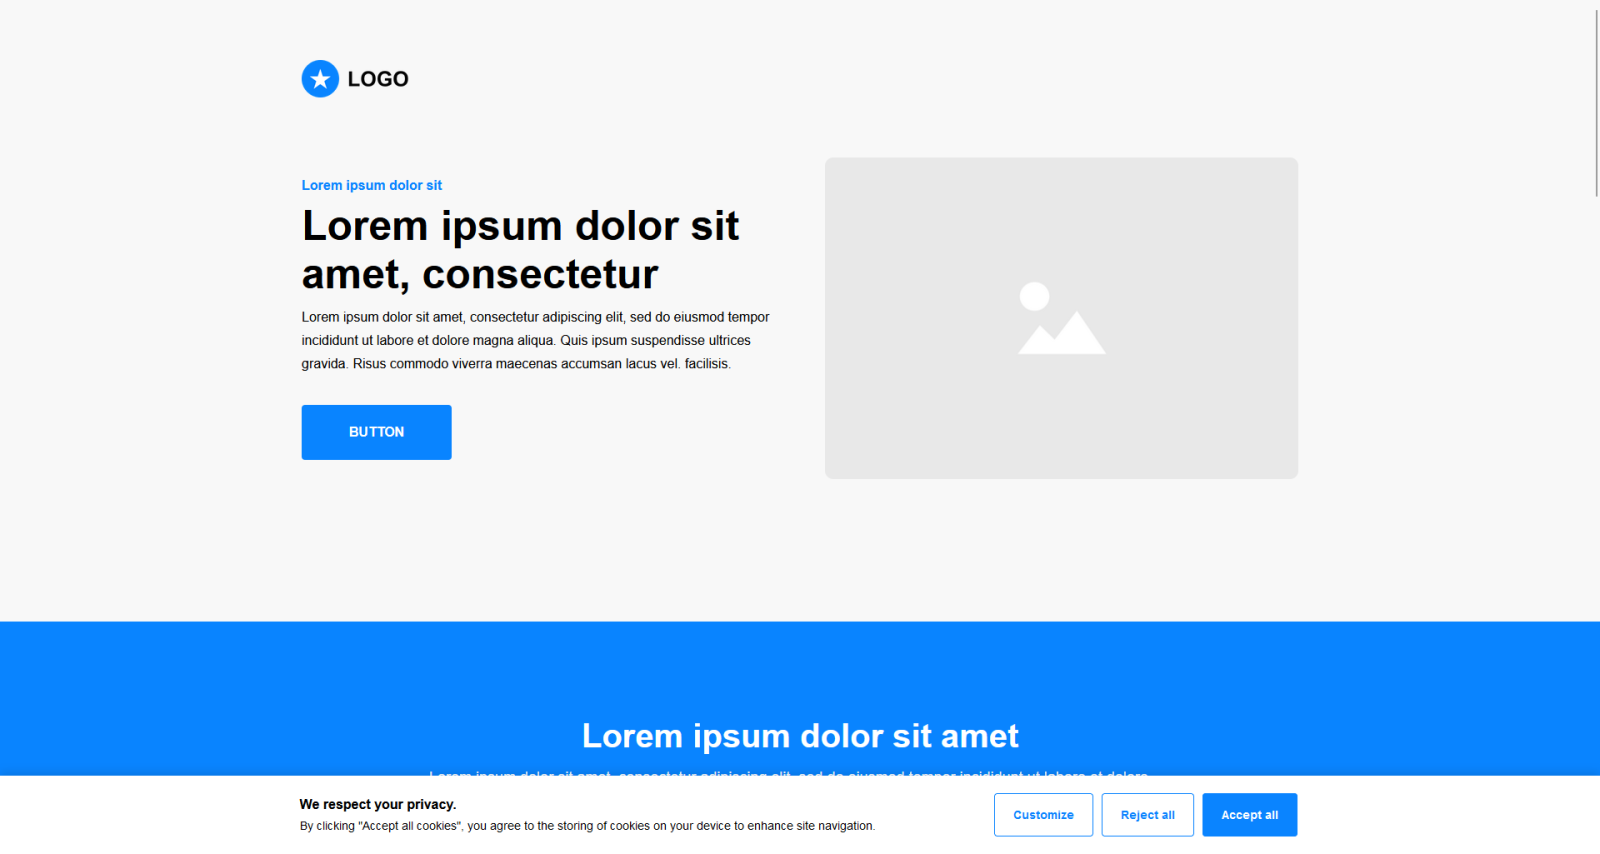
All pages created using our landing page editor utilize essential cookies to ensure the proper functioning of your page, as well as functional cookies to enhance performance and enrich the user experience. These cookies can remember preferences such as your visitors' language. To help you comply with current regulations on privacy and data protection, such as Law 25, our tool allows you to enable a cookie consent banner. This banner informs your visitors about the use of cookies and enables them to manage their preferences and consents, which is particularly important when using tracking tools like our analytics tool, Google Analytics, or Meta Pixel. This article will guide you through configuring and customizing this banner to ensure your compliance while providing a smooth and transparent user experience.
How to

Here’s how to activate and customize your cookie banner:
- Go to the menu and open your page in edit mode.
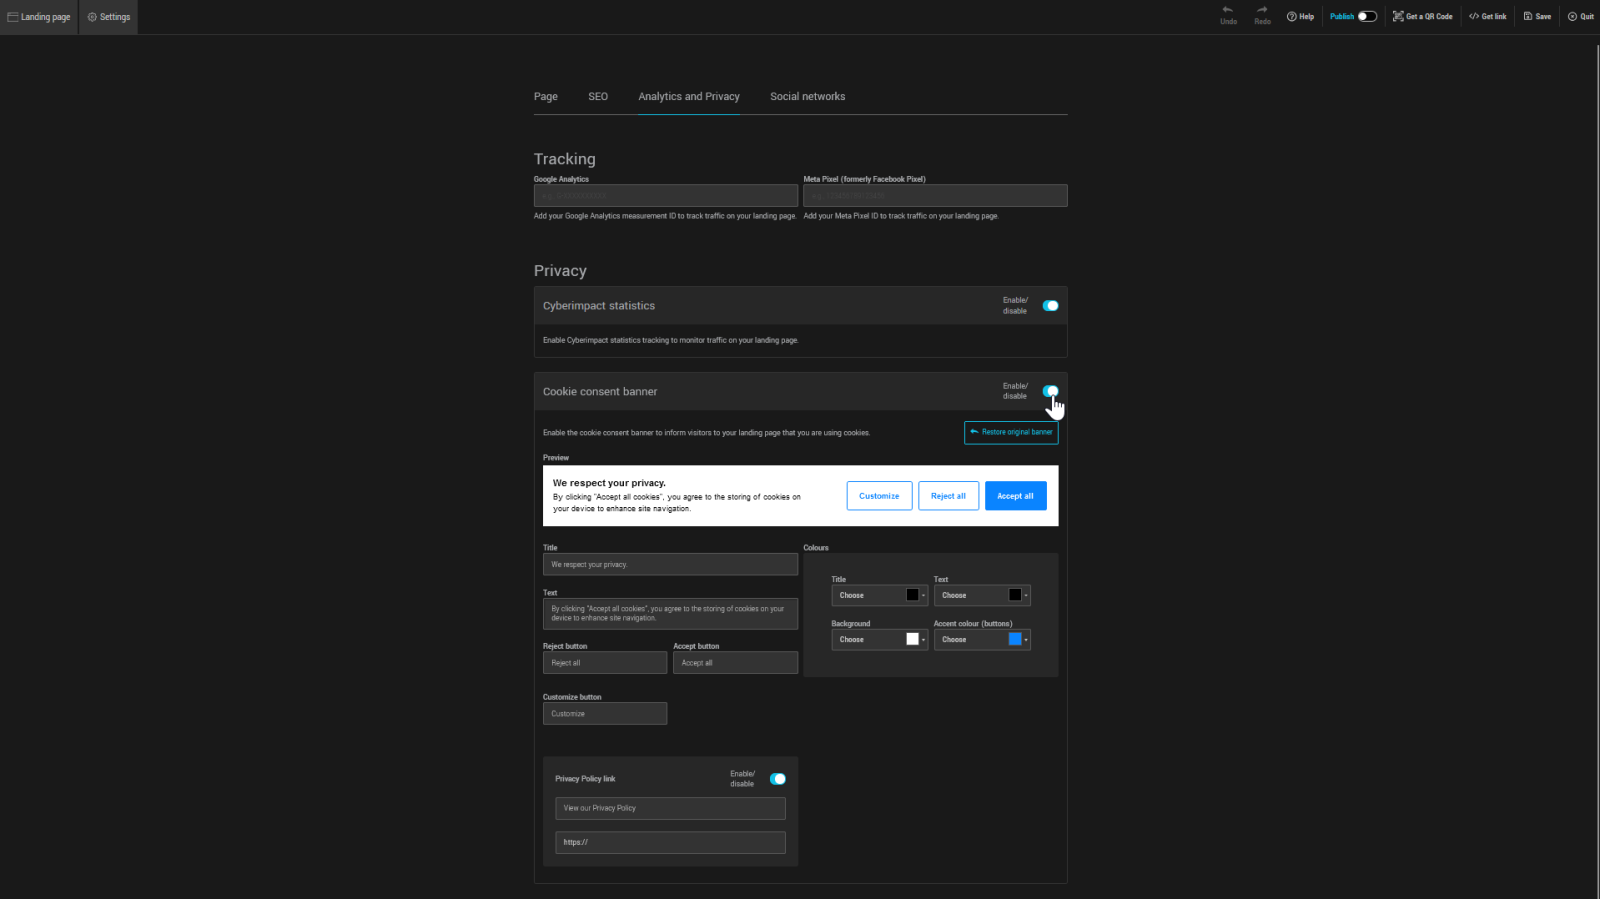
- In the editor, click on the Settings tab, then open the Analytics and Privacy sub-tab.
- Under the Privacy section, turn on the switch to the right of the Cookie consent banner section to enable the display of the banner.
- Below the banner preview, you can customize the title, text, and button labels as needed.
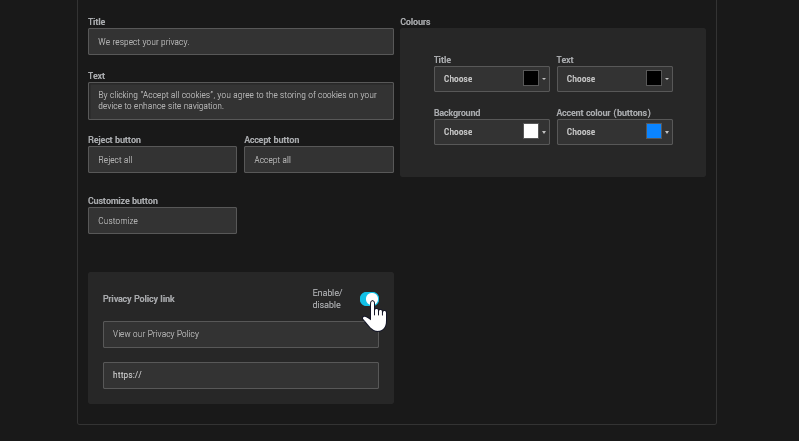
- To add a link to your privacy policy, turn on the switch in the Privacy Policy Link box. In the first field that appears, enter the text for your hyperlink. In the second field, enter the link to your privacy policy.

- Below the preview on your right, modify the banner colors as needed to reflect your brand.
- When you are finished, remember to save your changes and test your banner.