
When you create your page, you are automatically assigned a URL with a generic domain name and a unique identifier (also called "client slug"). However, if you prefer, you can use your own domain to obtain a more personalized URL. This option enhances your brand and improves the recognition of your business. In this article, we will guide you through the necessary steps to check if you can use your domain or subdomain, as well as the instructions for properly configuring it.
Before you start
Before configuring your domain or subdomain for your landing pages, it's important to check a few conditions:
- Ensure you have the necessary access to your host and DNS settings to facilitate this process.
- If you do not have an active website with your primary domain (e.g., https://yourcompany.com), also known as the "root domain," you can use it for your pages.
- However, if you already have an active website with your primary domain name, you can still use it, but through a subdomain (e.g., https://promo.yourcompany.com, https://info.yourcompany.com).
- If necessary, it is possible to use multiple different domains and subdomains for your pages. However, you will need to configure each one individually.
- Finally, to add your domain to your account, make sure you have the necessary permissions to access the account settings.
How to
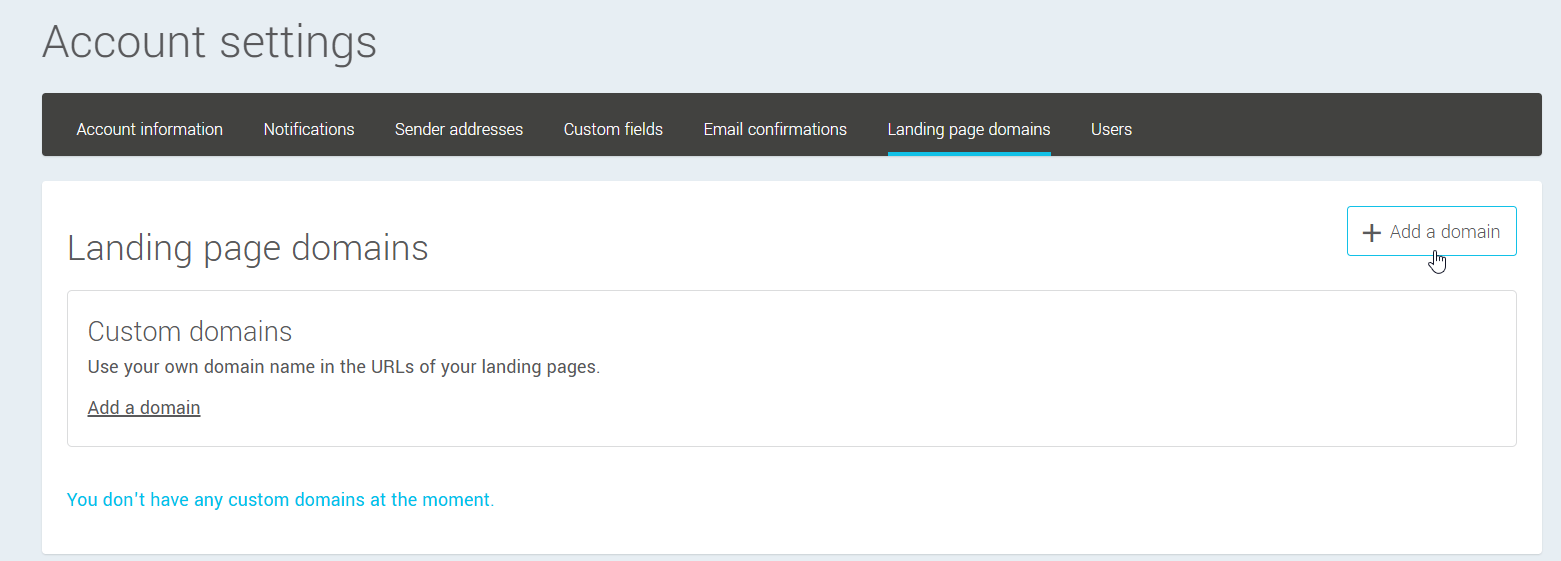
To use your domain or subdomain in the URL of your landing pages, you must first add them in the Landing page domains section of your account's settings. We will then provide specific instructions depending on whether it is a primary domain or a subdomain. Once your domains are added and verified, you can use them to publish your pages. Here’s how to proceed:
Add and configure your domain or subdomain
- Go to the .
- Click the + Add a domain button.
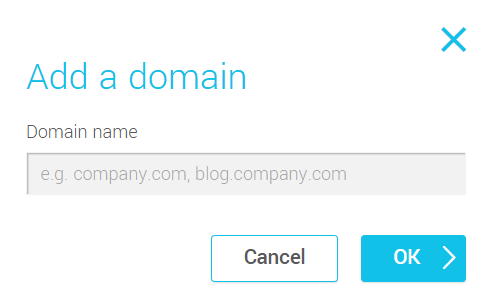
- Enter your domain or subdomain without the protocol. For example: yourcompany.com, offers.yourcompany.com. Then click OK.
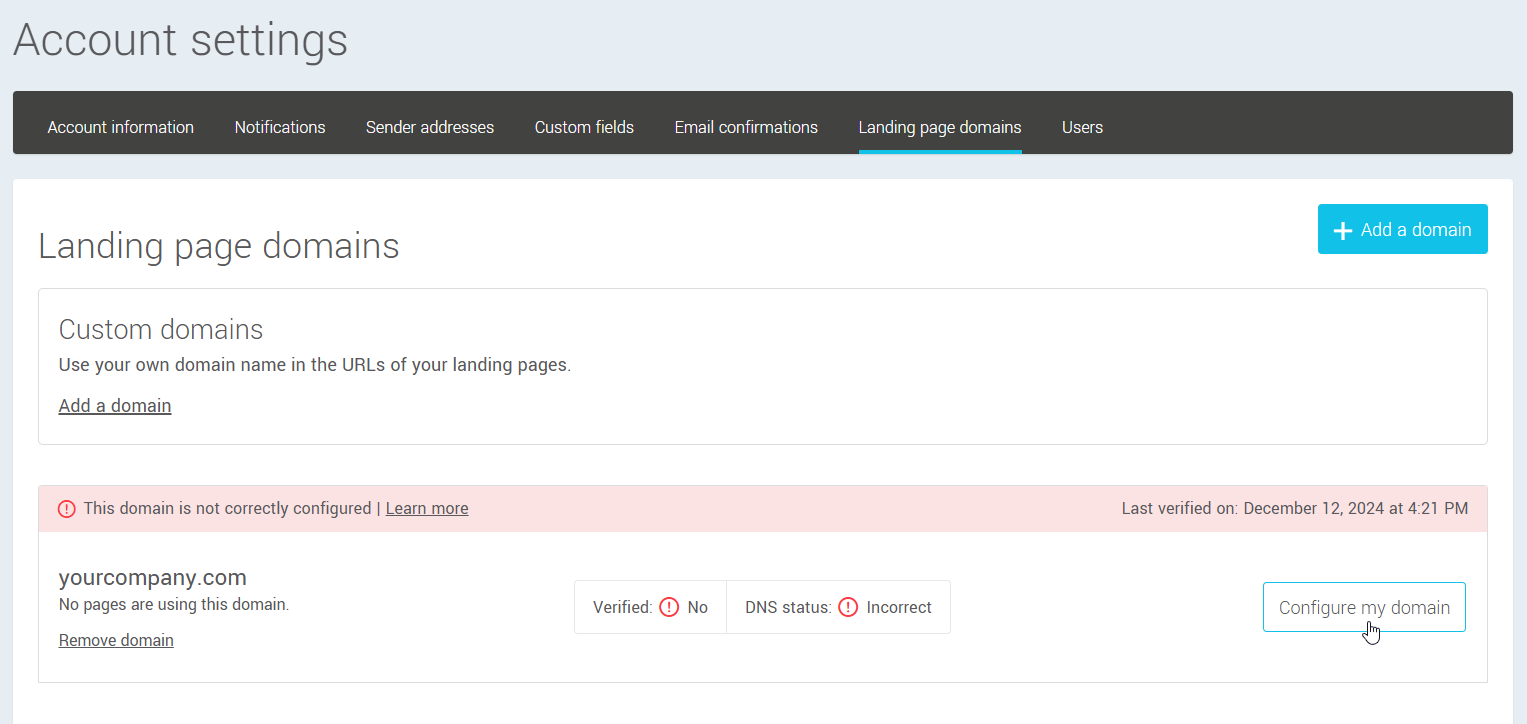
A little further down the page, you will find a box with the domain or subdomain you just added. - Click the Configure my domain button to retrieve the technical instructions.
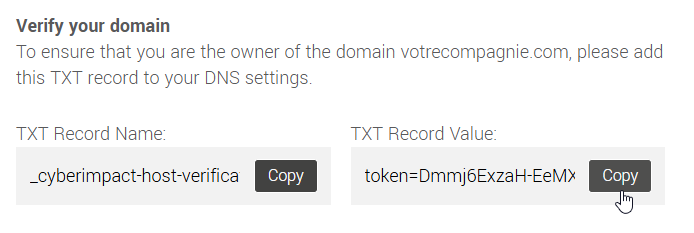
- Under the Verify your domain section, you will find the details for the TXT record you need to create in the DNS settings of your primary domain. This allows us to verify that you are indeed the owner of the domain and that you have the right to use it for your pages. Click the Copy button to the right of the field containing the TXT record name.
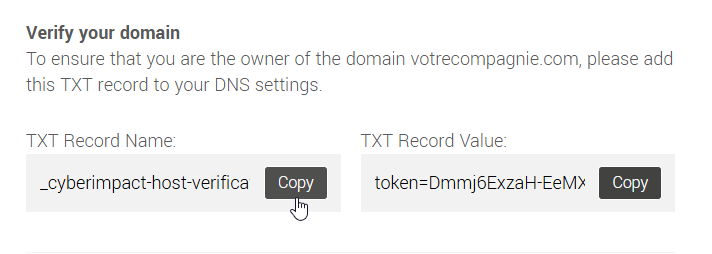
- In another window of your browser, open the tool you use to manage your DNS.
- Add a new TXT record. In the TXT Record Name field, paste the name of the TXT record you previously copied from your account.
- Then return to the instructions window in your account. Copy the value of the TXT record and paste it into the "Value" field of your new TXT record.
- Then save your changes.
- The final step to configure your domain or subdomain is to point it to our platform so that we can display your pages online. If you entered your primary domain, we will ask you to create an A record in your DNS settings. On the other hand, if you chose a subdomain, you will need to create a CNAME record.
To determine which record to create, simply follow the information displayed in the window. We will ensure to provide you with the appropriate instructions. You can also reduce the TTL value to the minimum for your changes to be detected more quickly.
- Once your records are configured, you can refresh the verification of your domain at any time by clicking the Refresh now button located in the domain’s box. This allows you to quickly check whether your changes have been detected and if your domain is ready to display your landing pages.
When the verification is validated, a green checkmark appears to the right of the labels “Verified: Yes” and “DNS Status: OK”.
Using your custom domain in the URL of your pages
- Go to the menu and open your page in edit mode.
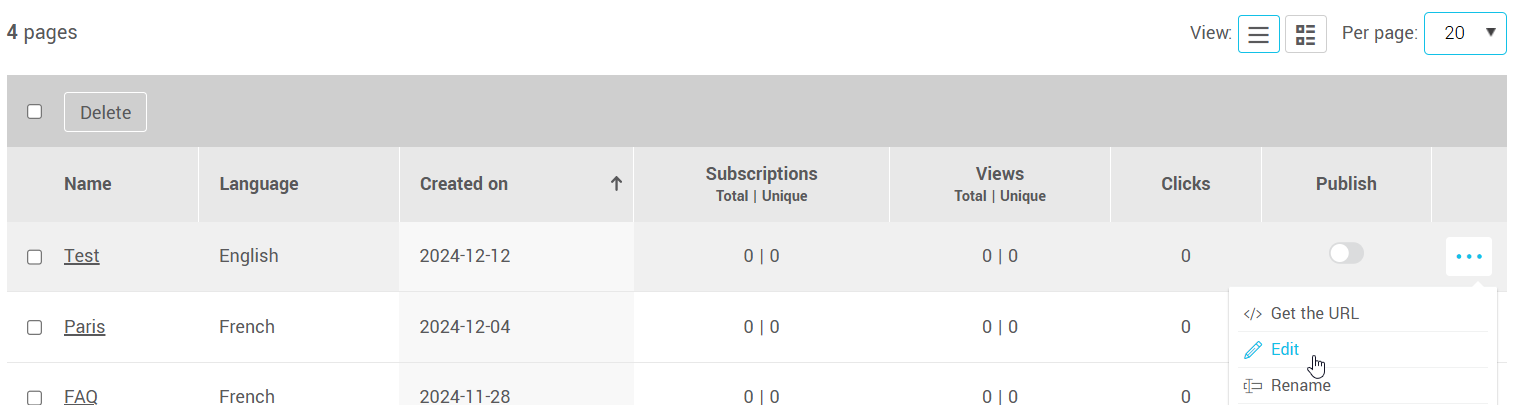
- Go to the Settings tab.

- Open the dropdown list under Domain name and choose the one you want to customize the URL of your page.
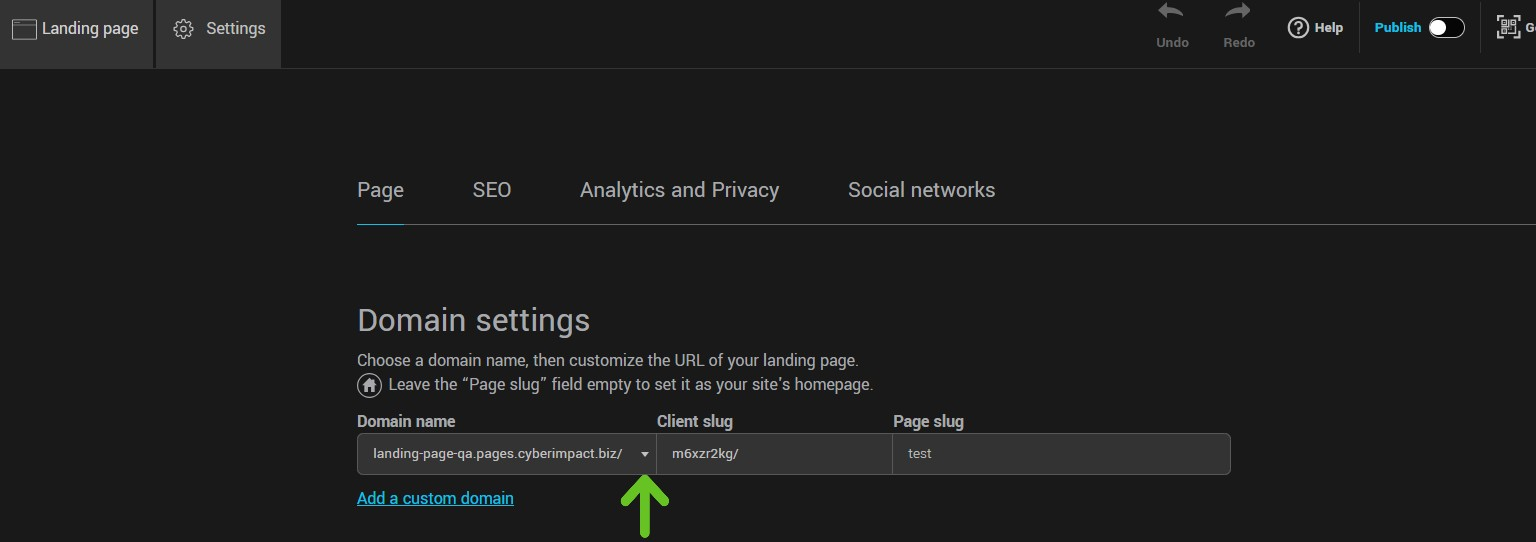
- Don’t forget to save your changes.