
Landing pages are web pages designed to convert your visitors into customers or subscribers by showcasing a specific offer or capturing key information. They play a crucial role in your marketing campaigns by effectively targeting your audiences and maximizing your results. With our intuitive drag-and-drop editor, creating landing pages that perfectly reflect your brand has never been easier. In this article, you will learn how to start creating your first landing page.
To create a new page:
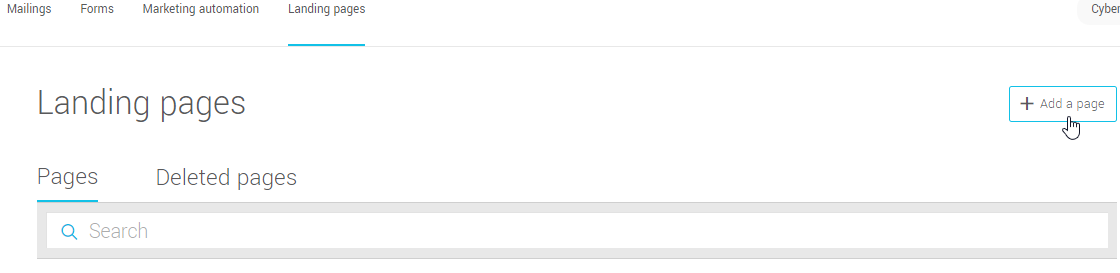
- Go to the menu, then click the Add a page button to get started. You can also click the Create a landing page icon in the quick tools bar on the left side of your account.
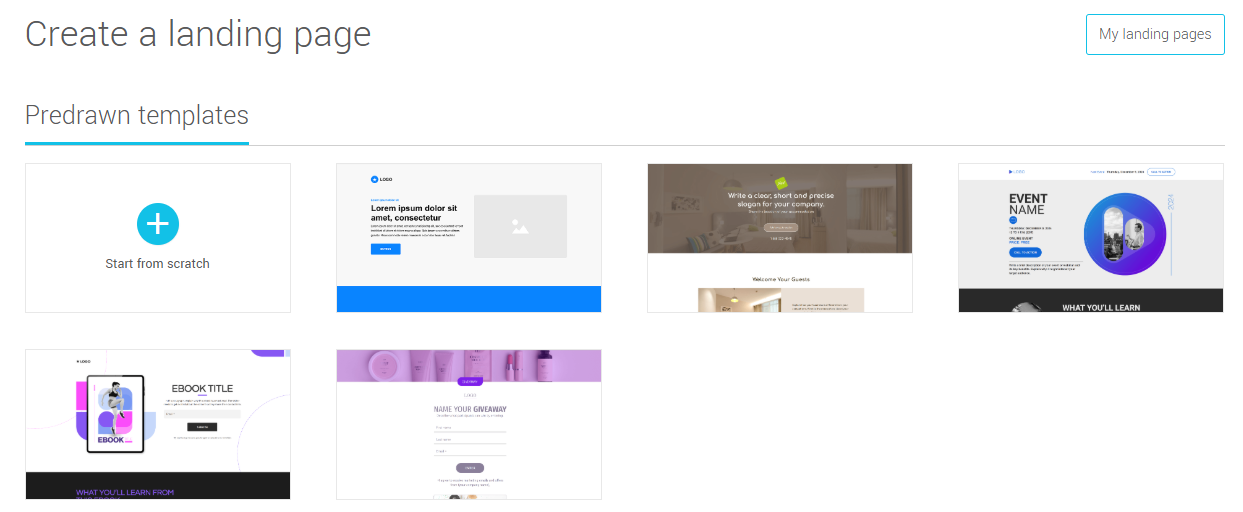
- Select Start from scratch to begin with a blank page and choose the configuration yourself from the start, or select a template that you can fully customize later on.
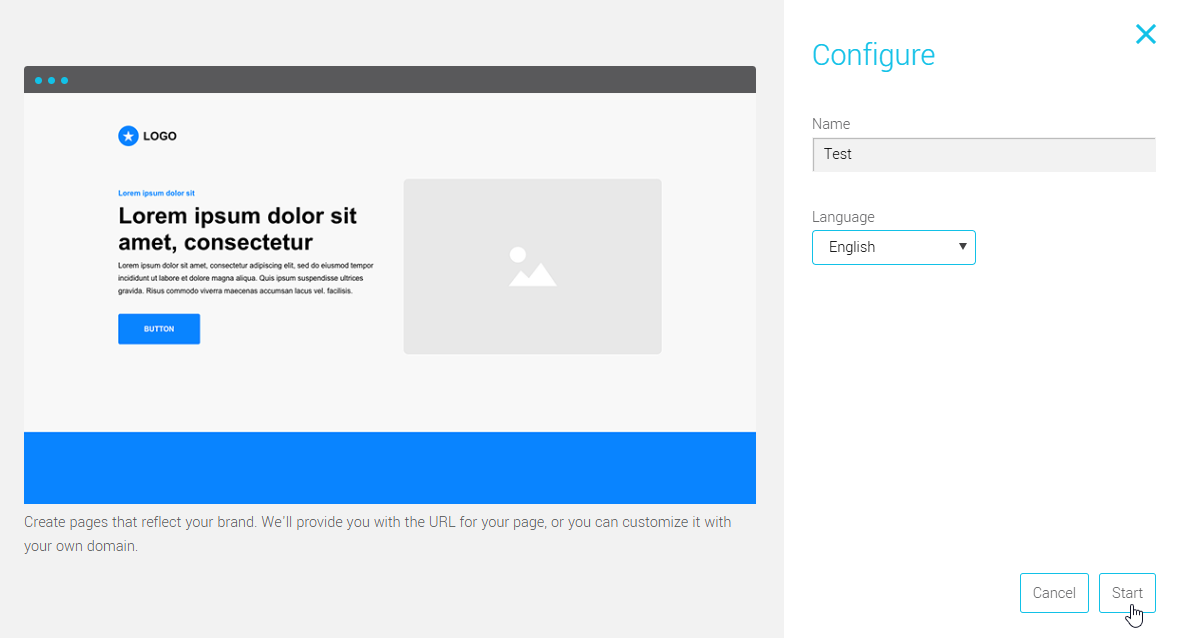
- In the Configure window, enter a name for your page. This will be used to personalize your page’s URL, but you can modify it later in the page settings if needed.
- Then, choose the language of your page.
- Click Start.
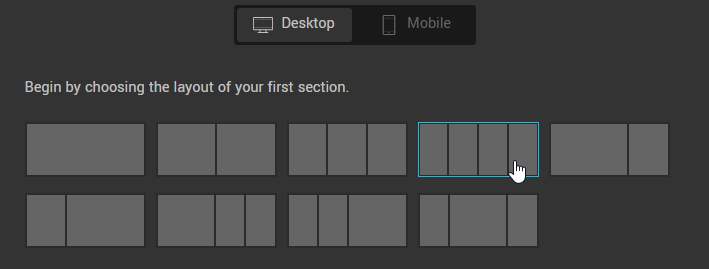
- If you selected the blank template, choose a column configuration from the available options to add the first section to your page. Our landing page editor allow you to create sections with 1 to 4 columns.
- To add more sections to your page, click the Add section buttons located above or below the selected section, or press the + icon at the desired location in the left panel.

- To add elements to your page, go to the Content panel on the right side of the editor, then drag and drop the element where you want it.
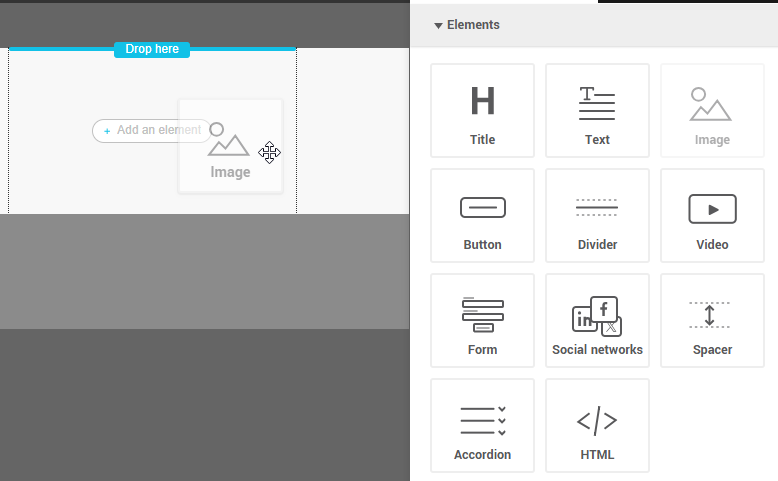
- To edit an element’s properties, simply click on it to select it. Its customization options will appear in the panel on the right.
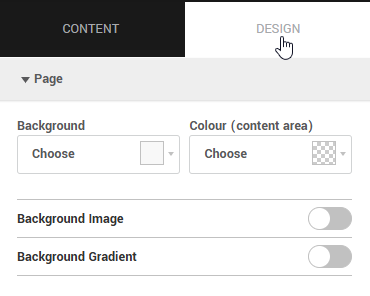
- To customize the page and its background, go to the Design tab.
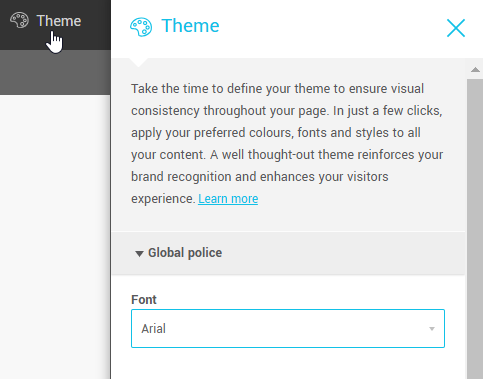
- To set default styles for your headings, text, and buttons, open the Theme tool.
- When you’re done editing your page and ready to publish it, toggle the switch to the right of Publish.

- Click Get link to retrieve your page’s URL. If needed, you can modify it, along with other options (such as SEO settings, the favicon, statistics, and privacy settings), in the Settings tab.

- Don’t forget to save your changes frequently and before exiting the editor.