
In this article:
It is possible, with Zapier, to add or update contacts in your Cyberimpact account from an external application using the Opt-in a member action.
This action allows an opt-in request to be sent. This is an email that is sent following the subscription request and it contains a confirmation button. The contact must click this button to complete their subscription. Once it's done, the contact is then added to your Cyberimpact account.
Advantages of opt-in subscription
This technique has many advantages. It allows you to:
- Ensure that the email address is valid and that the subscription is accepted by its owner;
- Obtain a quality list;
- Have express consents and a solid proof of consent (automatically added in the contact's details);
- Be compliant with the Canadian Anti-Spam Law (CASL);
- Protect your forms against malicious robots;
- Create a zap in 2 steps instead of 3;
- Update existing contact information*.
*Opt-in subscription is the only method that can update existing contacts via Zapier, as changes are then validated by the owner of the address.
Before you begin
It is important to check the following information before starting your zap.
-
Determine if this is the right way to proceed for your needs.
As you have seen previously, adding contacts with opt-in has many advantages and is the most recommended method to use with subscription forms. However, there are situations where you may prefer not to send an opt-in request to your contacts, especially when you have already obtained consent in another way (for example, you got an implied consent with your contacts following their online purchase). Please note that it is also possible to add contacts directly to your account without an opt-in. Read more > -
No special authorization is required.
-
Create a Zapier account.
To create a Zapier account go to https://zapier. com and follow the instructions to create your account. Choose the plan that allows you to create a zap in 2 steps.
Step 1: Zap trigger setup
Step 1 is to determine which event and plateform will trigger your Zap.
Please note:
- Some of the following steps may differ depending on the event and platform selected as the trigger for your zap. For this example, we chose to use the Google Contacts app.
- The word member refers to a contact in Cyberimpact.
- Log in to your Zapier account.
- Click "+" in the top left corner to create your Zap.
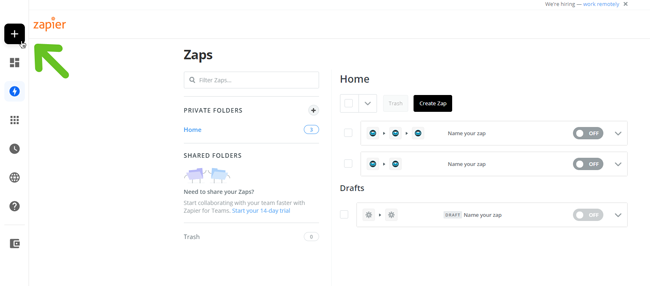
- At the top left, enter a name for your Zap (in the "Name your Zap" field). This name will only be visible to you.
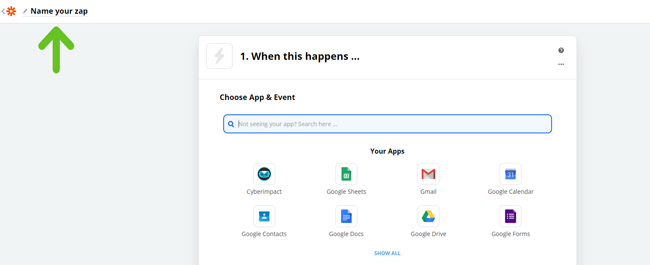
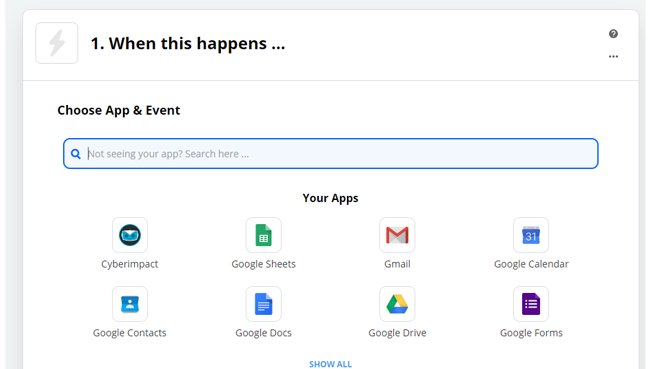
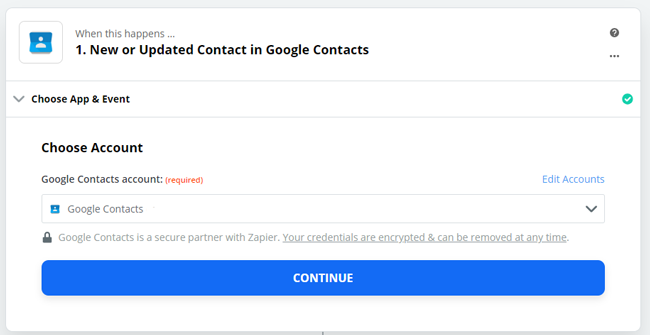
- In step 1 "When this happens...", choose the application that will trigger the Zap. For example, the application where your contacts will come from such as a form application, an online accounting service, a CRM or your social networks. Click in the search field and write the name of the application if it's not in the "Your Apps" list and then click on it to select it.
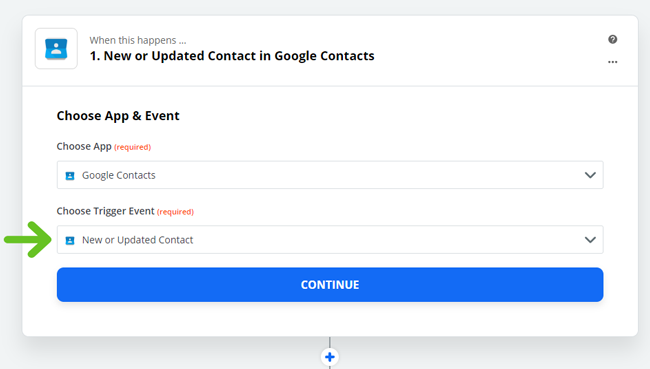
- In "Choose Trigger Events", select the appropriate trigger from the list. Trigger choices may vary from one application to another. Then click on "Continue".
- Now you have to choose the account linked to the platform chosen as a trigger and to which you want to connect, this will allow you to test the first part of your Zap. If the account is not already linked to Zapier, a new window will open to allow the connection. Follow the steps indicated. Then click "Continue".
- Follow the instructions on the screen to complete and test the first part of your Zap, click "Test & Continue". Once the test is successful, Zapier takes you directly to the second step of your Zap.
.png)
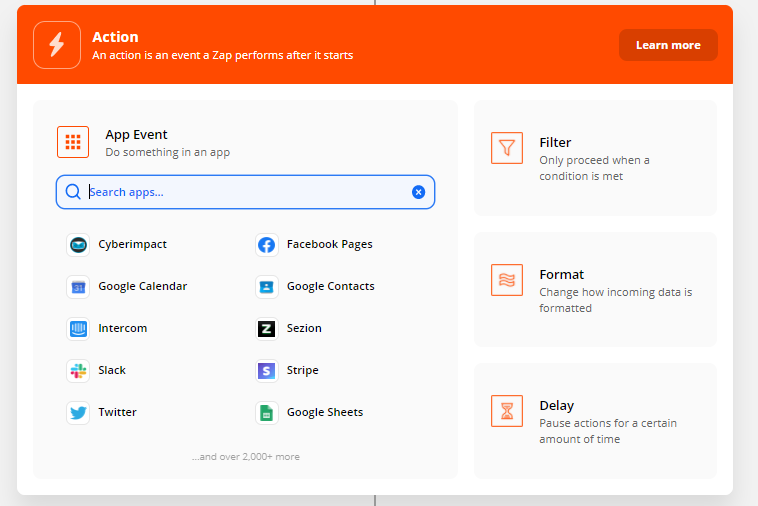
- Then click on the "+" and type "Cyberimpact" in the "Search apps..." field:
The second step will appears.
Step 2: Configuring the opt-in request
In Step 2, you will configure your opt-in request, select in which group(s) the contacts will be added and which other information you want to capture during the subscription process.
- In the "Choose app and event", you should already see "Cyberimpact" . Choose "Opt-in a member" in the "Action Event" field.
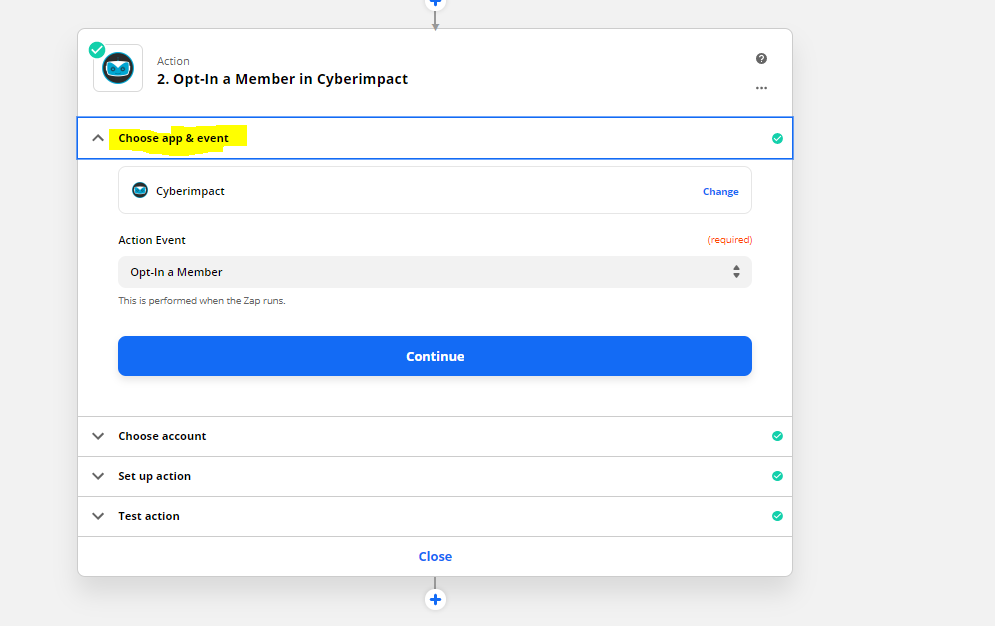
- Click on "Continue".
- At the next step: "Choose account", the system will ask you to log into your Cyberimpact account. If you already had a ZAP, your account should be already in the choices. Otherwise, you will need the API token. To get one, go to at the top right of your Cyberimpact account. Learn more >
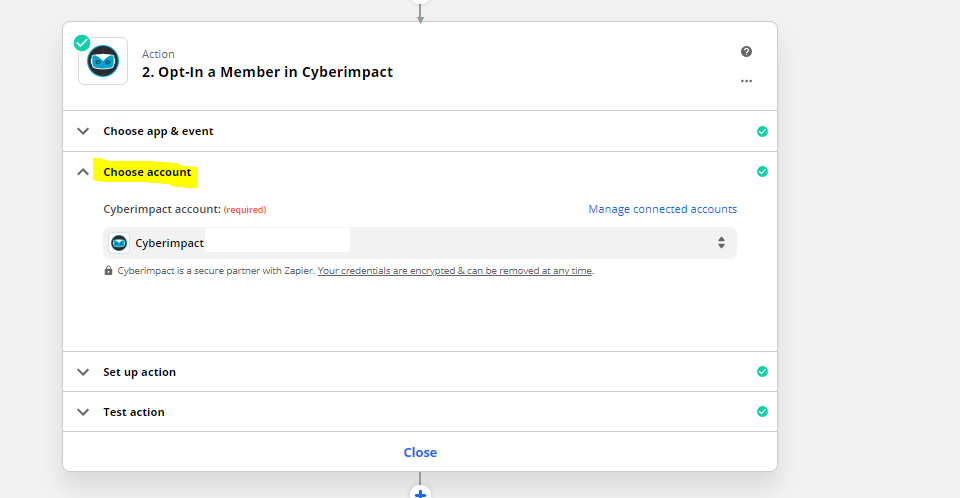
- Once you have the API token, go back in Zapier. You will need to connect your Cyberimpact account.
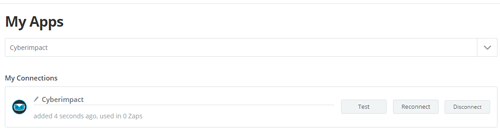
If your Cyberimpact account is already linked to Zapier, simply click in the "Search & Select..." field and choose your account:

If this is the first time, click "Edit Accounts".
- A new window will open and you will have to write "Cyberimpact" in the "Connect a new account..." field. Click on the application image to select it.

- A pop-up window will open, this is where you will have to put the API token:
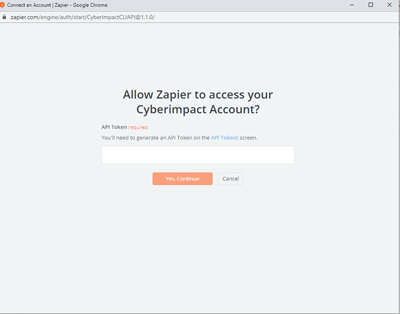
- Click "Yes, Continue". Then, when you are back on this page, you can close this window and go back to the one where we find our 2 steps.
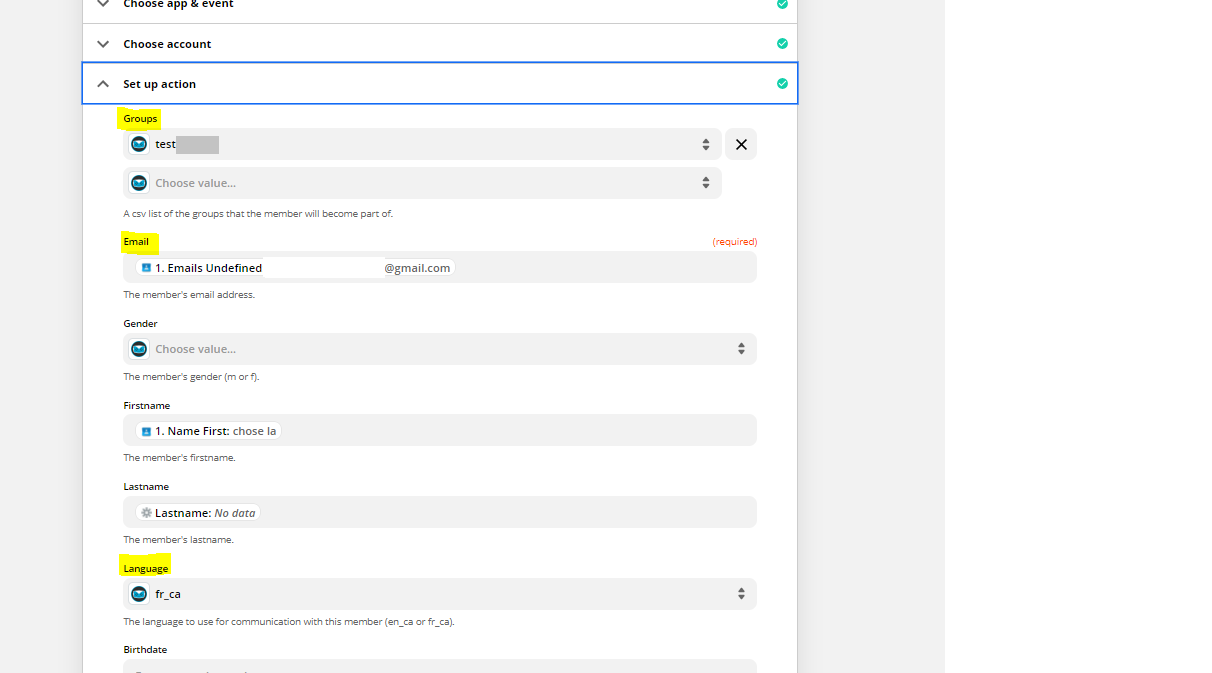
- Click on "Set up action". In this section, you will need to indicate the group(s) ID number where you want the contacts to be added. You can find the group ID number in the URL shown when you click on a group in your Cyberimpact account. Back in Zapier, once you add the group ID number, its name will appear, select it. You can repeat these steps to add more than one group.
- For the next step, you will need to choose the information in the application that trigger the ZAP that is related to your contact's email address in the "Email" field.
-
Select your contact's default language.
- You can choose other details to add to the contact file (the first and last name for example).
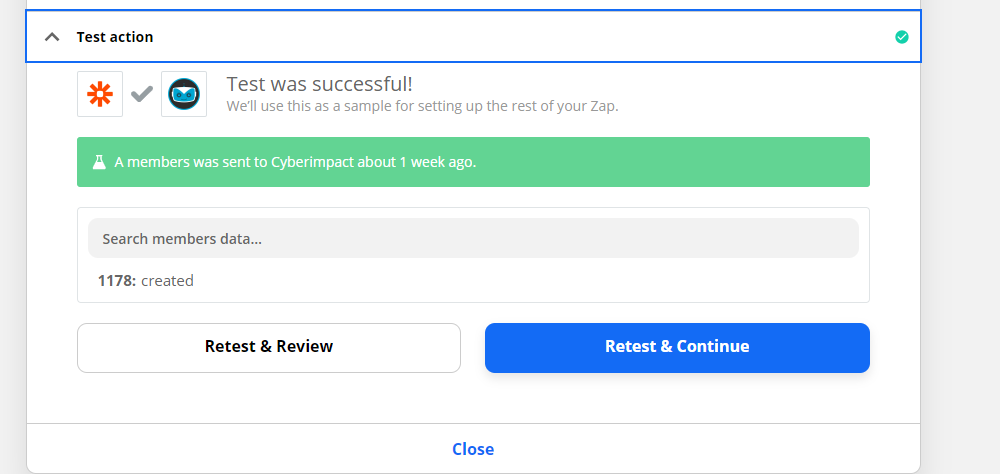
- Click "Test and continue" to test this step.
- Activate your Zap by clicking on the switch to go from "OFF" to "ON".

- Then log into your Cyberimpact account to check whether Zapier's "test" contact has been added to the selected group(s). You can then delete this contact.
- Don't forget to test your Zap again using the application that triggers it!