
In this article:
Custom fields are fields that you can use to collect additional information from your contacts.
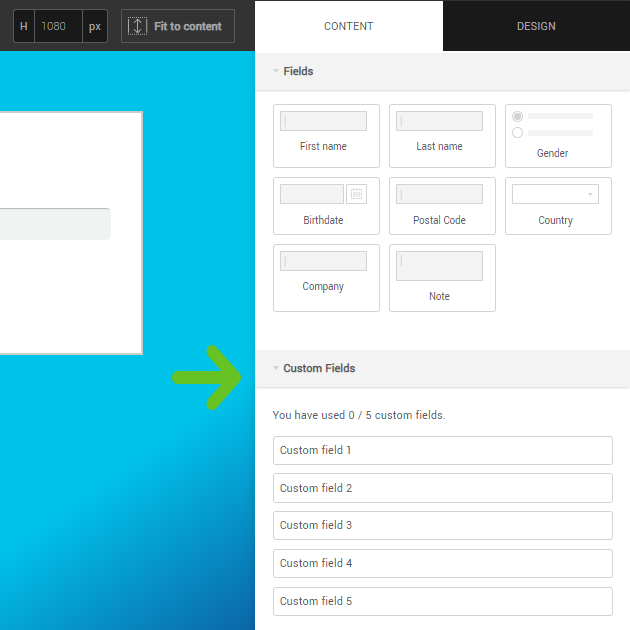
You'll find them in the Content tab in the right sidebar, in the Custom fields menu.
How to name custom fields
We suggest that you give meaningful names to your custom fields before adding them to a form. This will make it easier to understand the information when you view your contact's details. Click here to find out how to edit your custom fields
Add a custom field
To add them to your form, simply drag and drop them by holding down the mouse button.
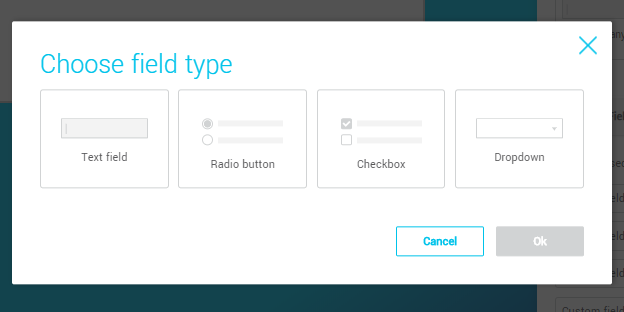
A window will open to let you choose the field type: text field, radio buttons, check boxes and drop-down list. It’s always possible to modify this later.
Once the field has been added to your form, you can customize it, the same way you did the other fields, by clicking on it and choosing from the different options in the right sidebar.
Choice of response
The Response choices menu is available for fields such as radio buttons, check boxes or drop-down list.
Add, remove or reorder the choices as you wish: you will see them update immediately in the form preview on the left.
If you activate the Advanced features switch, you can save values that are different from the ones displayed in your form. For example, for a month drop-down list, you could save “09”, but display “September”.

Customize the style of the response choices
You can change the style of the response choices (font, size and color) by expanding the menu of the same name. For the sake of consistency, if you modify the response choice style for a field, the change will also be applied to all other fields of this type (e.g. check boxes or radio buttons). It's not possible to change the style of the drop-down list response choices.